
Advanced Servo Programming for an Animated Halloween Prop - HD Upload
by FrightProps
Embedded from YouTube. This video belongs to its creator; Halloween Universe indexes it as a discovery resource.View original ↗
What this video covers
This FrightProps tutorial is the programming finale of a multi-part Servo Skeleton build, covering the full workflow for bringing a three-servo plastic skeleton to life using a BooBox Flex 2 controller, a ServoDMX module, and Director Software. The video walks through DMX cable setup, configuring servo speed and travel limits, integrating a DMX-controlled light, and syncing the skeleton's movements to an audio track. Re-uploaded in higher resolution to make the Director Software interface easier to follow, it serves as a comprehensive end-to-end guide for prop animation programming. Viewers leave with a clear understanding of how a complete FrightProps control ecosystem ties together for a finished animatronic character.
Key takeaways
- ◆The BooBox Flex 2, ServoDMX, and Director Software form the core control chain for this animatronic build
- ◆Each servo's speed and travel limits are dialed in individually within the Director Software
- ◆DMX cabling connects the controller to both the servo driver and an RGBW lighting fixture
- ◆Animation is choreographed frame-by-frame to a loaded audio file for a fully synced performance
- ◆A Director Connect device enables live, real-time programming adjustments during the process
Who this is for
Intermediate-to-advanced prop builders already familiar with basic servo installation who want to master DMX-based animatronic programming using the FrightProps ecosystem.
Tools mentioned
- • Director Software
- • Director Connect
- • BooBox Flex 2 Controller
- • ServoDMX
Materials mentioned
- • Head Lift and Turn Servo Kit
- • Waist Turn Servo Kit
- • Elbow/Knee Flex Servo Kit
- • plastic skeleton
- • Mini Par RGBW LED
- • RJ45 to 3-PIN XLR Adapter
- • DMX cables
⚠ Safety notes
Ensure all DMX wiring connections are secure and properly terminated to avoid signal issues or shorts during live programming sessions.
Explore related
More like this

We made a real DOGDAY Animatronic! #poppyplaytime
Wicked Makers' Jaimie and Jay build a full animatronic version of Dogday, the unsettling canine character from Poppy Playtime Chapter 3, entirely from scratch. The build combines 3D printing with pneumatic mechanisms to bring the character to life with realistic movement. The short-form video offers a high-level showcase of the completed prop and build process.
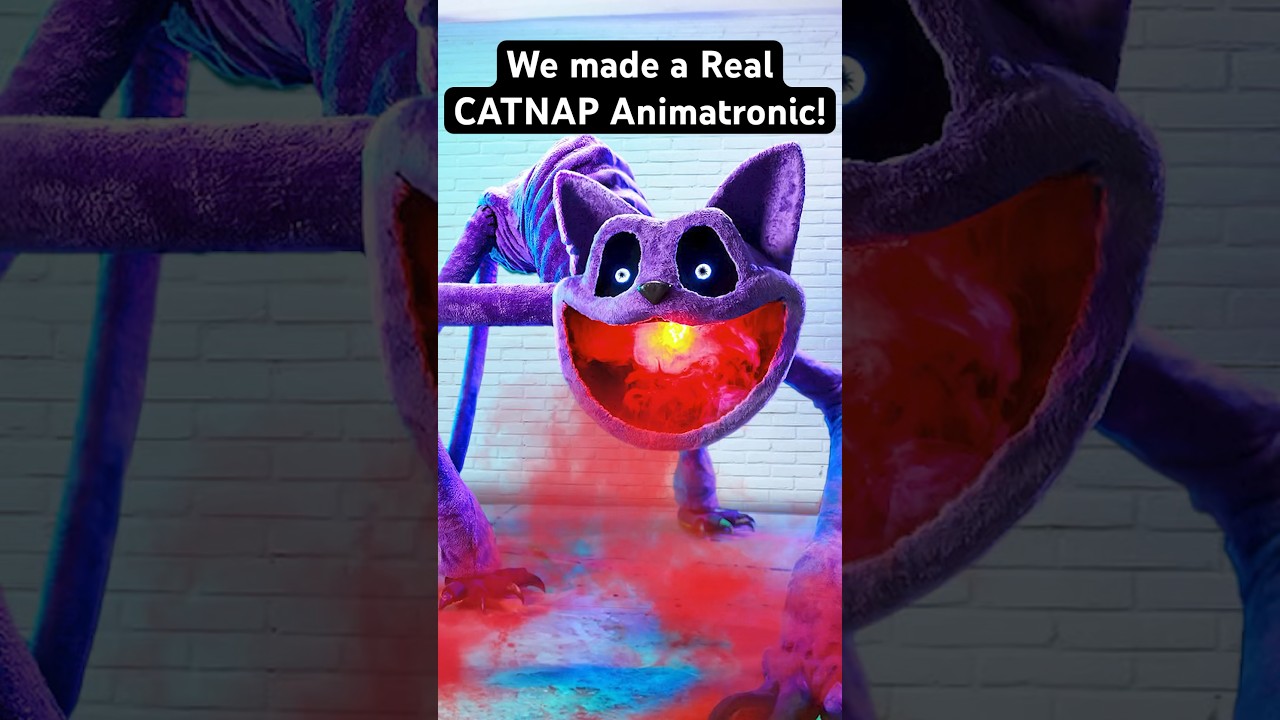
REAL CatNap Animatronic! #catnap #poppyplaytime #shorts
Wicked Makers' Jaimie and Jay build a fully functioning CatNap animatronic from scratch, bringing the popular Poppy Playtime horror-game character to life. The short-form video showcases the impressive finished result of their fabrication work. It's a quick but striking look at what dedicated prop builders can achieve with recognizable pop-culture source material.

Making a real Puppet Animatronic! #fnaf
Wicked Makers' Jaimie and Jay build a life-size animatronic version of The Puppet (Marionette) from Five Nights at Freddy's 2. The prop combines a foam-sculpted body wrapped in black velvet with a 3D-printed, painted mask sourced from a third-party sculptor. Two pneumatic systems power the scare: a scissor mechanism that launches the figure forward roughly three feet, and a chest-mounted pneumatic that thrusts its arms outward for the signature jumpscare effect.
Ratings & reviews
No ratings yet — be the first to say whether this one delivered.
Sign in to rate this video and tell others if it helped.