
Making a Pirate Treasure Chest 💀 DIY Halloween Props
Embedded from YouTube. This video belongs to its creator; Halloween Universe indexes it as a discovery resource.View original ↗
What this video covers
Wicked Makers hosts Jay and Jaimie build an elaborate Sea of Thieves-inspired pirate treasure chest Halloween prop from XPS and EVA foam, complete with 3D-printed skull decorations and hardware details. The build is elevated by special effects including Arduino-controlled NeoPixel glowing eyes and a hidden microfogger that breathes eerie mist from the chest. The prop is finished with layered paints, Rub n Buff, and airbrushing to achieve a weathered, cursed aesthetic. It's a full-featured, multi-discipline build that blends prop fabrication, electronics, and effects work into a single showpiece.
Key takeaways
- ◆Chest structure is built from carved XPS and shaped EVA foam, with 3D-printed skulls and hardware details adding authenticity
- ◆Arduino Uno drives NeoPixel LEDs to create glowing skull eyes as the centerpiece effect
- ◆A hidden microfogger routed through irrigation hose produces atmospheric smoke emanating from the chest
- ◆Finishing uses a combination of Drylock sealing, Rub n Buff, obsidian metallic paint, and airbrushing for a worn, cursed look
- ◆3D print files for the skull components are available to Patreon supporters
Who this is for
Experienced Halloween prop builders and maker-hobbyists who are comfortable combining foam fabrication, basic electronics, and 3D printing into a single complex display piece.
Tools mentioned
- • utility knife
- • square
- • straight-edge ruler
- • hot glue gun
- • Dremel kit
- • airbrush
- • 3D printer
- • flathead screwdriver
- • paint brushes
Materials mentioned
- • XPS foam (1" and 2")
- • EVA foam (6mm and 10mm HD foam)
- • Microfogger
- • NeoPixel LED strip
- • Arduino Uno
- • battery pack
- • Barge Cement
- • Clear Gorilla Glue
- • Starbond CA glue
- • Starbond accelerator
- • wood glue
- • hot glue
- • 1/4" irrigation hose
- • DAP Alex Plus
- • Drylock Extreme
- • Rub n Buff Silver Leaf
- • acrylic paint (plum)
- • obsidian metallic paint
- • blue tape
- • toothpicks
- • PLA filament
⚠ Safety notes
Use CA glue and accelerator in a well-ventilated area. Exercise caution with Dremel tools and hot glue. Ensure Arduino and electrical components are kept away from the microfogger's moisture.
Explore related
More like this
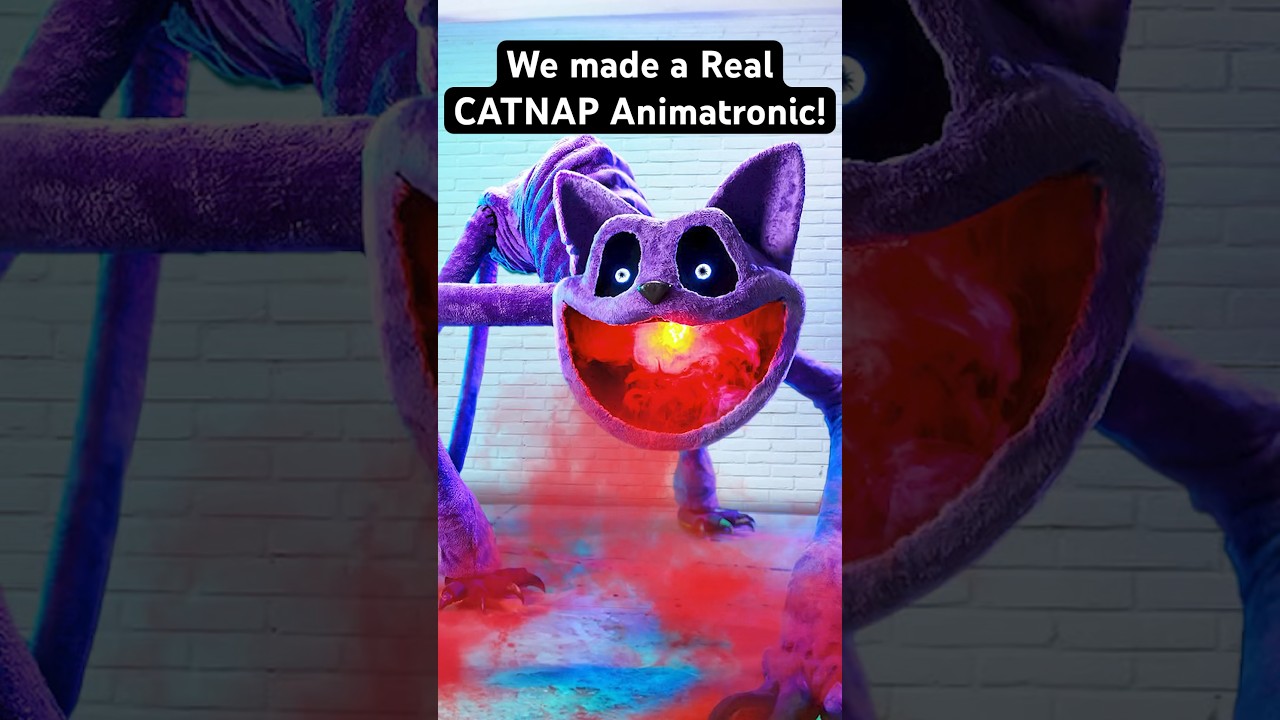
REAL CatNap Animatronic! #catnap #poppyplaytime #shorts
Wicked Makers' Jaimie and Jay build a fully functioning CatNap animatronic from scratch, bringing the popular Poppy Playtime horror-game character to life. The short-form video showcases the impressive finished result of their fabrication work. It's a quick but striking look at what dedicated prop builders can achieve with recognizable pop-culture source material.

Real YARNABY Animatronic! 🧶😱 #poppyplaytime
Wicked Makers' Jay and Jaimie construct a full animatronic version of Yarnaby from the horror game Poppy Playtime, built from steel and driven by pneumatics. The build goes beyond aesthetics — the team stress-tests the animatronic's jaw mechanism using a ballistic gel arm to see whether it could realistically bite through a limb. The video blends behind-the-scenes fabrication footage with chaotic prop-testing in classic Wicked Makers style. It sits alongside their broader catalog of mascot-horror animatronics inspired by FNAF, Poppy Playtime, and similar franchises.

Make Halloween Store Skeletons Way Better! 💀 #shorts
Wicked Makers' Jay and Jaimie demonstrate how to transform a basic store-bought Halloween skeleton into a far more impressive and creepy display piece. The short teases a full-length tutorial focused on giving the skeleton a pirate or drunken drinking character. The upgrade elevates a generic prop into a themed centerpiece without starting from scratch.
Ratings & reviews
No ratings yet — be the first to say whether this one delivered.
Sign in to rate this video and tell others if it helped.