Video Tag
Every video tagged “distressing” in the library — a focused slice of the Halloween archive.
9 videos
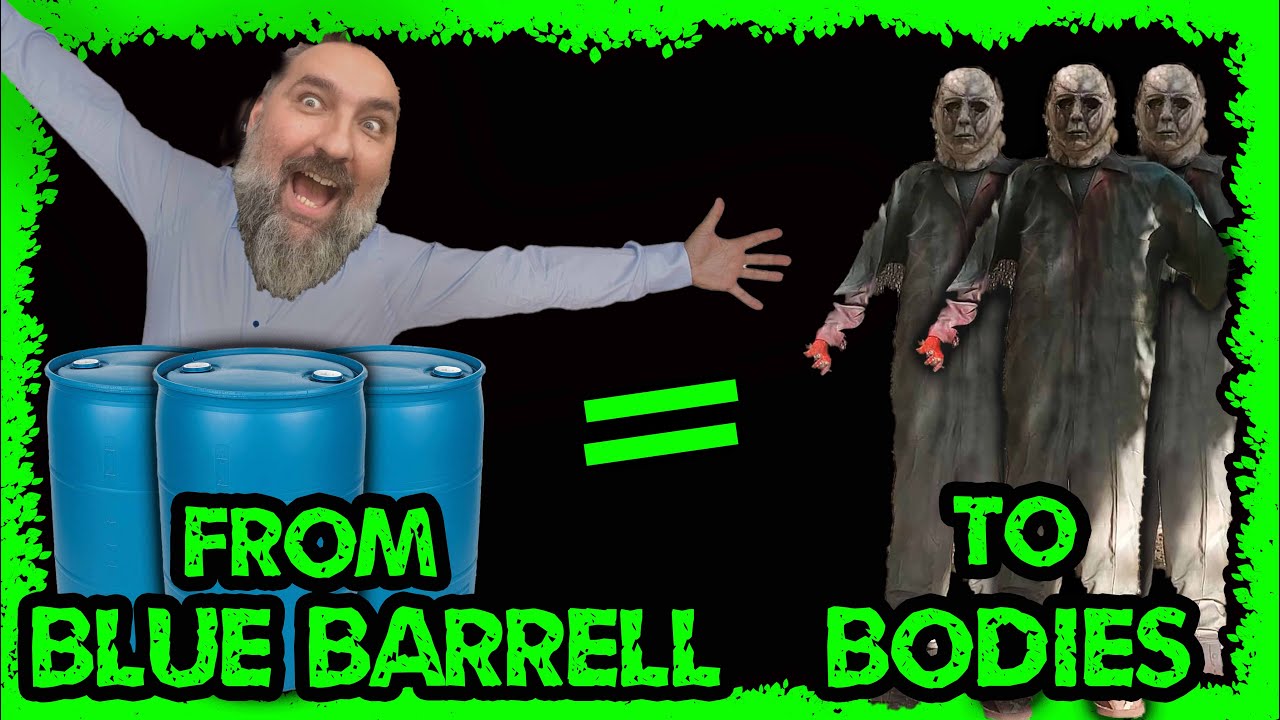
StiltbeastStudios walks through a roughly two-hour build that transforms a standard 55-gallon blue plastic drum into a full-size standing Halloween figure. A wig head, mask, fake hands, clothing, and footwear are assembled onto the barrel using zip ties and black duct tape, then finished with spray paint to distress the base and add realism. The result is a large-scale, eye-catching display piece that elevates any outdoor Halloween setup. No specialized tools or advanced skills are required, making this an accessible project for decorators of any experience level.
StiltbeastStudios walks through a collection of hands-on techniques for making glass and plastic jars and bottles look aged, grimy, and authentically creepy. The methods are applicable to haunted house set dressing, film prop work, or any Halloween display that calls for a witch's apothecary or dark laboratory aesthetic. Finished pieces can be filled with contents of your choice or dressed up with custom labels for added detail.
Stiltbeast Studios walks through a fast, beginner-friendly method for constructing a versatile haunt robe — described as a 'poncho of doom' — that can serve as a foundation for a wide range of haunted attraction characters. Fabric choice is emphasized as the single most important variable, with texture, weight, and color all shaping the final character's feel. The base garment can be elevated with accessories like a contrasting tabard, belt, jute mesh, cobwebs, and distressing to suit settings anywhere from an indoor parlor to an outdoor cornfield.
VanOaksProps walks through building a weathered vintage-style 'For Sale' sign out of MDF as a narrative prop for a cemetery yard haunt. The build covers sealing, stenciling with a vinyl cutter, hand-painting lettering, and applying distressing and aging techniques to achieve a convincingly decrepit look. The sign doubles as a tongue-in-cheek story element marking the haunt's final season at its current home. The paint tricks demonstrated are transferable to a wide range of Halloween prop projects.
VanOaksProps recreates a sign spotted at Galaxy's Edge/Black Spire Outpost in Disneyland, replicating its weathered, alien-world aesthetic using layered spray paints, acrylic detailing, and powder-based distressing techniques. The build leans heavily on aging effects — including Fuller's Earth, baby powder, and hairspray — to sell the worn, battle-worn look of Batuu signage. Star Wars-accurate fonts sourced from a free aurebesh font resource help nail the authenticity. The finished piece is a compact, screen-faithful prop replica achievable in an afternoon.
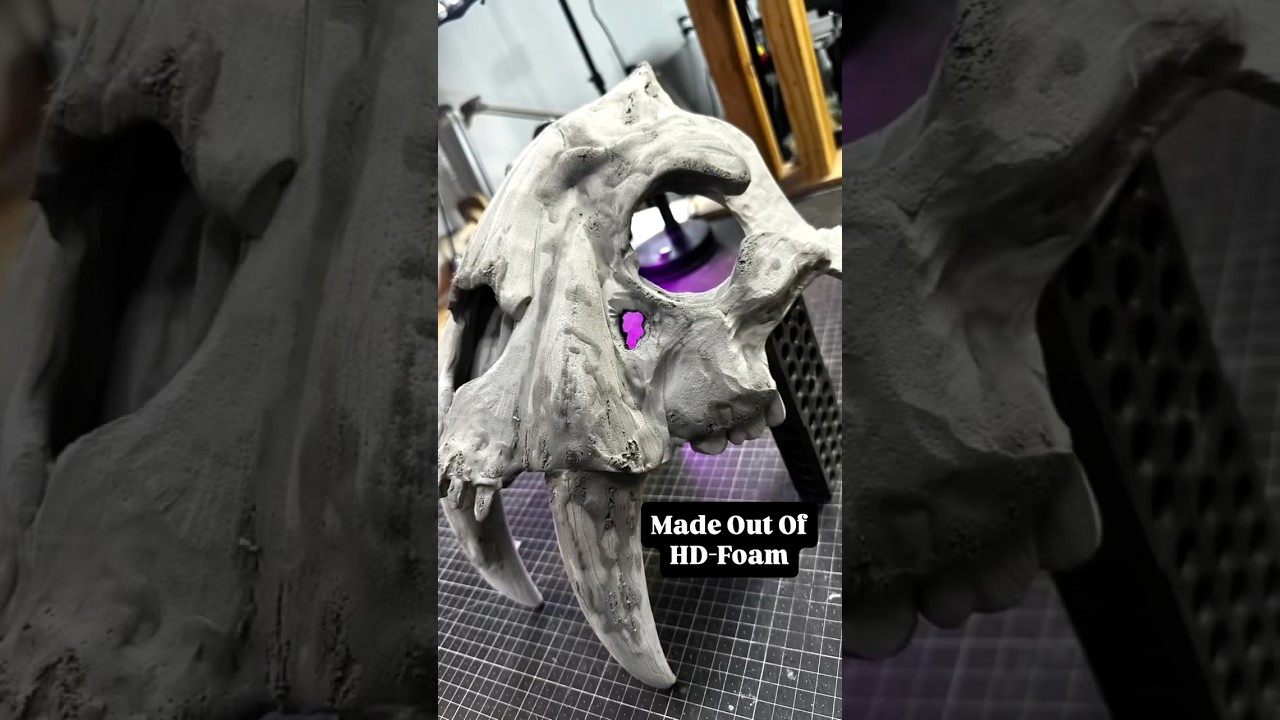
This short-form video showcases the creation of a saber-toothed tiger skull prop built from EVA foam and foam clay. The creator demonstrates a clever texturing technique: applying foam clay and allowing it to partially dry before attacking the surface with a wire brush to produce natural-looking striations and organic cracks. The piece is then finished with primer and paint to sell the bone-like appearance.
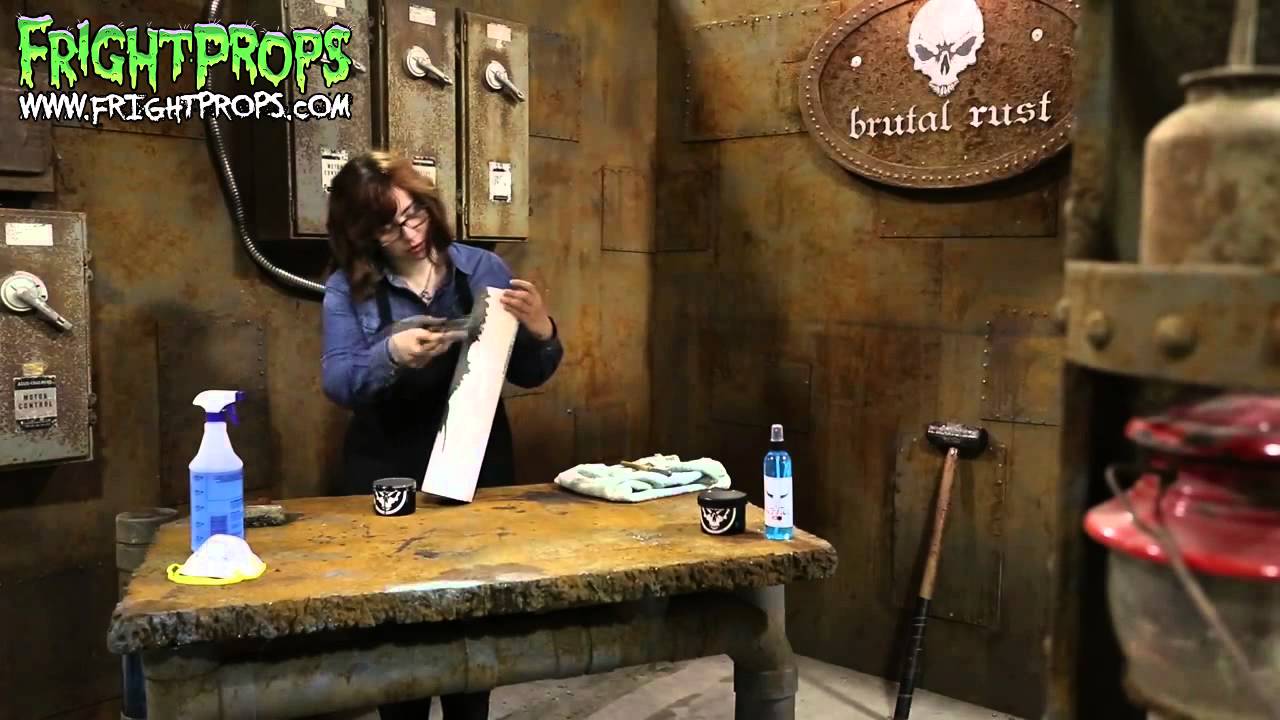
This short demonstration from FrightProps showcases a specialty rust paint product capable of making surfaces appear aged and corroded. The technique is applicable to Halloween props, haunted house set pieces, and scenic design elements. It offers a quick, accessible way to add realistic weathering effects to almost any material.
This short tutorial walks viewers through five accessible weathering techniques that can transform store-bought or thrift-store Halloween props into convincingly aged, realistic pieces. The methods range from simple paint washes and dry brushing to metallic chipping with chrome pens and Rub 'n Buff, plus sanding and Fuller's earth application. All five approaches are designed to be low-cost and beginner-friendly, making them suitable for haunters, cosplayers, and home decorators alike. The video emphasizes broad applicability across masks, foam props, weapons, and costumes.
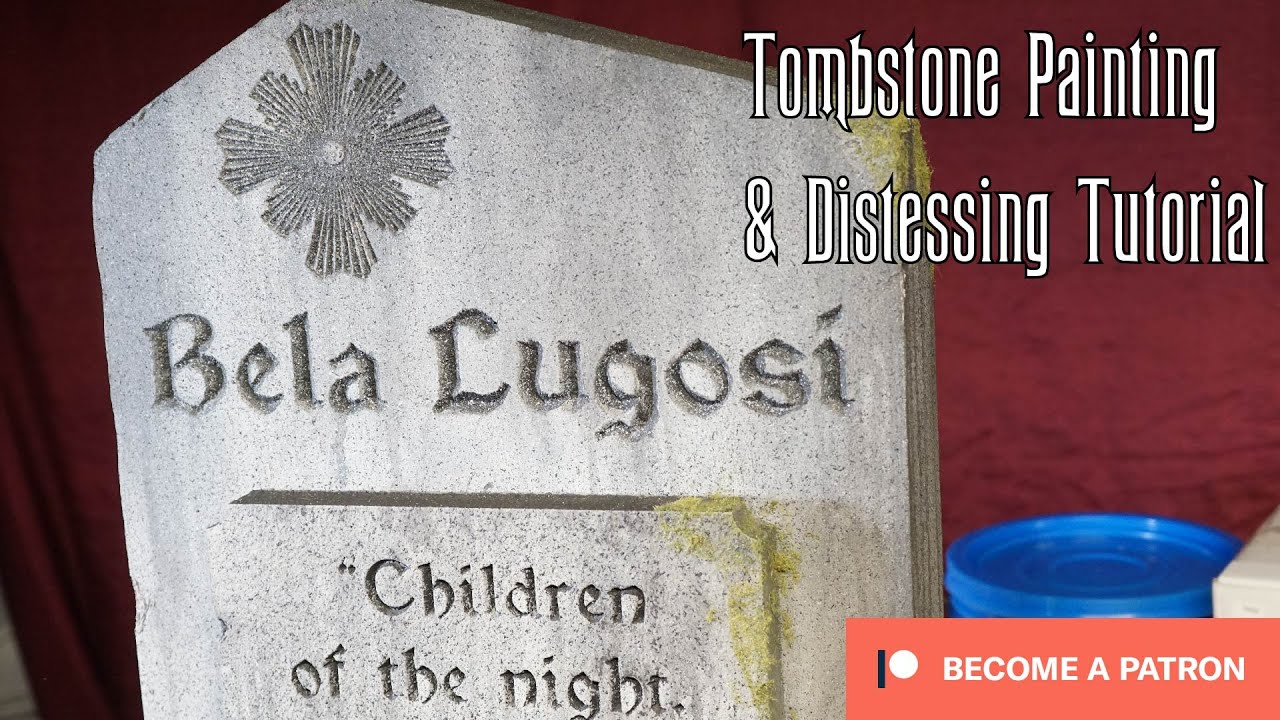
This short tutorial walks through the process of painting and distressing Halloween tombstone props to give them a realistic, aged appearance. The technique centers on using Dry-Lok as a key product in the finishing process. At under five minutes, it's a quick, accessible guide suited for haunters looking to elevate their cemetery displays. The result is a weathered, convincing grave marker that fits seamlessly into yard or home haunt setups.