
Turning a Home Depot Skeleton into a Star Wars Jawa Animatronic!
by VanOaksProps
Embedded from YouTube. This video belongs to its creator; Halloween Universe indexes it as a discovery resource.View original ↗
What this video covers
This step-by-step tutorial walks through converting a stock Home Depot dancing skeleton into a fully themed Star Wars Jawa animatronic for under $100. The build covers rewiring LEDs for glowing yellow eyes, installing a motion-triggered audio player, and crafting screen-inspired EVA foam bandoliers and weathered robes. Aging and texturing techniques using paint, grout, and spray paint give the costume an authentic, worn Tatooine look. The result is a display-ready character prop that blends Halloween animatronics with Star Wars fandom.
Key takeaways
- ◆Repurposes a retail Home Depot dancing skeleton as the animatronic base, keeping costs low
- ◆Adds glowing yellow LED eyes and a motion-triggered audio system for interactive effect
- ◆EVA foam bandoliers and accessories are scratch-built using downloadable patterns from the creator
- ◆Weathering with grout, acrylic paint, and spray paint sells the worn, desert-planet aesthetic
- ◆Total project targets a budget under $100
Who this is for
Star Wars fans and Halloween decorators who want to upgrade a store-bought animatronic into a detailed, character-accurate display prop on a budget.
Tools mentioned
- • curry comb
Materials mentioned
- • Home Depot dancing skeleton
- • EVA foam 2mm
- • EVA foam 4mm
- • Jawa costume
- • motion detecting audio player
- • Wago wire nuts
- • 8mm round head fasteners
- • heavy duty velcro
- • fabric tape
- • pipe wrap
- • kinesiology tape
- • polyblend sanded grout (Haystack)
- • Mod Podge Ultra Matte
- • burnt umber acrylic paint
- • Sahara beige Montana Gold spray paint
- • bandolier
⚠ Safety notes
Use caution when wiring LEDs and audio components into existing animatronic electronics; ensure all connections are secure and insulated to avoid shorts.
Explore related
More like this

We made a real DOGDAY Animatronic! #poppyplaytime
Wicked Makers' Jaimie and Jay build a full animatronic version of Dogday, the unsettling canine character from Poppy Playtime Chapter 3, entirely from scratch. The build combines 3D printing with pneumatic mechanisms to bring the character to life with realistic movement. The short-form video offers a high-level showcase of the completed prop and build process.
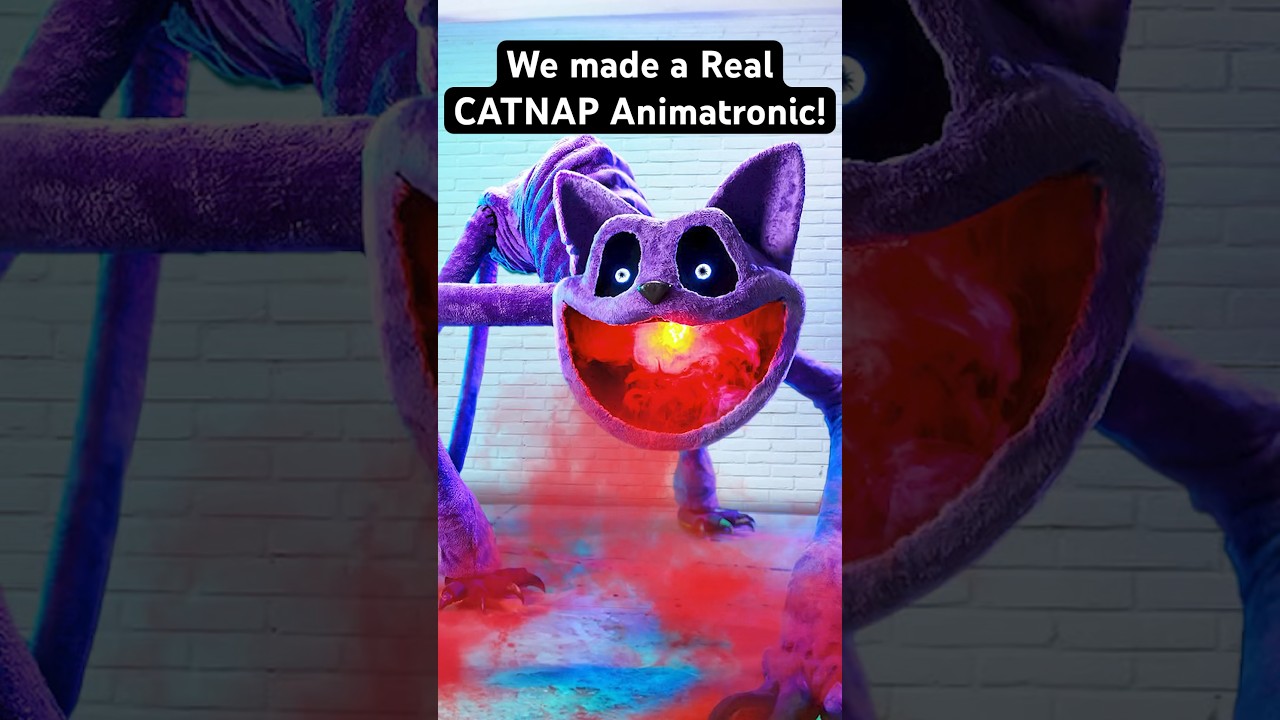
REAL CatNap Animatronic! #catnap #poppyplaytime #shorts
Wicked Makers' Jaimie and Jay build a fully functioning CatNap animatronic from scratch, bringing the popular Poppy Playtime horror-game character to life. The short-form video showcases the impressive finished result of their fabrication work. It's a quick but striking look at what dedicated prop builders can achieve with recognizable pop-culture source material.

Making a real Puppet Animatronic! #fnaf
Wicked Makers' Jaimie and Jay build a life-size animatronic version of The Puppet (Marionette) from Five Nights at Freddy's 2. The prop combines a foam-sculpted body wrapped in black velvet with a 3D-printed, painted mask sourced from a third-party sculptor. Two pneumatic systems power the scare: a scissor mechanism that launches the figure forward roughly three feet, and a chest-mounted pneumatic that thrusts its arms outward for the signature jumpscare effect.
Ratings & reviews
No ratings yet — be the first to say whether this one delivered.
Sign in to rate this video and tell others if it helped.