
We built a huge glowing skull (for our workshop!)
Embedded from YouTube. This video belongs to its creator; Halloween Universe indexes it as a discovery resource.View original ↗
What this video covers
Wicked Makers duo Jay and Jaimie construct a large, eye-catching backlit skull sign for their workshop using a CNC router and birch plywood built up in two layers. LED strips are routed behind the skull cutout and controlled by an Arduino Micro to produce a dramatic glowing effect. The project blends woodworking, basic electronics, and CNC design into an approachable weekend build. Full Arduino code and schematics are available on the creators' website for anyone who wants to replicate it.
Key takeaways
- ◆A two-layer birch plywood construction creates the depth needed for effective LED backlighting
- ◆An Arduino Micro drives the LED strips, allowing programmable lighting effects
- ◆CNC routing (X-Carve) handles the precise skull cutout, but the overall build is described as relatively straightforward
- ◆Finishing with black spray paint and a whitewash stain gives the sign a polished, professional look
- ◆Free code and wiring schematics are provided online to support the Arduino setup
Who this is for
Halloween enthusiasts and makers with basic woodworking and electronics experience who want to build a striking illuminated skull prop or display piece for a haunt, workshop, or home.
Tools mentioned
- • X-Carve CNC
- • 1/8" Downcut Spiral Bit
- • CNC Clamps
- • Z-Probe Kit
- • CNC Dust Boot
- • Table Saw
- • Hand Drill
- • Impact Driver
- • Hot Glue Gun
- • Utility Knife
- • Clamps
- • Microjig Push Pads
Materials mentioned
- • Birch Plywood
- • Black Spray Paint
- • White Wash Stain
- • CA Glue
- • 1" Plastic Spacers
- • Arduino Micro
- • LED Strip
- • Mini-Breadboard
- • Capacitor
- • Resistor
- • Jumpers
⚠ Safety notes
Use appropriate guards and push pads when operating a table saw; exercise caution with CA glue and spray paint in a well-ventilated area.
Explore related
More like this
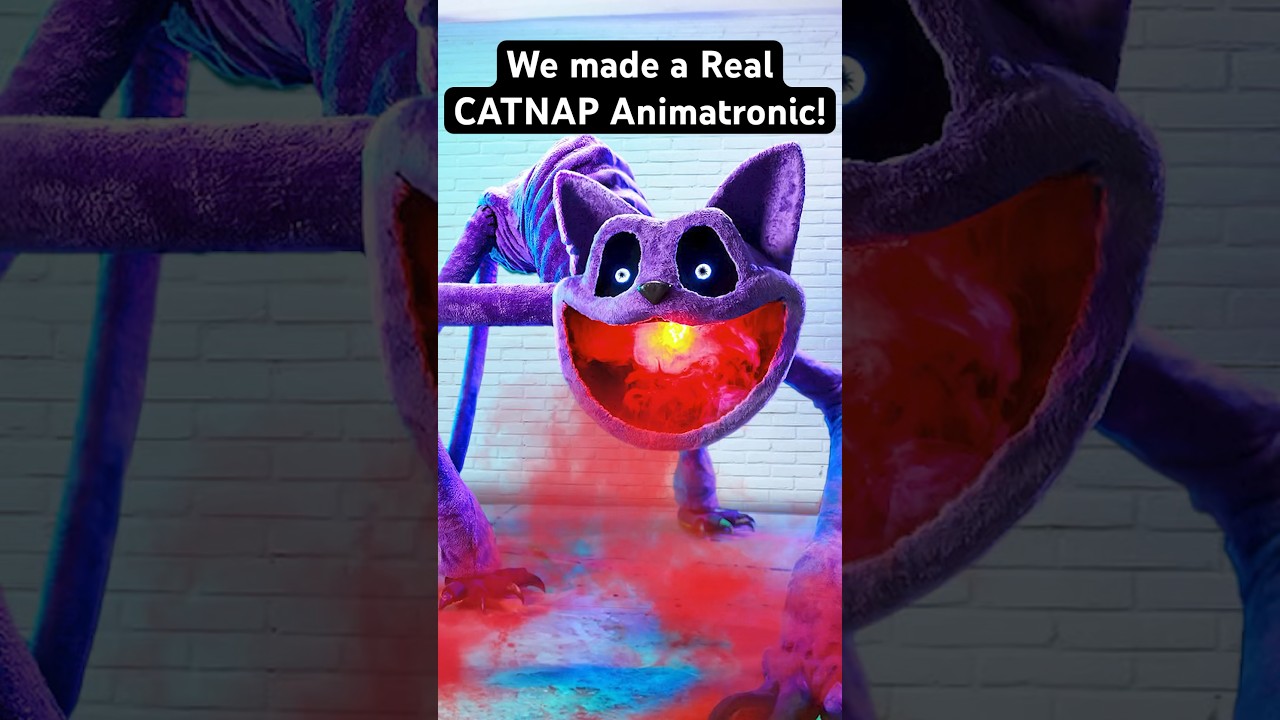
REAL CatNap Animatronic! #catnap #poppyplaytime #shorts
Wicked Makers' Jaimie and Jay build a fully functioning CatNap animatronic from scratch, bringing the popular Poppy Playtime horror-game character to life. The short-form video showcases the impressive finished result of their fabrication work. It's a quick but striking look at what dedicated prop builders can achieve with recognizable pop-culture source material.

Real YARNABY Animatronic! 🧶😱 #poppyplaytime
Wicked Makers' Jay and Jaimie construct a full animatronic version of Yarnaby from the horror game Poppy Playtime, built from steel and driven by pneumatics. The build goes beyond aesthetics — the team stress-tests the animatronic's jaw mechanism using a ballistic gel arm to see whether it could realistically bite through a limb. The video blends behind-the-scenes fabrication footage with chaotic prop-testing in classic Wicked Makers style. It sits alongside their broader catalog of mascot-horror animatronics inspired by FNAF, Poppy Playtime, and similar franchises.

Make Halloween Store Skeletons Way Better! 💀 #shorts
Wicked Makers' Jay and Jaimie demonstrate how to transform a basic store-bought Halloween skeleton into a far more impressive and creepy display piece. The short teases a full-length tutorial focused on giving the skeleton a pirate or drunken drinking character. The upgrade elevates a generic prop into a themed centerpiece without starting from scratch.
Ratings & reviews
No ratings yet — be the first to say whether this one delivered.
Sign in to rate this video and tell others if it helped.