
Building a Halloween Crypt - Part 2: Building Wall Flats
by VanOaksProps
Embedded from YouTube. This video belongs to its creator; Halloween Universe indexes it as a discovery resource.View original ↗
What this video covers
In this second installment of VanOaksProps' family crypt build series, the focus shifts to constructing wall flats — the foundational structural panels used to create convincing haunt environments. The tutorial walks through the process of framing and assembling flat wall sections using a pneumatic stapler, wood glue, and a palm router with a flush trim bit. This is a practical, repeatable technique drawn from theatrical set construction and adapted for home haunt use.
Key takeaways
- ◆Wall flats are a versatile, theatrical technique for creating solid-looking haunt walls
- ◆A pneumatic stapler and wood glue are the primary fastening methods shown
- ◆A palm router with a flush trim bit is used for clean, precise edges
- ◆This is part 2 of an ongoing crypt build series — prior context from part 1 is helpful
- ◆The method is scalable and applicable to many haunt environments beyond a crypt theme
Who this is for
Home haunters and haunt builders who want to create professional-looking modular wall sections for their Halloween displays or walk-through haunts.
Tools mentioned
- • pneumatic stapler
- • palm router
- • flush trim bit
Materials mentioned
- • narrow crown staples
- • wood glue
⚠ Safety notes
Use appropriate eye and ear protection when operating a pneumatic stapler and palm router.
Explore related
More like this

Easy & Realistic Faux Stone Walls with Foam!
VanOaksProps walks through a beginner-friendly method for creating convincing faux stone panels from foam using minimal tools. The process covers shaping and texturing foam with a box cutter, wire brush, and propane torch, then sealing and painting with Drylok and layered acrylic washes. The finished panels are well-suited for haunted house facades, fireplace surrounds, or any set piece requiring a stone aesthetic.

Mad Scientist ROOM TOUR!
Madeyewlook takes viewers on a brief tour of a mad scientist lab set built at YouTube Space NY, showcasing the Halloween-themed environment. The video highlights the atmospheric set design used as a backdrop for the creator's Halloween content. At just three minutes, it serves as a fun behind-the-scenes peek at a professionally dressed laboratory space.
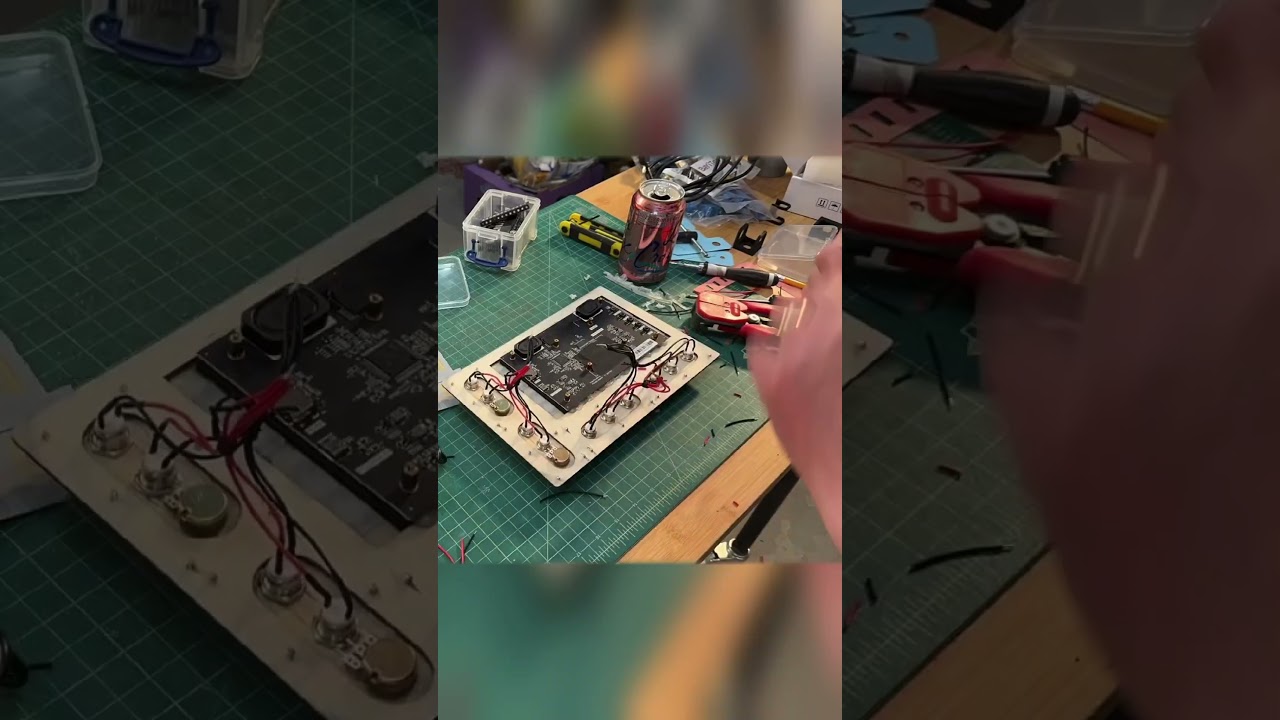
Project Hail Mary Cockpit Control Panel Build #projecthailmary #propbuild #scifibuild
A maker takes on the challenge of recreating the iconic cockpit control panel from the Project Hail Mary spacecraft. The build draws inspiration from the film's set design and likely incorporates 3D-printed components to achieve an accurate replica. The video documents the construction process from concept through finished panel.
Ratings & reviews
No ratings yet — be the first to say whether this one delivered.
Sign in to rate this video and tell others if it helped.