Halloween Universe

Video Category

Set Design

Every set design video worth your time, gathered in one place. Browse builds, tutorials, and showcases — each embedded from its original creator with a quick summary so you can find exactly what you need.

601 videos

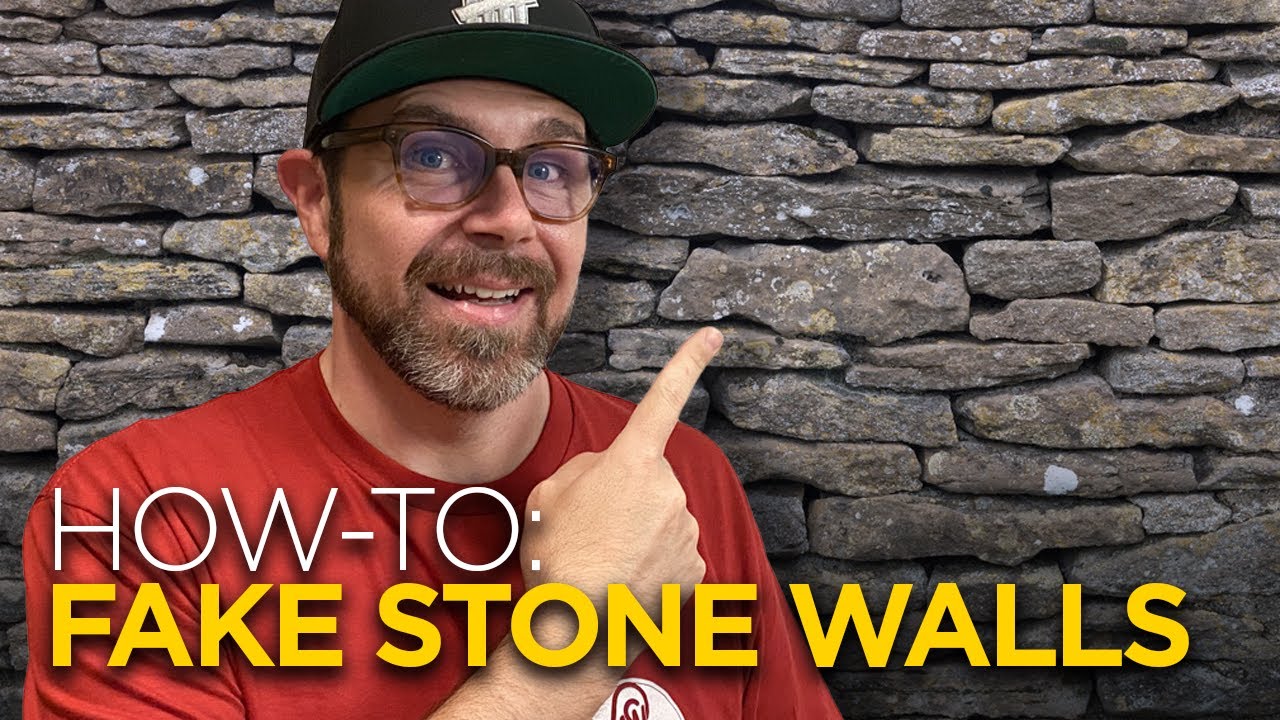
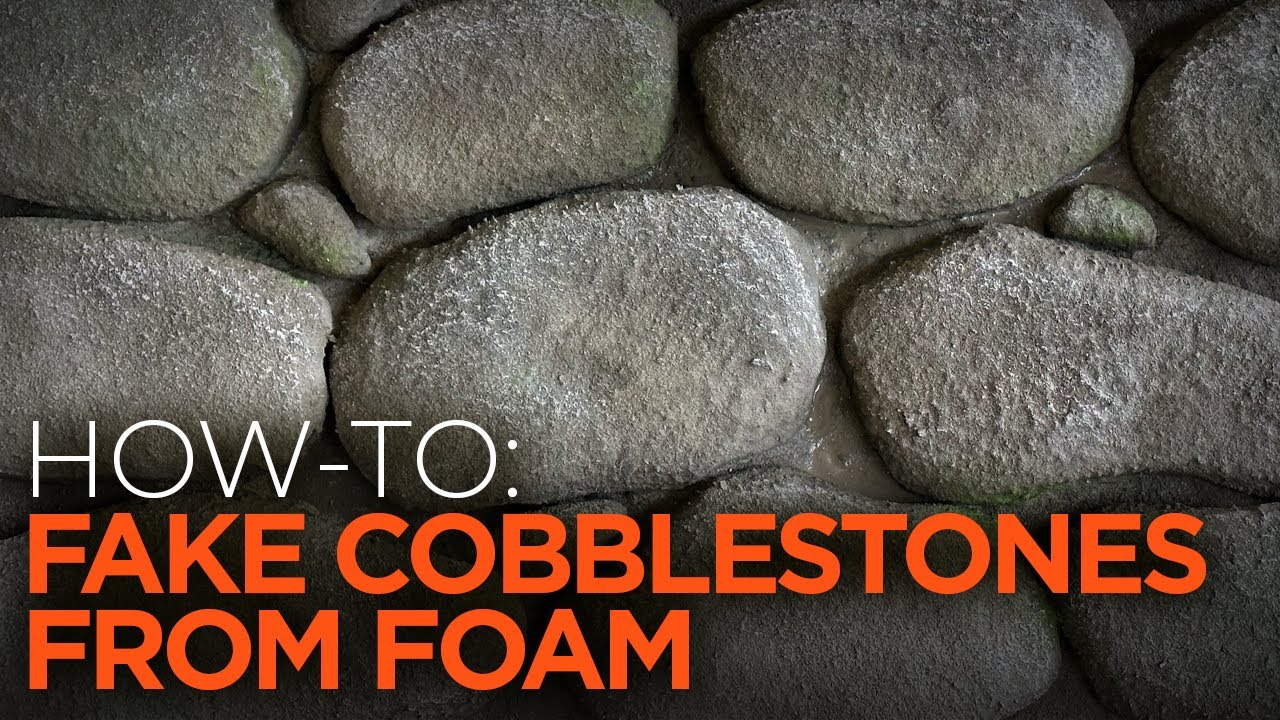
Easy & Realistic Faux Stone Walls with Foam!
7:30
DIY PropsBeginner$20–$50

Easy & Realistic Faux Stone Walls with Foam!

VanOaksProps walks through a beginner-friendly method for creating convincing faux stone panels from foam using minimal tools. The process covers shaping and texturing foam with a box cutter, wire brush, and propane torch, then sealing and painting with Drylok and layered acrylic washes. The finished panels are well-suited for haunted house facades, fireplace surrounds, or any set piece requiring a stone aesthetic.

VanOaksProps· 504,162 views
Mad Scientist ROOM TOUR!
2:57
Set Design

Mad Scientist ROOM TOUR!

Madeyewlook takes viewers on a brief tour of a mad scientist lab set built at YouTube Space NY, showcasing the Halloween-themed environment. The video highlights the atmospheric set design used as a backdrop for the creator's Halloween content. At just three minutes, it serves as a fun behind-the-scenes peek at a professionally dressed laboratory space.

Madeyewlook· 332,389 views
Project Hail Mary Cockpit Control Panel Build #projecthailmary #propbuild #scifibuild
0:24
DIY PropsIntermediate

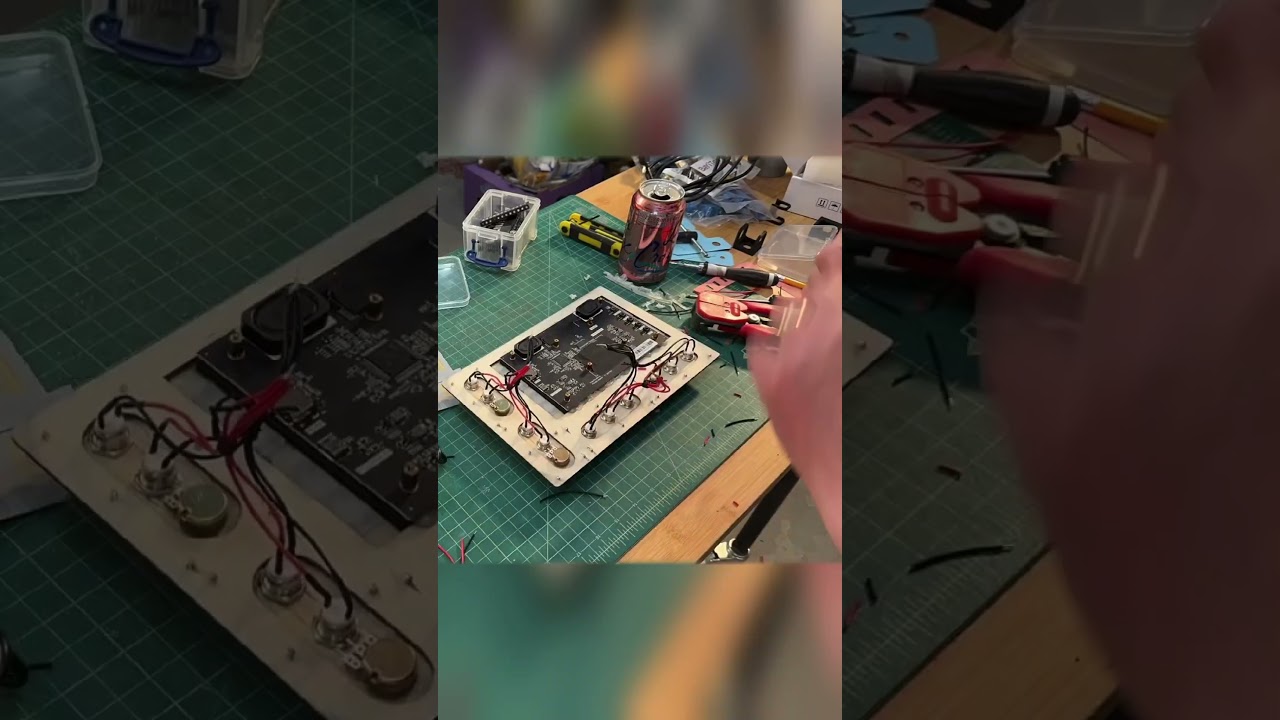
Project Hail Mary Cockpit Control Panel Build #projecthailmary #propbuild #scifibuild

A maker takes on the challenge of recreating the iconic cockpit control panel from the Project Hail Mary spacecraft. The build draws inspiration from the film's set design and likely incorporates 3D-printed components to achieve an accurate replica. The video documents the construction process from concept through finished panel.

Creative Geekery· 319,345 views
plastic corpsing
19:50
DIY PropsBeginnerlow (budget-friendly method)

plastic corpsing

Allen Hopps of StiltbeastStudios presents a plastic corpsing technique designed to be faster, easier, and more affordable than traditional methods. The tutorial demonstrates how to transform inexpensive skeletons into convincing decomposed corpse props suitable for haunted house environments. The approach emphasizes accessibility, making professional-looking results achievable without a large budget or advanced skill set.

StiltbeastStudios· 274,491 views
Making Foam Look Like Old Wood Beams
8:24
DIY PropsBeginner$20–$50

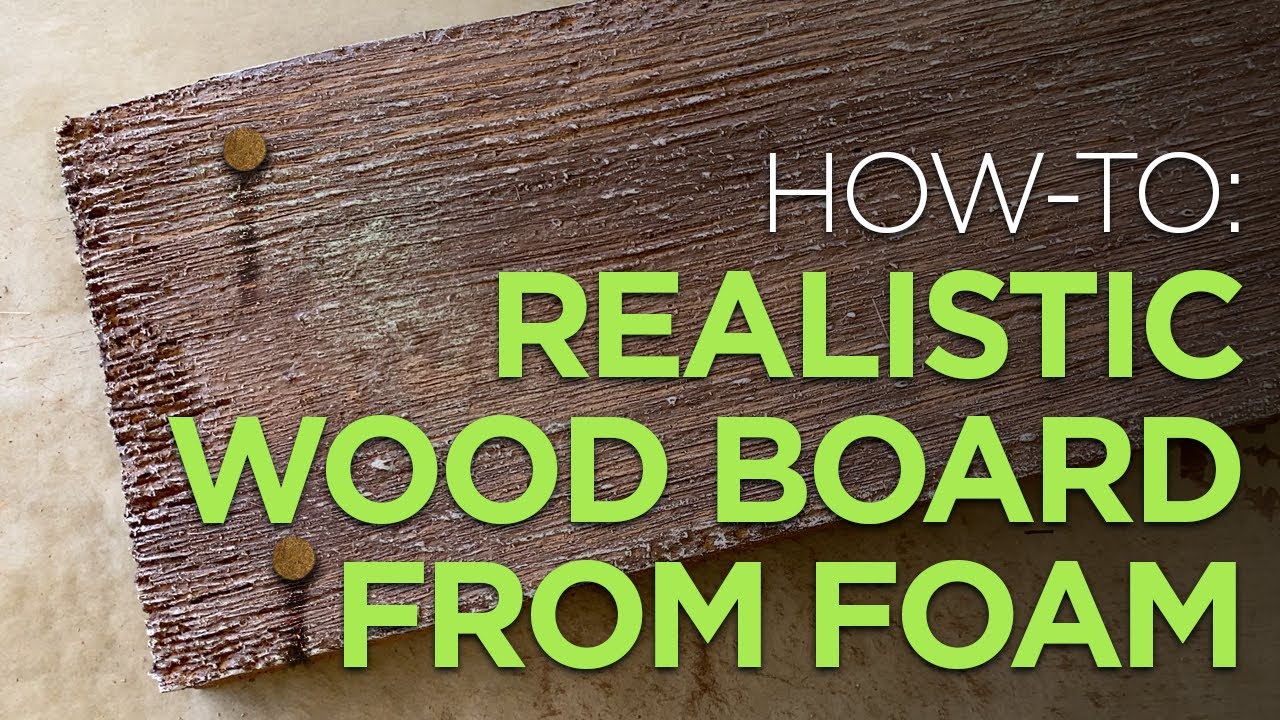
Making Foam Look Like Old Wood Beams

VanOaksProps walks through a straightforward process for turning lightweight foam into convincingly aged wooden boards using basic carving and texturing tools. The technique layers multiple acrylic paint colors and a glazing medium to build realistic wood grain depth and an old, weathered appearance. At under 10 minutes, the tutorial covers the full workflow from raw foam to finished faux plank. The result is a lightweight, cost-effective alternative to real lumber for haunted house panels, escape rooms, or stage set construction.

VanOaksProps· 240,359 views
Rusted Metal Paint Effect using Hairspray & Coffee Grounds
12:34
DIY PropsBeginner$20–$50

Rusted Metal Paint Effect using Hairspray & Coffee Grounds

This tutorial from VanOaksProps covers two distinct techniques for achieving a convincing rusted, aged-metal paint finish on props and set pieces. The first method uses hairspray as a resist layer to create realistic chipped and peeling paint, while the second incorporates coffee grounds to build up a grungy, corroded surface texture. Both approaches rely on accessible, low-cost materials and are well-suited to haunted house scenic painting or cosplay prop finishing. Note that the creator issued a correction: any mention of 'burnt umber' in the video is intended to mean 'raw sienna.'

VanOaksProps· 216,388 views
Great stuff video
10:35
DIY PropsBeginner

Great stuff video

StiltbeastStudios kicks off a multi-part series exploring Great Stuff expanding foam, a go-to material in haunted attraction building. This installment focuses on the properties and characteristics of the foam before moving into hands-on project applications in future episodes. It serves as an accessible introduction for builders who want to understand the material before committing it to a prop or set piece.

StiltbeastStudios· 210,913 views
Unveiling The Secrets of Ghostbusters Frozen Empire NYC - Exclusive Behind-The-Scenes
11:43
Other

Unveiling The Secrets of Ghostbusters Frozen Empire NYC - Exclusive Behind-The-Scenes

This video offers an exclusive behind-the-scenes look at the New York City filming of Ghostbusters: Frozen Empire, following the crew and stunt actors through real on-location production. Viewers get up-close access to the iconic Ecto-1 in action, modifications made to the Ghostbusters Firehouse set, and the practical details that bring the film's world to life. It's a fan-oriented production diary capturing the energy and craftsmanship behind a major Hollywood sequel.

Creative Geekery· 195,158 views
duct tape corpsing
16:53
DIY PropsBeginnerunder $20

duct tape corpsing

Stiltbeast Studios demonstrates a quick and accessible corpsing technique using duct tape and a blowtorch to create gooey, tendon-like organic detail on skeleton props. The entire project was completed in roughly two hours, making it an efficient method for haunters working under time pressure. Heating the tape causes it to shrink, warp, and string into convincing sinew and tissue textures without the need for expensive materials or advanced skills.

StiltbeastStudios· 174,282 views
The BEST Way to Smooth 3d Prints
6:19
DIY PropsIntermediate$10–$30

The BEST Way to Smooth 3d Prints

VanOaksProps presents their signature method for smoothing PLA 3D prints before painting, combining spot putty with acetone to minimize sanding time. The technique draws on basic chemistry to fill print layer lines more efficiently than conventional sanding alone. The workflow is designed to get props paint-ready faster, freeing up time for more creative work. This is presented as the creator's original take on a widely discussed topic.

VanOaksProps· 169,856 views
spray painting plastic- best primer
9:11
DIY PropsBeginner

spray painting plastic- best primer

Stiltbeast Studios tackles one of the most common frustrations in prop-making — getting paint to stick to plastic — by identifying a preferred primer through hands-on testing. The video walks through why plastic is a difficult surface to paint and what makes this particular primer perform better than alternatives. Real-world adhesion tests are shown to back up the recommendation rather than relying on speculation alone.

StiltbeastStudios· 155,466 views
Simple Cracked & Chipped Paint Effect using a Wood Block
7:00
Set DesignBeginner

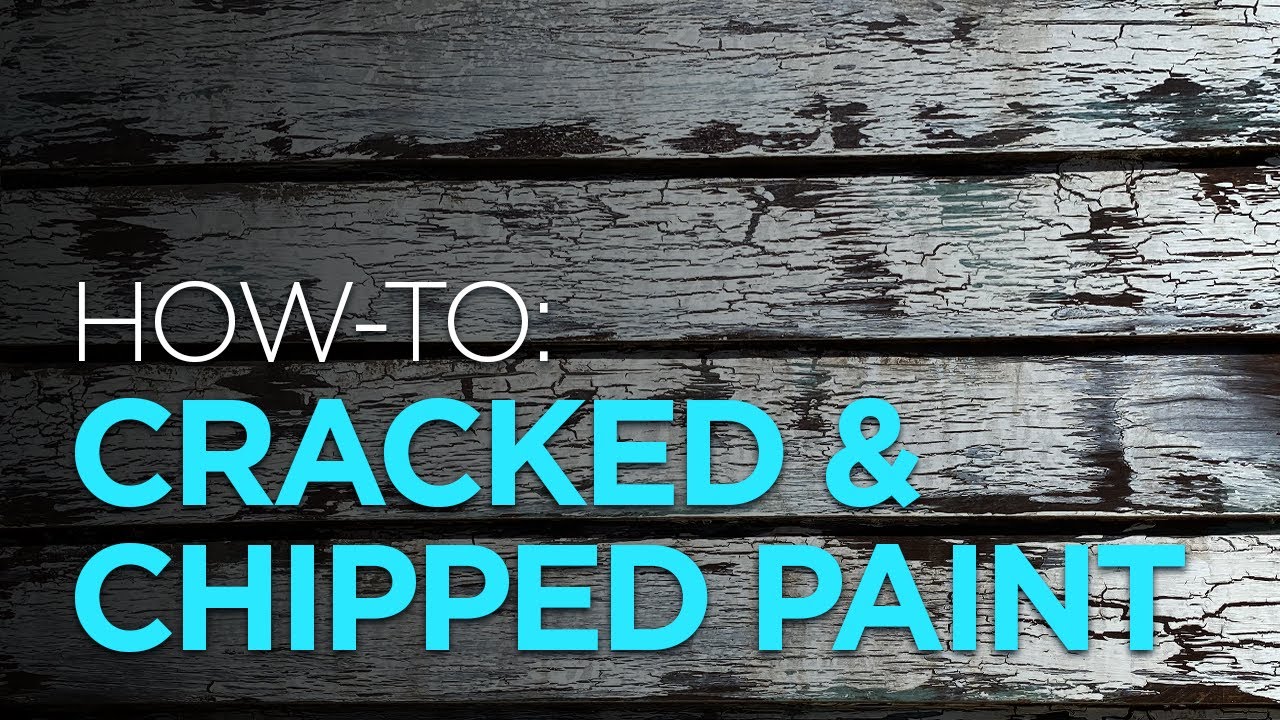
Simple Cracked & Chipped Paint Effect using a Wood Block

VanOaksProps demonstrates a quick and forgiving faux-finishing technique that makes haunt wall panels look aged and deteriorated. Using a wood block and layered spray paint, the method replicates the look of decades-old cracked and chipped paint without specialized skills or expensive materials. The result is convincing weathered surfaces well-suited for haunted house exteriors or interior set dressing.

VanOaksProps· 153,447 views
leather armor.wmv
17:40
Costume TutorialsIntermediate

leather armor.wmv

StiltbeastStudios walks through the construction of a dragonscale leather armor panel, demonstrating leathercraft techniques applicable far beyond a single project. The video covers stamping, beveling, and detailing methods that translate well to haunted house costumes, LARP gear, and wearable props. Leather is highlighted as a durable and versatile material for both costuming and prop-making contexts. Tandy Leather is referenced as the source for all tools and materials used.

StiltbeastStudios· 143,867 views
DIY Fake Tree Stump With Spray Foam
8:11
DIY PropsBeginnerlow (many materials sourced from dollar stores and home improvement stores)

DIY Fake Tree Stump With Spray Foam

VanOaksProps walks through the full process of building a convincing fake tree stump using a 5-gallon bucket as a base form, expanding spray foam for texture, and layered acrylic and spray paints to achieve a realistic wood-and-moss finish. The build relies on inexpensive, widely available materials, making it accessible to beginners. A handy secondary use highlighted in the video is concealing a projector inside the hollow stump, adding functional value to a purely decorative prop.

VanOaksProps· 142,582 views
Easy & Realistic Fake Stone Walls from Foam 2!
8:04
DIY PropsBeginner$20–$60

Easy & Realistic Fake Stone Walls from Foam 2!

VanOaksProps walks through a beginner-friendly process for creating convincing fake stone walls using inexpensive XPS or EPS foam. The build relies on hot wire cutting and rasp texturing to achieve a natural stone shape, followed by a tile mortar coating that adds durability and surface detail. A layered acrylic painting sequence — moving from a base beige through burnt umber shadows to green moss accents — brings the finished panels to life. The result is a lightweight, low-cost wall section suitable for haunts, sets, or yard displays.

VanOaksProps· 130,025 views
Easy Fake Brick Wall Using Joint Compound
8:18
DIY PropsBeginnerunder $30

Easy Fake Brick Wall Using Joint Compound

VanOaksProps demonstrates a budget-friendly method for creating a convincing faux brick wall using joint compound and precision masking tape — no large foam panels required. The technique is well-suited for small accent sections within a haunt or set build, making it ideal when only a localized brick effect is needed. Multiple FolkArt acrylic paint colors are layered with sponges and brushes to add depth, age, and realism to the finished surface. The approach doubles as a general home-décor faux-finish technique beyond Halloween use.

VanOaksProps· 109,182 views
Spray Foam Display Creature Bust
20:57
DIY PropsIntermediate

Spray Foam Display Creature Bust

StiltbeastStudios walks through the process of building a creature bust display prop using spray foam as a primary construction material. The tutorial covers the hands-on techniques needed to create a monster-style bust suitable for haunted attractions or Halloween displays. Allen Hopps guides viewers through the fabrication process in a characteristic workshop style that balances creativity with practical prop-building know-how.

StiltbeastStudios· 88,780 views
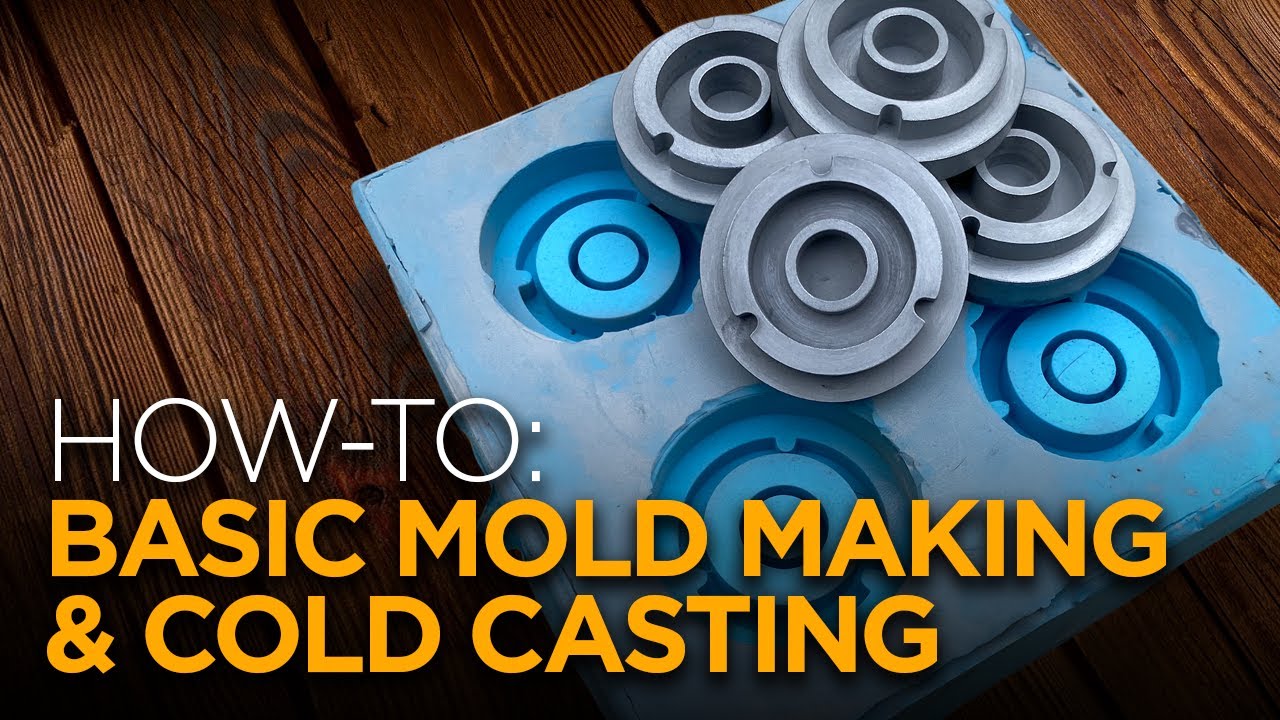
EASY mold making and casting with ALUMINUM powder!
8:10
DIY PropsBeginner$30–$80

EASY mold making and casting with ALUMINUM powder!

VanOaksProps walks through the complete workflow for duplicating prop parts using a tin-cure silicone mold and cast resin, then finishing the casts to resemble brushed aluminum. The technique — known as cold casting — uses aluminum powder mixed into or applied over resin, with steel wool buffing to bring out a convincing metallic sheen. It's a practical solution for haunters who need multiple identical parts without hand-building each one. The tutorial is kept approachable and concise, making it accessible even for first-time mold makers.

VanOaksProps· 86,535 views
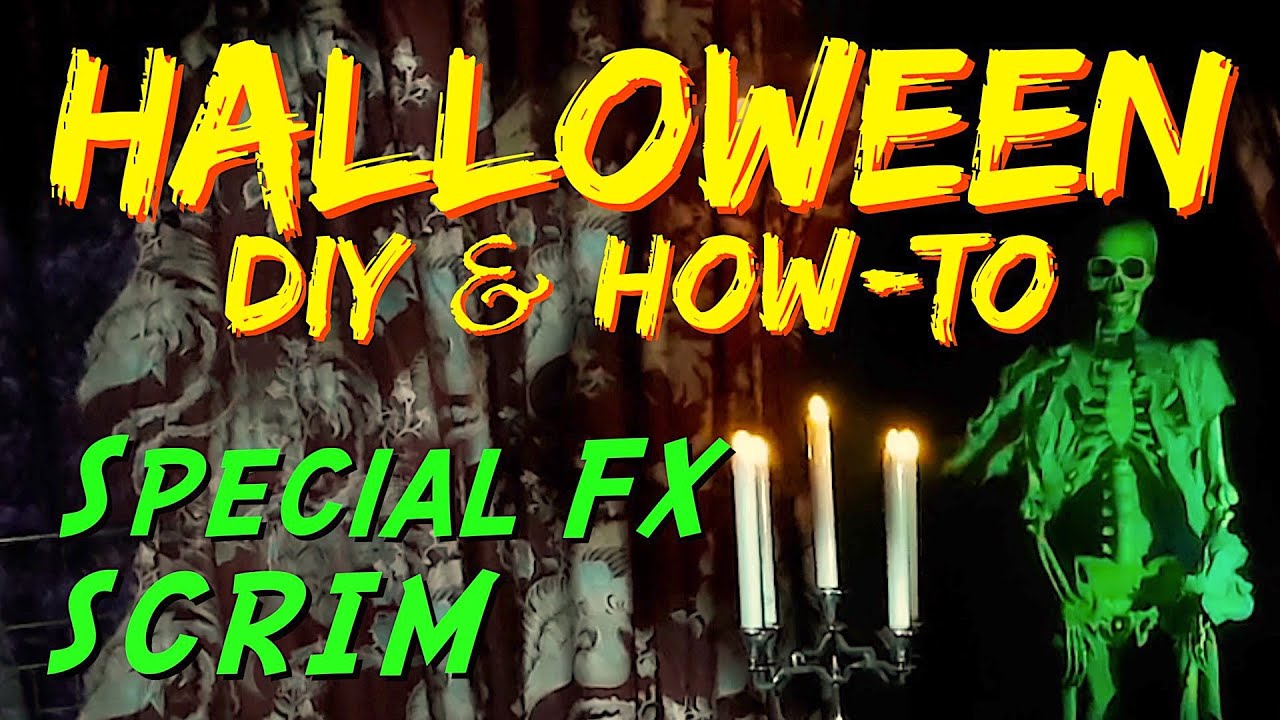
DIY SFX Scrim HALLOWEEN HOW-TO for Spooky Special Effects
7:51
Lighting TutorialsBeginner

DIY SFX Scrim HALLOWEEN HOW-TO for Spooky Special Effects

This tutorial walks viewers through building a DIY special effects scrim designed to produce spooky lighting and sound atmospherics for Halloween displays. The technique is applicable to a range of settings including front porches, yard haunts, and indoor haunted house scenes. A sound-activated device from FrightProps (the 'Perfect Storm') is referenced as a compatible controller for driving thunder and lightning effects alongside the scrim.

HALLOWEEN DIY & HOW-TO Props & Special Effects· 85,502 views
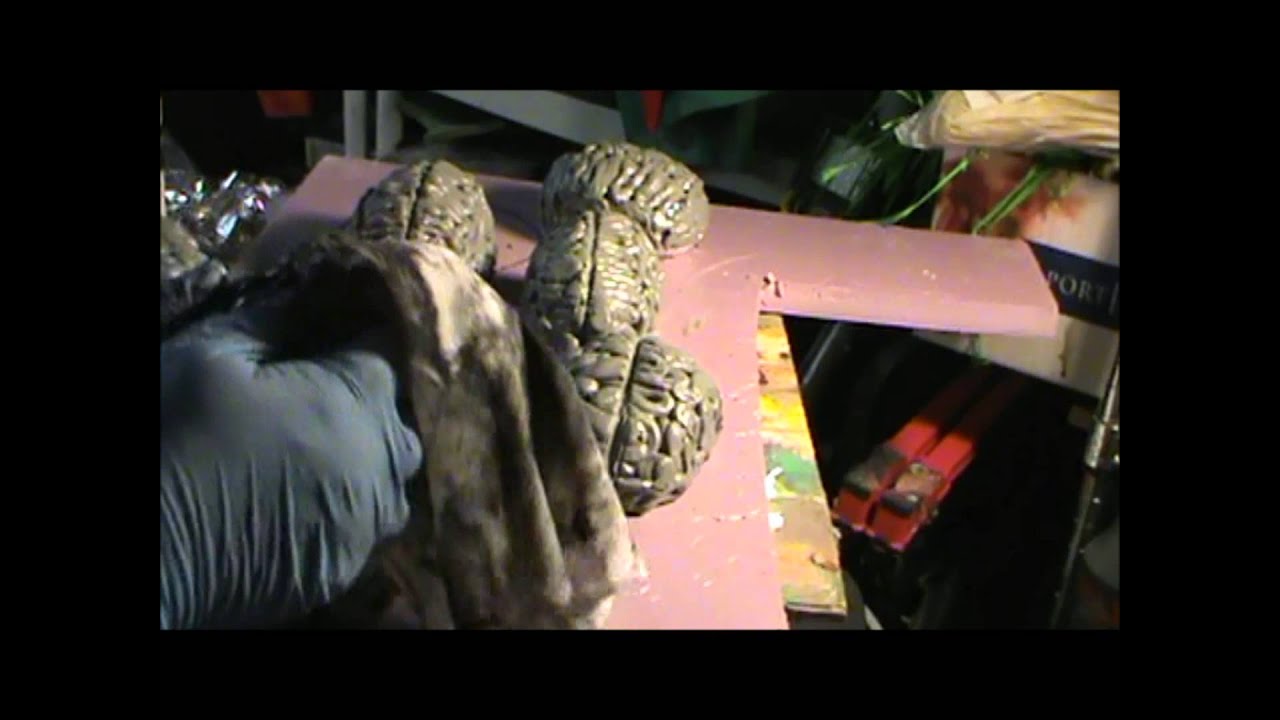
Easy brain in a jar
13:55
DIY PropsBeginner$5–$20

Easy brain in a jar

StiltbeastStudios walks through a budget-friendly method for creating a realistic-looking brain in a jar using common hardware store materials. The build relies on tinfoil as an armature base, silicone caulk for texture and form, and paint for a convincing finish. The result is a versatile prop suited to mad scientist labs, haunted attraction scenes, or Frankenstein-themed displays. The straightforward process makes it accessible to beginners with minimal tool investment.

StiltbeastStudios· 81,507 views
Corpsing with caulk.wmv
13:07
DIY PropsIntermediate

Corpsing with caulk.wmv

Stiltbeast Studios demonstrates how to achieve convincing corpsing results using latex acrylic caulk as a cost-effective alternative to traditional latex. The video walks through the application technique step by step, showing how caulk can mimic the wrinkled, dried-skin texture associated with professional prop corpsing. Finished results are shown so viewers can judge the quality for themselves.

StiltbeastStudios· 75,652 views
Make ANYTHING look like metal!
6:25
DIY PropsBeginner$10–$30

Make ANYTHING look like metal!

VanOaksProps demonstrates a quick two-step faux metal technique that transforms everyday materials — cardboard, plastic, wood, or virtually anything else — into convincing metal-looking props. The process relies on shellac and graphite powder, applied and buffed to create a realistic metallic sheen. At just six minutes, the tutorial is concise and immediately actionable for prop builders at any skill level. Credit is given to Vaughan Baker for originating the technique.

VanOaksProps· 73,129 views
Zombie Monkey Taxidermy - Fauxidermy Tutorial DIY
40:32
DIY PropsBeginner$10–$30

Zombie Monkey Taxidermy - Fauxidermy Tutorial DIY

This tutorial walks viewers through building a zombie monkey fauxidermy piece using accessible materials, resulting in a wall-mountable horror prop. The build incorporates a paper mache skull as the foundation and references a companion follow-me eyes technique for added creep factor. The finished piece is designed to hang on a wall as a disturbing decorative accent for haunts or Halloween displays. The project is approachable for beginners with no advanced sculpting skills required.

Monster Tutorials· 72,772 views
HOW-TO: Realistic Faux Patina Painting with Spray Paint & Craft Paint
2:31
DIY PropsBeginnerunder $10

HOW-TO: Realistic Faux Patina Painting with Spray Paint & Craft Paint

VanOaksProps delivers a fast, beginner-friendly tutorial on creating a convincing faux patina finish using spray paint and acrylic craft paint. The technique mimics aged copper or oxidized metal and is aimed at Halloween prop builders who need quick, realistic results. At just three minutes, it's an efficient overview of a versatile scenic painting skill applicable to a wide range of props and decorations.

VanOaksProps· 71,311 views