
Cheap & Easy Brush On Silicone Mold
by VanOaksProps
Embedded from YouTube. This video belongs to its creator; Halloween Universe indexes it as a discovery resource.View original ↗
What this video covers
VanOaksProps demonstrates a budget-friendly approach to mold making using the brush-on silicone method paired with a supportive plaster mother shell — an ideal alternative to expensive block molds for larger objects. The tutorial walks through applying multiple silicone layers with a brush, building a rigid plaster shell over the finished mold, and ultimately casting copies in resin. The technique is well-suited for prop makers who want professional-quality duplicates without the high material cost of full block molds. A lion head sculpt serves as the hero piece throughout the demonstration.
Key takeaways
- ◆Brush-on silicone molds use far less material than block molds, significantly reducing cost for larger subjects
- ◆A plaster of Paris mother shell provides the rigid support structure needed to keep the flexible silicone mold in shape during casting
- ◆Smooth-On Rebound 25 is the featured silicone, applied in multiple brush coats to capture fine surface detail
- ◆Smooth-On Smoothcast 300 resin is used for the final casting step
- ◆Nitrile gloves and a digital scale for accurate mixing ratios are essential for clean, consistent results
Who this is for
Prop makers and Halloween enthusiasts at an intermediate level who want to reproduce detailed sculpts affordably without committing to costly block-mold volumes of silicone.
Tools mentioned
- • nylon brushes
- • hot glue gun
- • shop scale
- • stir sticks
- • X-Acto knife
- • Pica marker
- • mixing bucket
Materials mentioned
- • Smooth-On Rebound 25 silicone
- • Plaster of Paris
- • Smooth-On Smoothcast 300 casting resin
- • hot glue sticks
- • nitrile gloves
⚠ Safety notes
Nitrile gloves are recommended when handling silicone and casting resin. Work in a well-ventilated area when mixing and pouring chemical compounds.
Explore related
More like this
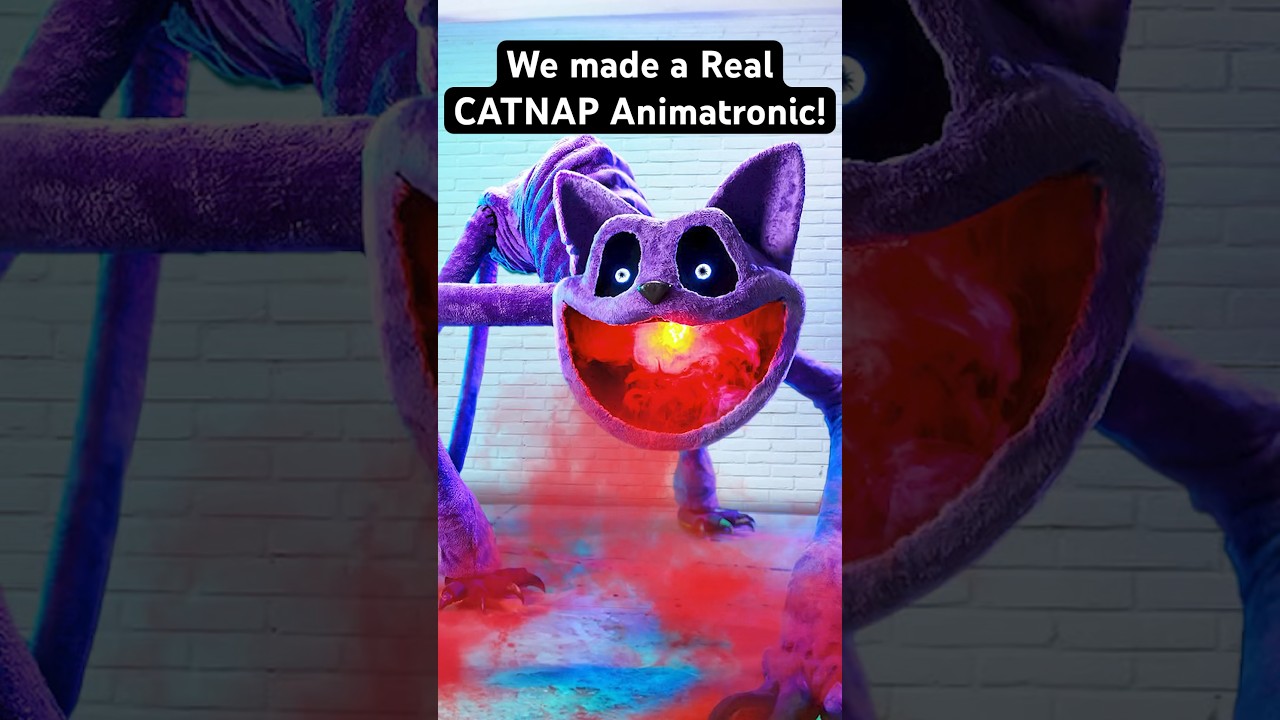
REAL CatNap Animatronic! #catnap #poppyplaytime #shorts
Wicked Makers' Jaimie and Jay build a fully functioning CatNap animatronic from scratch, bringing the popular Poppy Playtime horror-game character to life. The short-form video showcases the impressive finished result of their fabrication work. It's a quick but striking look at what dedicated prop builders can achieve with recognizable pop-culture source material.

Real YARNABY Animatronic! 🧶😱 #poppyplaytime
Wicked Makers' Jay and Jaimie construct a full animatronic version of Yarnaby from the horror game Poppy Playtime, built from steel and driven by pneumatics. The build goes beyond aesthetics — the team stress-tests the animatronic's jaw mechanism using a ballistic gel arm to see whether it could realistically bite through a limb. The video blends behind-the-scenes fabrication footage with chaotic prop-testing in classic Wicked Makers style. It sits alongside their broader catalog of mascot-horror animatronics inspired by FNAF, Poppy Playtime, and similar franchises.

Make Halloween Store Skeletons Way Better! 💀 #shorts
Wicked Makers' Jay and Jaimie demonstrate how to transform a basic store-bought Halloween skeleton into a far more impressive and creepy display piece. The short teases a full-length tutorial focused on giving the skeleton a pirate or drunken drinking character. The upgrade elevates a generic prop into a themed centerpiece without starting from scratch.
Ratings & reviews
No ratings yet — be the first to say whether this one delivered.
Sign in to rate this video and tell others if it helped.