
How I Made Enoch from Over the Garden Wall Art Toy Foam Pumpkin Carving DIY Halloween Craft
by SKS Props
Embedded from YouTube. This video belongs to its creator; Halloween Universe indexes it as a discovery resource.View original ↗
What this video covers
SKS Props walks through the creation of a poseable Enoch art-toy figure from the animated series Over the Garden Wall, built on a small craft-store foam pumpkin as his head. The pumpkin is carved, drilled, and hand-painted, while a sewn canvas body, wire spine and limbs, and metal trim details bring the character to life as a fully articulated Halloween display piece. The build blends foam fabrication, basic sewing, and wire armature techniques into a compact fan-art collectible. It suits both personal Halloween décor and community haunt displays.
Key takeaways
- ◆A small foam craft pumpkin from a hobby store serves as the foundation for Enoch's iconic carved head
- ◆Wire armature and metal trim arms make the finished figure fully poseable
- ◆A sewing machine is used to construct the character's canvas body, adding a soft-goods element to the foam build
- ◆Dremel drilling creates clean eye and teeth cavities in the foam pumpkin
- ◆The project merges multiple disciplines — foam carving, painting, sewing, and wire work — in an 11-minute walkthrough
Who this is for
Fan crafters and Halloween prop builders who love the animated series Over the Garden Wall and want to create a detailed, poseable character piece using accessible hobby-store materials.
Tools mentioned
- • hot knife / wood burner
- • Dremel
- • Dremel flex shaft
- • drill
- • sewing machine
- • heat gun
- • hot glue gun
- • hobby knife
- • utility knife
- • cutting mat
- • mechanical pencil
- • custom sanding drums
Materials mentioned
- • 5-inch foam pumpkin (from Michaels)
- • HD-Foam
- • foam clay
- • 14-gauge wire
- • jute twine
- • canvas fabric
- • glass half domes
- • clear Christmas bulbs (small and large)
- • metal trim
- • PVC board
- • wood dowels
- • Flexbond
- • Plasti Dip
- • Bob Smith super glue
- • contact cement
- • Liquitex heavy body acrylics
⚠ Safety notes
Use hot knife and heat gun in a well-ventilated area; take care with super glue and contact cement fumes; handle wire armature ends carefully to avoid sharp points.
Explore related
More like this
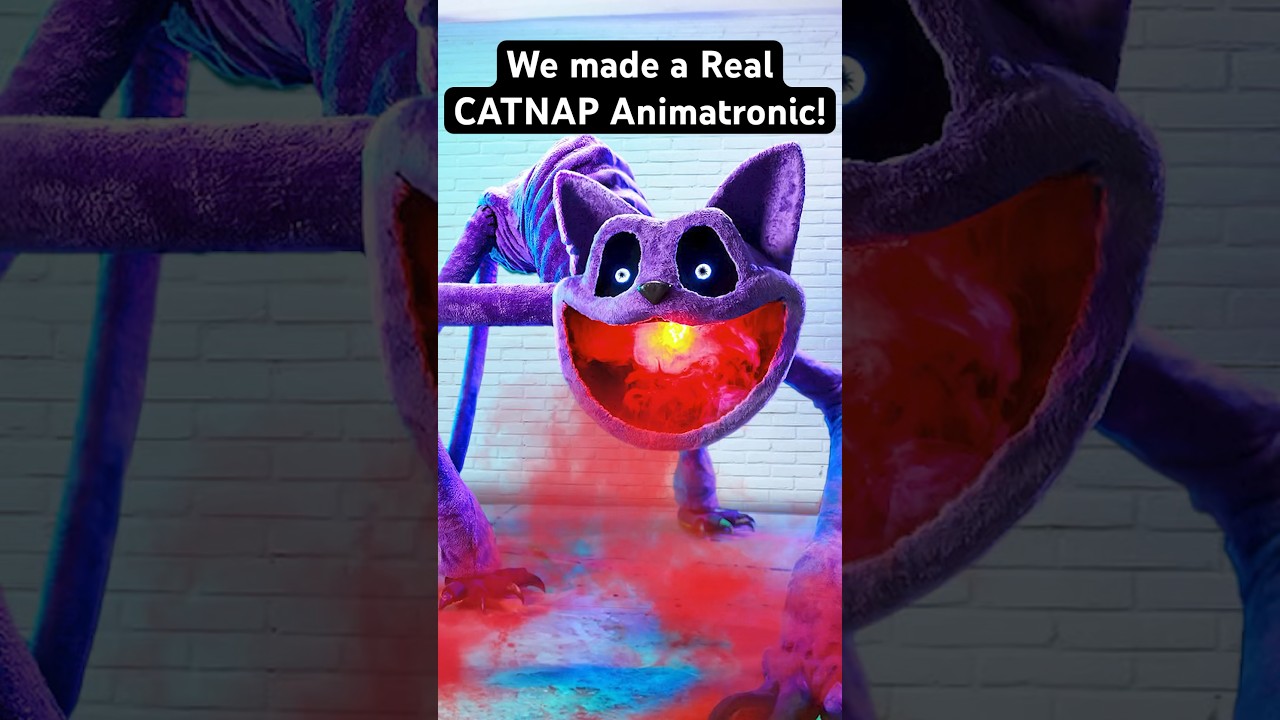
REAL CatNap Animatronic! #catnap #poppyplaytime #shorts
Wicked Makers' Jaimie and Jay build a fully functioning CatNap animatronic from scratch, bringing the popular Poppy Playtime horror-game character to life. The short-form video showcases the impressive finished result of their fabrication work. It's a quick but striking look at what dedicated prop builders can achieve with recognizable pop-culture source material.

Real YARNABY Animatronic! 🧶😱 #poppyplaytime
Wicked Makers' Jay and Jaimie construct a full animatronic version of Yarnaby from the horror game Poppy Playtime, built from steel and driven by pneumatics. The build goes beyond aesthetics — the team stress-tests the animatronic's jaw mechanism using a ballistic gel arm to see whether it could realistically bite through a limb. The video blends behind-the-scenes fabrication footage with chaotic prop-testing in classic Wicked Makers style. It sits alongside their broader catalog of mascot-horror animatronics inspired by FNAF, Poppy Playtime, and similar franchises.

Make Halloween Store Skeletons Way Better! 💀 #shorts
Wicked Makers' Jay and Jaimie demonstrate how to transform a basic store-bought Halloween skeleton into a far more impressive and creepy display piece. The short teases a full-length tutorial focused on giving the skeleton a pirate or drunken drinking character. The upgrade elevates a generic prop into a themed centerpiece without starting from scratch.
Ratings & reviews
No ratings yet — be the first to say whether this one delivered.
Sign in to rate this video and tell others if it helped.