Video Tag
Every video tagged “acrylic paint” in the library — a focused slice of the Halloween archive.
39 videos
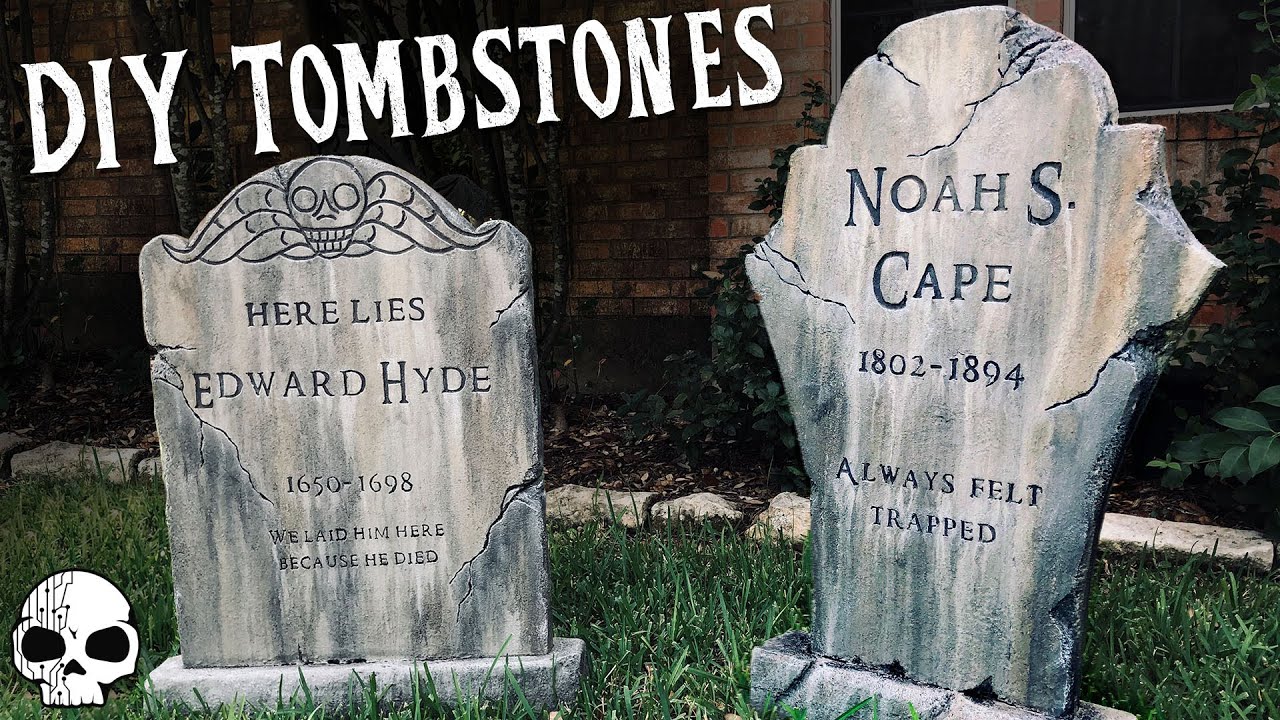
Wicked Makers duo Jaimie and Jay walk through their first attempt at building realistic Halloween tombstones from insulation foam, covering every stage from cutting and shaping to texturing and painting. They use accessible tools and inexpensive materials to achieve a convincing stone look. The finished props are designed for a DIY graveyard yard display and serve as inspiration for haunters of all skill levels.
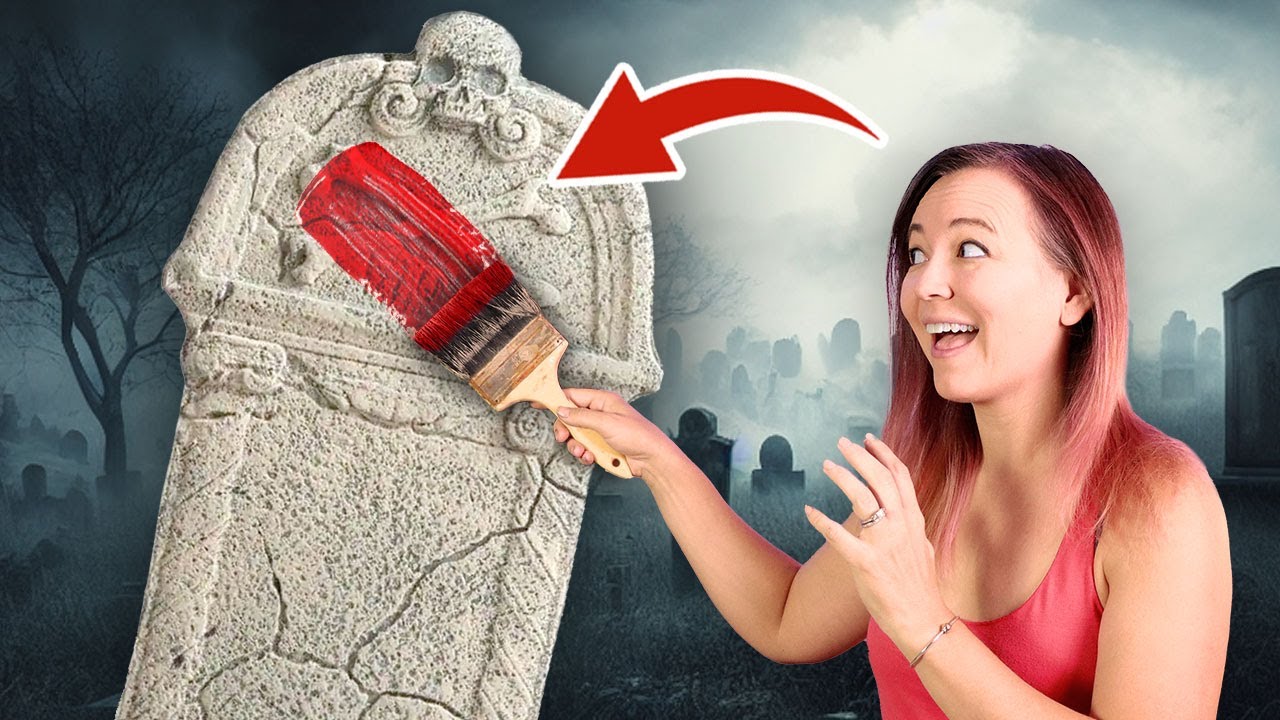
Wicked Makers hosts Jaimie and Jay walk through a quick and budget-friendly upgrade of store-bought foam tombstones into realistic, personalized Halloween gravestones. The process involves removing unwanted surface details, adding custom lettering via carving or adhesive 3D letters, and finishing with a Drylok base coat followed by layered acrylic paint for a weathered stone look. The result is a highly customizable yard prop that far outperforms its plain out-of-the-box appearance. Printable tombstone epitaph templates are available through their Patreon for added convenience.
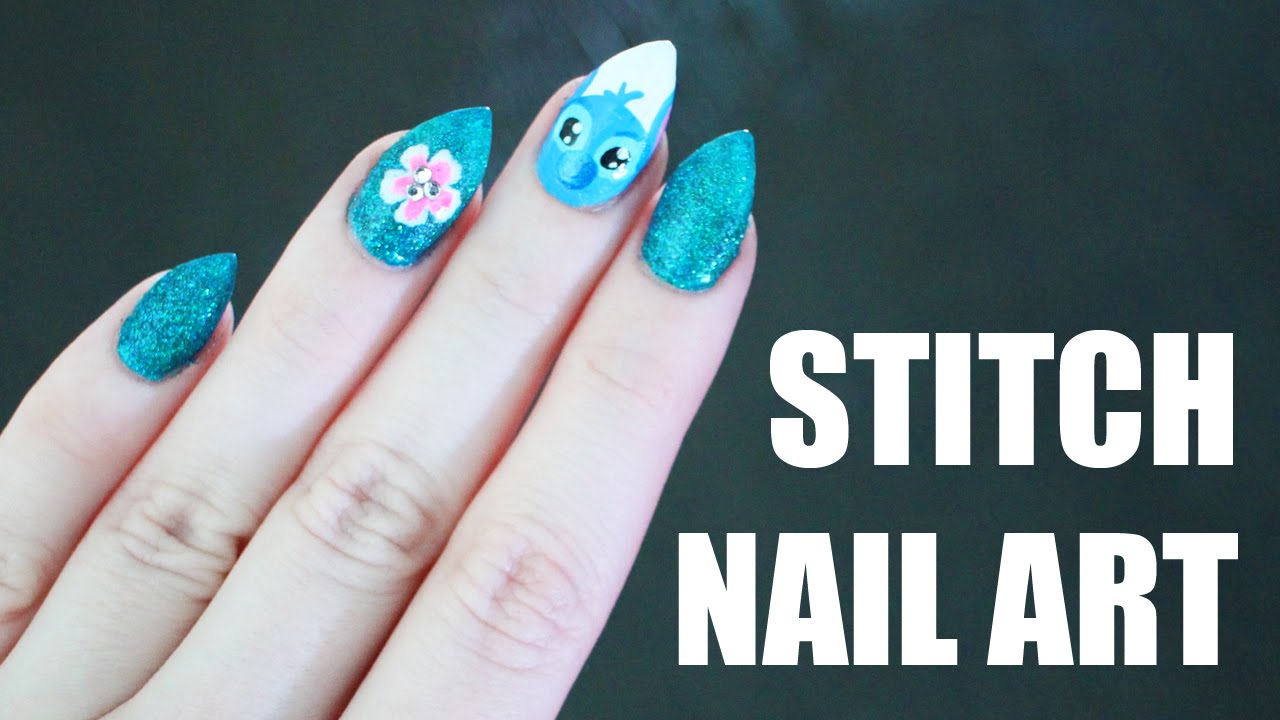
Madeyewlook creator Alexys Fleming demonstrates her freehand nail art painting skills by recreating Disney's Stitch character on her nails. The short tutorial showcases a vibrant blue glitter base topped with a hand-painted Stitch face and a small hibiscus flower accent. Alexys draws on her background as a body and canvas painter to treat nails as a miniature artistic surface. A full product list is provided in the description for viewers who want to replicate the look.
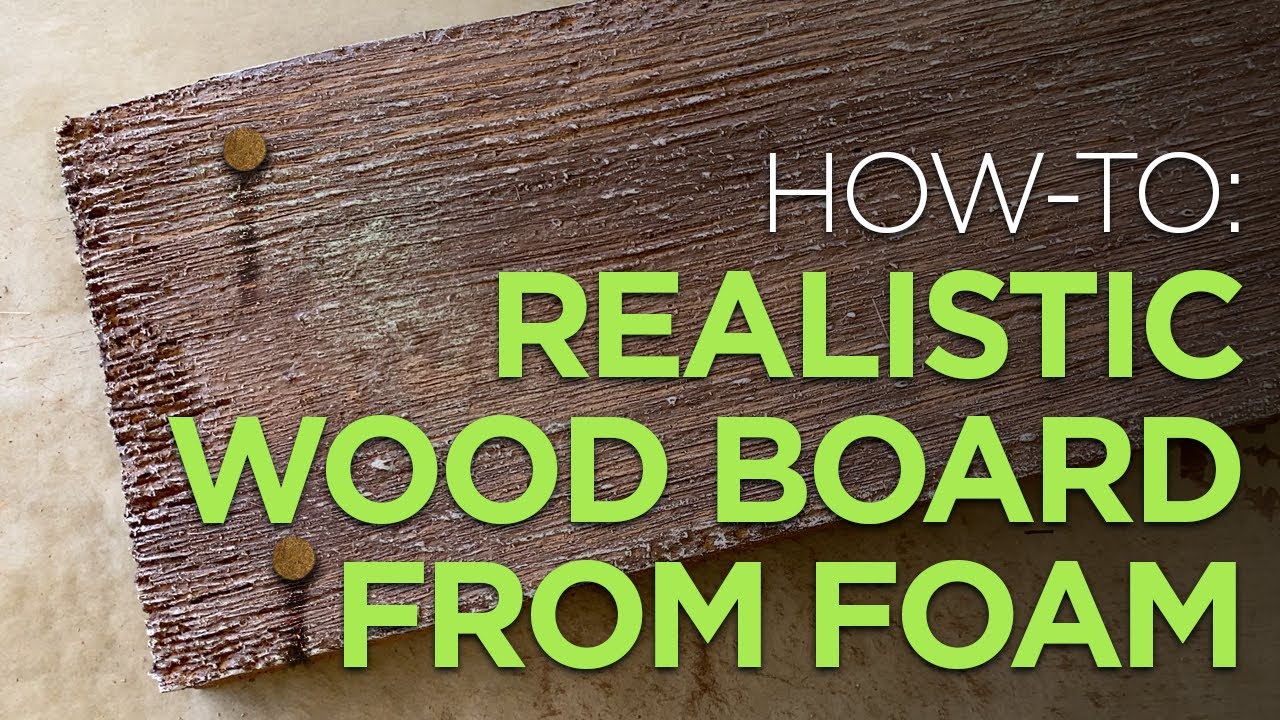
VanOaksProps walks through a straightforward process for turning lightweight foam into convincingly aged wooden boards using basic carving and texturing tools. The technique layers multiple acrylic paint colors and a glazing medium to build realistic wood grain depth and an old, weathered appearance. At under 10 minutes, the tutorial covers the full workflow from raw foam to finished faux plank. The result is a lightweight, cost-effective alternative to real lumber for haunted house panels, escape rooms, or stage set construction.
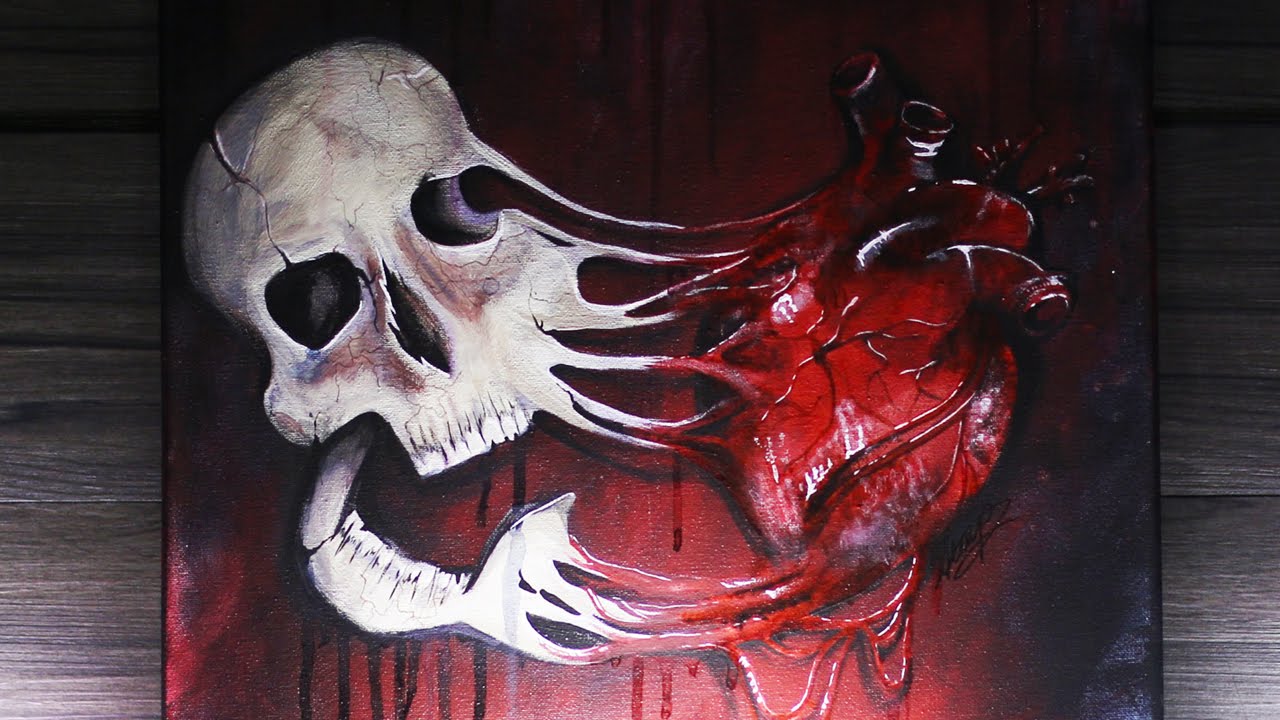
This speed-paint video by Madeyewlook showcases the creation of a striking melted skull design using acrylic paint and watercolor pencils. The time-lapse format condenses the full artistic process into a fast-paced, visually engaging watch. The piece was also released as a limited-edition print, highlighting the crossover between Halloween makeup artistry and fine art.
This tutorial walks through building a budget-friendly Widowmaker (Overwatch) forehead headpiece using Crayola air-dry clay and acrylic paint rather than professional prosthetic materials. The creator prioritizes accessibility and low cost, estimating the core materials at roughly $10. Silver spray paint and black body paint are used to finish and blend the piece to match the character's look. The approach is deliberately simplified so that beginners and casual cosplayers can achieve a convincing result quickly.
This tutorial walks through creating a Daenerys-inspired costume look from Game of Thrones, combining body paint makeup with handmade dragon eggs and a decorated prop chest. The creator transforms craft store styrofoam eggs with paint and sealant, and upholsters a plain chest with vinyl and thumbtacks to evoke the iconic Targaryen aesthetic. The video blends wearable costume makeup with accessible DIY prop-making using materials sourced from common craft and hardware stores.
VanOaksProps delivers a fast, beginner-friendly tutorial on creating a convincing faux patina finish using spray paint and acrylic craft paint. The technique mimics aged copper or oxidized metal and is aimed at Halloween prop builders who need quick, realistic results. At just three minutes, it's an efficient overview of a versatile scenic painting skill applicable to a wide range of props and decorations.
Stiltbeast Studios walks through an accessible technique for turning inexpensive styrofoam wig heads into convincing skull props using basic tools. The process involves carving and detailing the foam with a soldering iron, shaping and texturing it with a heat gun, and finishing with acrylic or latex paint. Companion videos on plastic corpsing and making teeth are referenced for those who want to push the build further. The result is a budget-friendly, scalable prop suitable for haunted attractions or home haunts.
VanOaksProps walks through a beginner-friendly method for building realistic creepy vines using backer rod foam, shop towels, and common craft supplies. The technique is flexible enough to suit jungle dioramas, pumpkin patches, haunted house sets, or escape room builds. Painting steps using spray paint and acrylic layering give the finished vines an organic, weathered look. The whole build relies on affordable, widely available materials making it accessible for most budgets.
VanOaks Props presents a budget-friendly method for building realistic-looking fake cornstalks using common craft and hardware supplies. The build centers on a PVC pipe spine wrapped with masking tape and jute rope to build up texture and form, finished with layered acrylic and spray paints. The video is inspired by and credits the Beyond1031 Ultimate Fake Cornstalk Tutorial as its source material. The result is a lightweight, reusable prop well suited for yard haunts, haunt scenery, or seasonal outdoor decorating.
VanOaks Props steps outside his usual cemetery style to build a pirate-themed treasure chest entirely from foam and hot glue. The build uses XPS insulation foam for the main structure and EVA craft foam for surface detail, finished with layered acrylic paints to achieve a weathered wood-and-metal look. It's a budget-friendly, beginner-accessible project suited for pirate haunts or Halloween parties. Note: the creator issued a correction that the plank color used is burnt sienna, not raw sienna as stated in the voiceover.
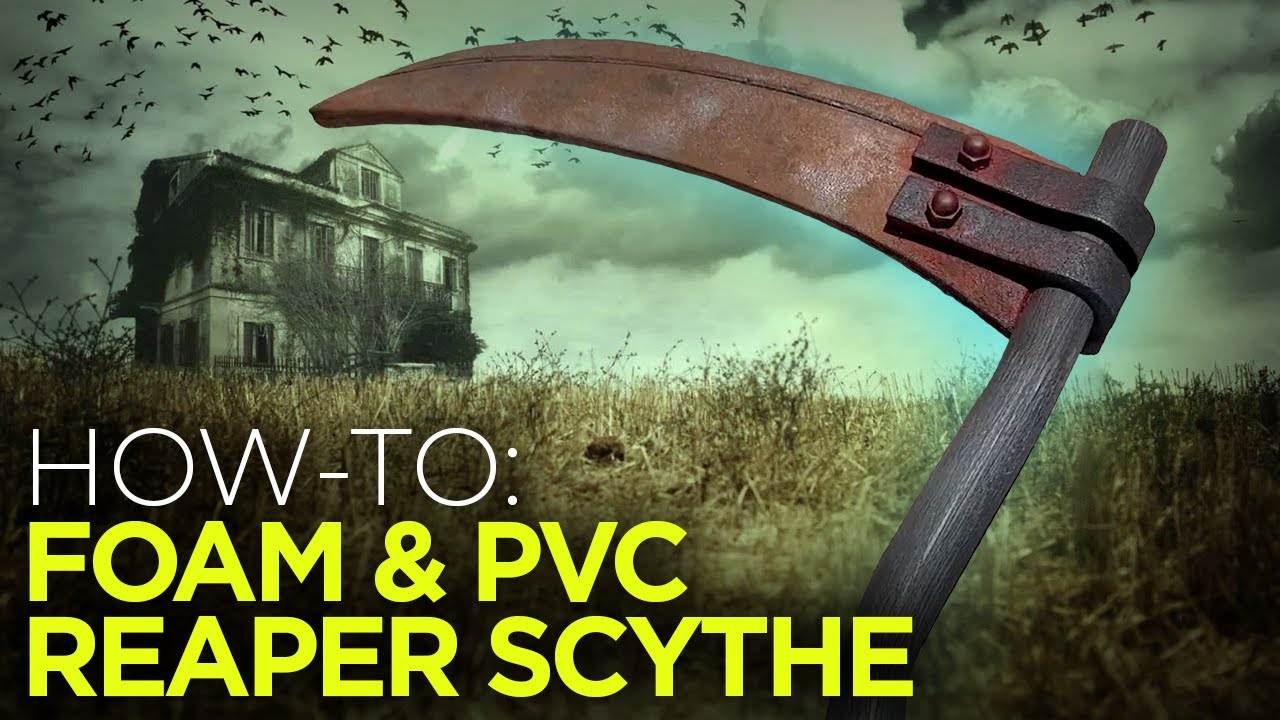
VanOaksProps walks through building a Grim Reaper scythe using readily available materials — EVA foam floor mats, PVC pipe, and hot glue — making this an accessible project for beginners and cosplayers alike. The blade is shaped from foam with a heat gun, mounted to a PVC handle, and finished with a Plasti-Dip base coat followed by layered acrylic paints for a realistic, weathered look. The build is designed to be completable in a few hours with minimal tools. Surebonder sponsored the video by providing their Cosplay Stik hot glue and glue gun.
This work-in-progress tutorial from SKS Props walks through building a Dungeons & Dragons Beholder-inspired foam pumpkin from start to finish. The build combines hot-knife foam cutting, EVA foam and foam clay sculpting, and a two-stage paint process using acrylics and airbrush paints. A standout technique involves crafting detailed monster eyes from Christmas bulbs coated in foam clay, giving the prop a striking, creature-feature look.
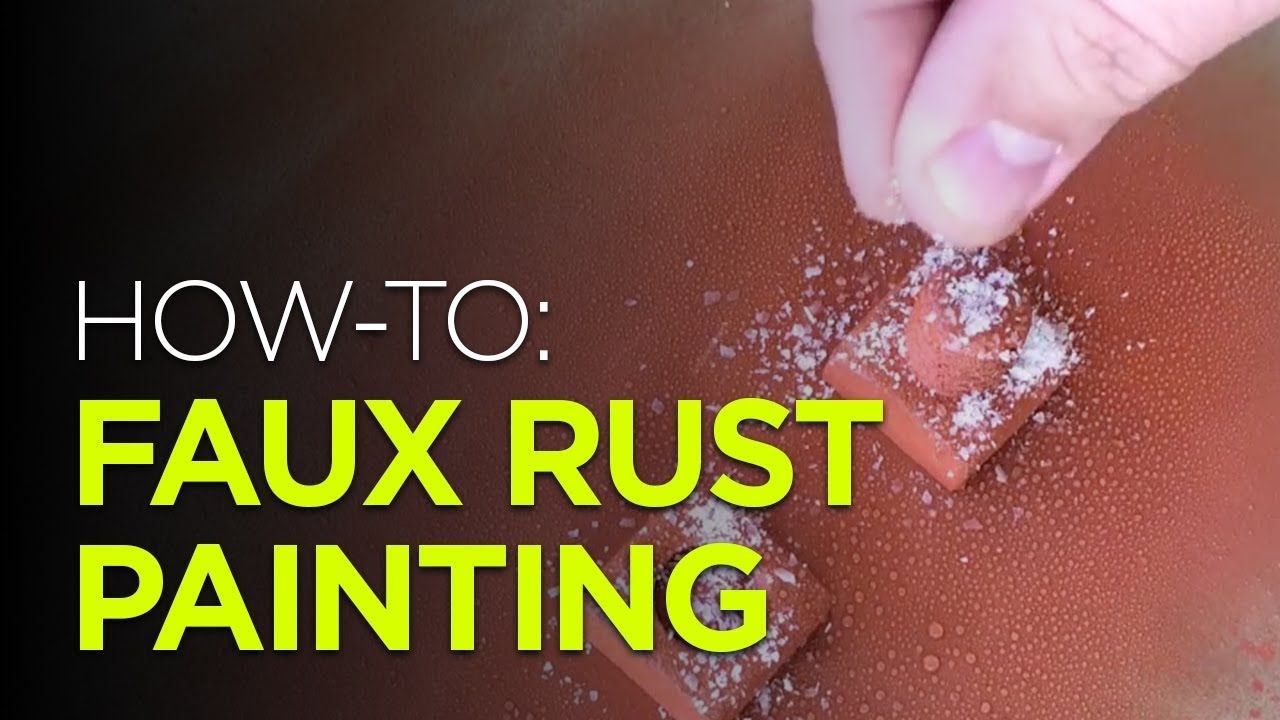
VanOaksProps demonstrates a quick and accessible faux rust technique using common household salt, water, and metallic spray paint. This is the second rust tutorial from the channel, offering an alternate approach to achieving a convincing aged-metal look on prop hardware. The method is designed to look realistic even at close range, making it well-suited for detailed Halloween props and haunted house set pieces.
SKS Props walks through the full fabrication process for turning a standard craft foam pumpkin into a detailed Dungeons & Dragons Beholder creature. The build layers EVA foam and foam clay over the carved base to add dimensional tentacle eyes and organic textures, then finishes with Liquitex acrylics and FX paints for a convincing monster look. A standout technique involves crafting glowing monster eyes from clear Christmas bulbs wrapped in foam clay. The finished piece works equally well as Halloween décor, a haunt prop, or a D&D game-room display.
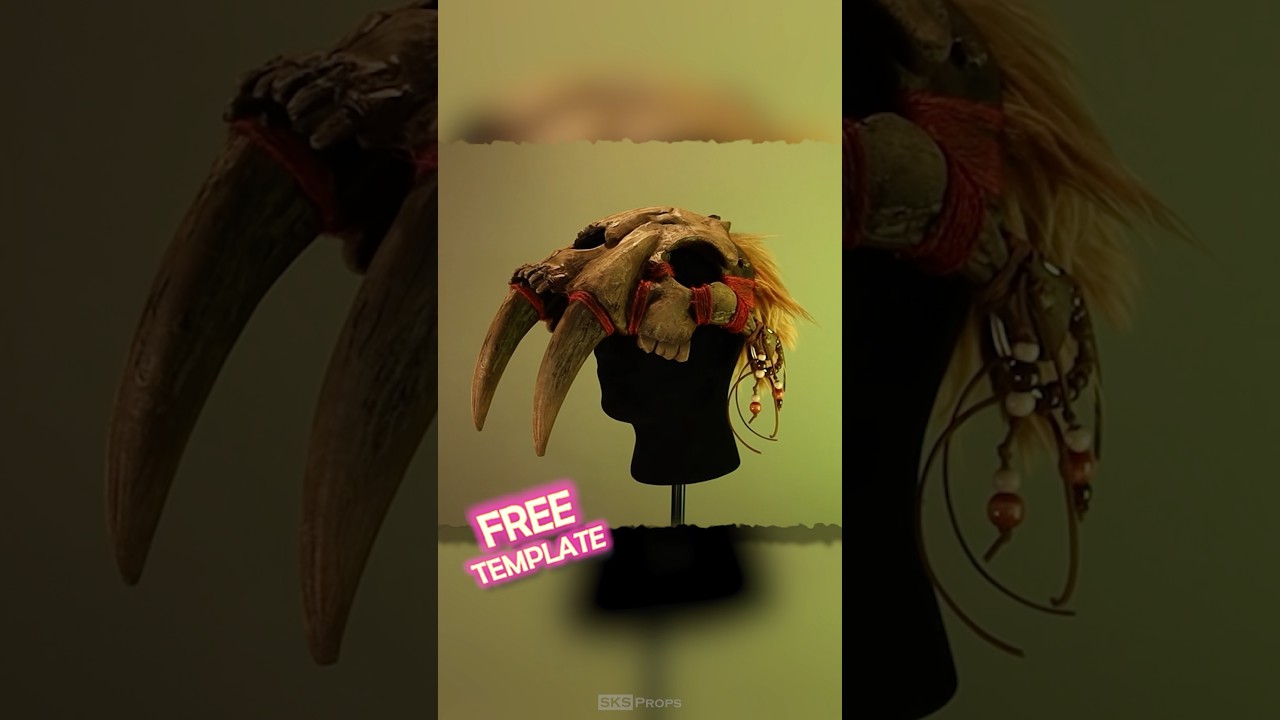
This tutorial walks through the full process of building a wearable saber-toothed tiger skull prop from HD foam, covering both construction and painting stages. The creator demonstrates how to weather and age foam using acrylic and metallic paints to achieve a primal, battle-worn aesthetic suited to cosplay or video game-inspired looks. The finished piece is notably lightweight and comfortable for extended wear. Free downloadable PDF templates are available on the creator's website to help viewers replicate the build.
VanOaksProps walks through the full painting and weathering process for two 3D-printed IG-88 droid heads inspired by Star Wars and The Mandalorian. The workflow starts with a gloss black base coat followed by a chrome lacquer layer to achieve that signature metallic droid look. Acrylic paints in rust, orange, and brown tones are then layered on to simulate wear, grime, and battle damage, making the props look authentically aged. The build uses a 3D model sourced from Thingiverse and relies on tools and materials that are largely accessible to hobbyist prop makers.
VanOaksProps walks through a straightforward faux-concrete painting technique inspired by the queue-line statues found at Disney's Haunted Mansion attraction. The method combines modeling paste for surface texture with layered grey spray paints and acrylic highlights to convincingly replicate the look of aged, textured cement. The tutorial is accessible to beginners and requires only a handful of inexpensive materials. The resulting finish works on a wide variety of Halloween props and set pieces.
SKS Props walks through a full fabrication workflow for a decorative foam pumpkin, covering cutting, sculpting, and painting from start to finish. The build uses a craft foam pumpkin as the base, with EVA HD foam and foam clay added to create extra surface detail and a monster-inspired mimic design. Painting is demonstrated with both Liquitex acrylics and Createx airbrush paints for a polished, layered finish. A standout bonus segment shows how to craft realistic monster eyes using Christmas bulbs and foam clay.
SKS Props walks through the construction of a Punisher tactical vest inspired by the TV series and Daredevil Reborn, using lightweight EVA foam and hand-applied acrylic paints to achieve a gritty, realistic finish. The tutorial is part of an ongoing Daredevil Reborn cosplay series and is explicitly designed to be approachable for beginners. Free downloadable PDF templates are provided on the creator's website to help builders accurately cut and assemble the vest panels. Painting is done with Liquitex heavy body acrylics to replicate the worn, battle-tested look of the on-screen costume.
VanOaksProps walks through a multi-step painting technique to make a flat sign look convincingly like aged, weathered metal. The process layers spray paints and acrylic colors — including gold tones and teal for a patina effect — along with baby powder and spray adhesive for added texture. The creator frames the skill as a storytelling tool, arguing that small prop details like this elevate the overall quality of a haunt. A giveaway for the finished sign from the video was also featured.
VanOaksProps demonstrates a fast, beginner-friendly technique for achieving a convincing faux granite finish, applied here to create a Halloween grave marker. The method layers multiple FolkArt acrylic colors using spray bottles and a mesh strainer to mimic the speckled texture of real stone. A vinyl stencil cut on a Silhouette Cameo adds crisp lettering or imagery, and a Mod Podge Gloss topcoat ties the finish together. The result is an inexpensive, eye-catching cemetery prop that can be completed in well under an hour.
The creator takes a commercially available Cinemark Alien Romulus themed popcorn bucket and elevates it into a convincing movie-quality prop using body filler, airbrushing, and metallic finishing techniques. The process covers surface preparation, sculpting or filling with Bondo, sanding smooth, and layering paint effects including dry brushing and Rub n Buff. The result transforms a novelty collectible into something that could pass as a set piece from the Alien franchise itself.