
How to Paint Realistic Metallic Finishes
by VanOaksProps
Embedded from YouTube. This video belongs to its creator; Halloween Universe indexes it as a discovery resource.View original ↗
What this video covers
This VanOaksProps tutorial breaks down the process of achieving professional-looking metallic and chrome finishes on props, with a focus on avoiding common pitfalls. The workflow centers on proper base coat preparation followed by specialized metallic paints applied via airbrush. Oil paints are also incorporated for subtle weathering and depth. Multiple chrome paint options at varying price points are presented so viewers can choose what suits their budget and skill level.
Key takeaways
- ◆A gloss black base coat is essential groundwork for convincing chrome and metallic results
- ◆The Iwata Eclipse airbrush is the primary tool demonstrated for applying metallic paints
- ◆Imperial Surface Alumaluster is the featured hero product, with Allclad II, Molotow Chrome, and Spazstix offered as alternatives
- ◆Oil paints (Raw Umber and Lamp Black) are used to add weathering and realism over the metallic layer
- ◆Iwata and Imperial Surfaces provided products to the creator at no charge — a disclosed sponsorship
Who this is for
Prop builders and cosplayers who want to replicate convincing metal surfaces on costumes or display pieces, particularly fans tackling Star Wars-inspired builds.
Tools mentioned
- • Iwata Eclipse airbrush
- • California Air Tools compressor
Materials mentioned
- • gloss black enamel
- • Imperial Surface Alumaluster
- • Windsor & Newton Raw Umber oil paint
- • Windsor & Newton Lamp Black oil paint
- • Allclad II Chrome
- • Molotow Chrome
- • Spazstix Mirror Chrome
⚠ Safety notes
Several paints mentioned are lacquer- or alcohol-based; use in a well-ventilated area and wear appropriate respiratory protection.
Explore related
More like this
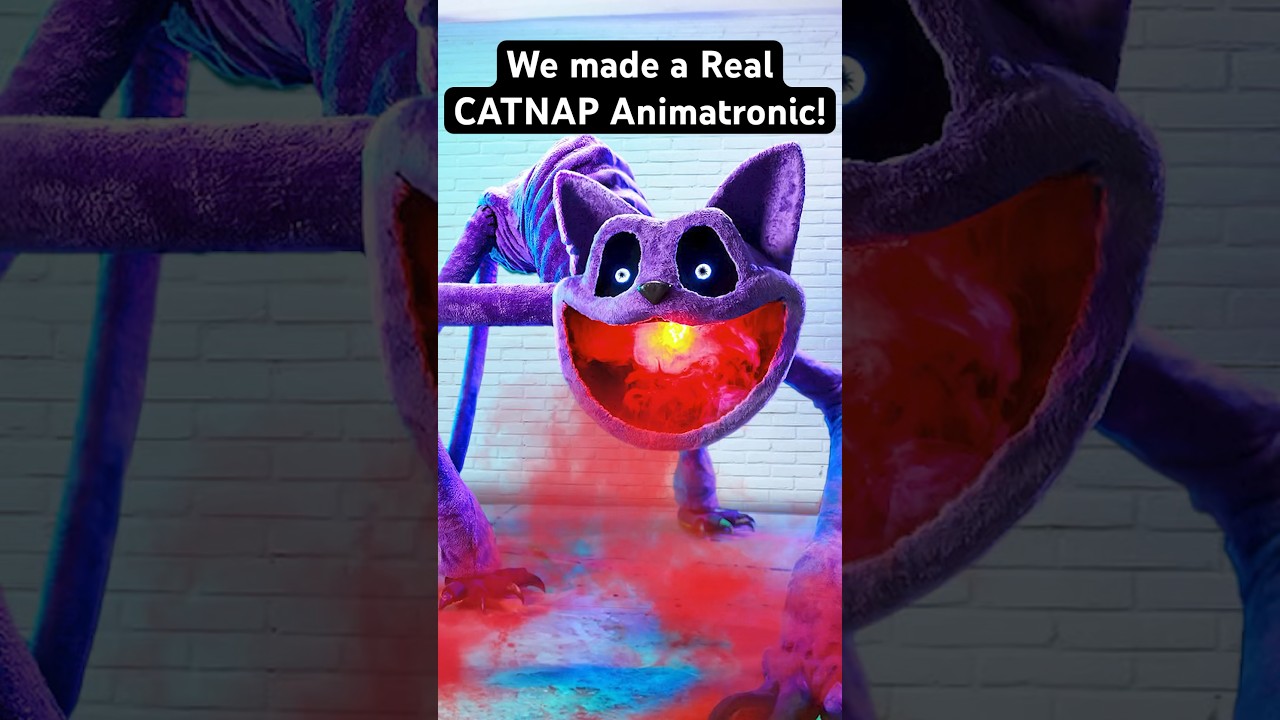
REAL CatNap Animatronic! #catnap #poppyplaytime #shorts
Wicked Makers' Jaimie and Jay build a fully functioning CatNap animatronic from scratch, bringing the popular Poppy Playtime horror-game character to life. The short-form video showcases the impressive finished result of their fabrication work. It's a quick but striking look at what dedicated prop builders can achieve with recognizable pop-culture source material.

Real YARNABY Animatronic! 🧶😱 #poppyplaytime
Wicked Makers' Jay and Jaimie construct a full animatronic version of Yarnaby from the horror game Poppy Playtime, built from steel and driven by pneumatics. The build goes beyond aesthetics — the team stress-tests the animatronic's jaw mechanism using a ballistic gel arm to see whether it could realistically bite through a limb. The video blends behind-the-scenes fabrication footage with chaotic prop-testing in classic Wicked Makers style. It sits alongside their broader catalog of mascot-horror animatronics inspired by FNAF, Poppy Playtime, and similar franchises.

Make Halloween Store Skeletons Way Better! 💀 #shorts
Wicked Makers' Jay and Jaimie demonstrate how to transform a basic store-bought Halloween skeleton into a far more impressive and creepy display piece. The short teases a full-length tutorial focused on giving the skeleton a pirate or drunken drinking character. The upgrade elevates a generic prop into a themed centerpiece without starting from scratch.
Ratings & reviews
No ratings yet — be the first to say whether this one delivered.
Sign in to rate this video and tell others if it helped.