Video Tag
Every video tagged “prop painting” in the library — a focused slice of the Halloween archive.
70 videos
This tutorial from VanOaksProps covers two distinct techniques for achieving a convincing rusted, aged-metal paint finish on props and set pieces. The first method uses hairspray as a resist layer to create realistic chipped and peeling paint, while the second incorporates coffee grounds to build up a grungy, corroded surface texture. Both approaches rely on accessible, low-cost materials and are well-suited to haunted house scenic painting or cosplay prop finishing. Note that the creator issued a correction: any mention of 'burnt umber' in the video is intended to mean 'raw sienna.'
Madeyewlook walks beginners through crafting a realistic fake heart prop using children's air dry clay and alcohol-activated makeup paints. The build is straightforward and budget-friendly, relying on easily sourced materials. While the prop can be completed in a day, full hardening takes a few days, and finishing with a clear coat dramatically extends its lifespan — the creator's own heart prop has lasted four years with this method.
StiltbeastStudios walks through two foundational prop-painting techniques — dry brushing and antiquing — that the creator relies on across nearly every prop build. The tutorial is positioned as a core skill video, making it an essential starting point for anyone entering prop fabrication. Together these methods create convincing aged, weathered, and eerie surface finishes that elevate haunt-quality props.
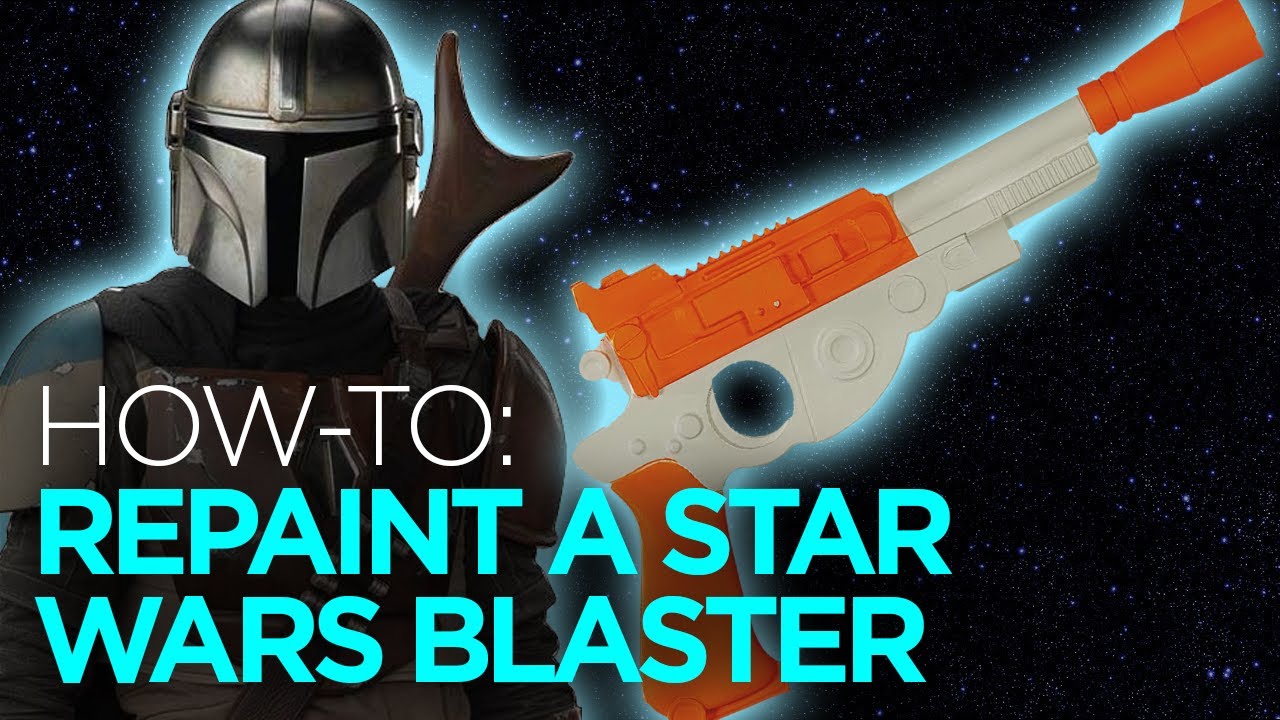
VanOaksProps walks through a multi-stage repaint of a Rubies toy Mandalorian blaster, transforming it from a flat costume accessory into a screen-accurate-looking prop. The process layers graphite powder, faux wood grain, airbrushed aluminum lacquer, Rub N Buff in two metallic tones, and wax paint weathering to build convincing depth and wear. Each technique is demonstrated in sequence with clear before-and-after context. The result is a display- or cosplay-ready blaster achieved with widely available hobby materials.
Distortions Unlimited's Ed Edmunds walks through multiple fake blood formulas in this Monster Lab episode — one using kitchen staples like Karo syrup and red food coloring for SFX makeup (referencing the classic Dick Smith approach), and a separate prop-only formula built around Liquitex gel medium. Ed then demonstrates how the prop blood is applied and painted onto finished Halloween pieces. The episode reinforces a key creative philosophy: blood adds narrative and character to any monster or prop.
VanOaksProps walks through a full large-scale crypt build inspired by the iconic above-ground tombs of New Orleans cemeteries. The project covers design through final weathered finish using accessible materials centered on XPS insulation foam. Techniques include routing decorative details, foam carving, spackling for texture, and paint weathering to achieve an authentic aged-stone look. The finished prop is designed to be lightweight and durable enough for repeated seasonal outdoor use.
This build video follows the creator's process of upgrading a Spirit Halloween Ghostbusters ghost trap toy into a screen-accurate movie prop replica inspired by Ghostbusters: Afterlife and Frozen Empire. The mod involves disassembling the toy, integrating a servo motor for remote-controlled trap-door action, and reworking the exterior with custom panels and hardware to closely match the on-screen design. Step-by-step guidance covers both the mechanical and cosmetic sides of the conversion. The result aims for a movie-grade finish achievable by dedicated DIY hobbyists.
This VanOaksProps tutorial breaks down the process of achieving professional-looking metallic and chrome finishes on props, with a focus on avoiding common pitfalls. The workflow centers on proper base coat preparation followed by specialized metallic paints applied via airbrush. Oil paints are also incorporated for subtle weathering and depth. Multiple chrome paint options at varying price points are presented so viewers can choose what suits their budget and skill level.
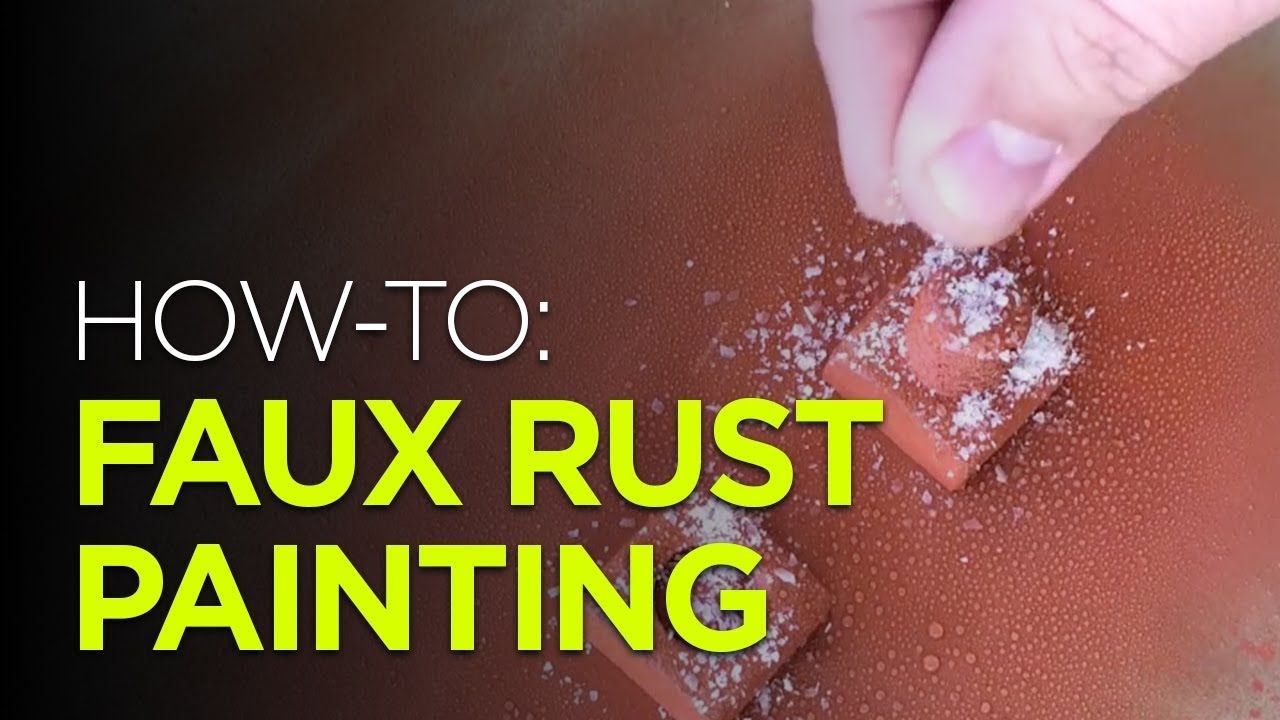
VanOaksProps demonstrates a quick and accessible faux rust technique using common household salt, water, and metallic spray paint. This is the second rust tutorial from the channel, offering an alternate approach to achieving a convincing aged-metal look on prop hardware. The method is designed to look realistic even at close range, making it well-suited for detailed Halloween props and haunted house set pieces.
VanOaksProps walks through a detailed scratch-build recreation of the 2-1B medical droid head from The Empire Strikes Back, combining a scaled 3D-printed model with a real vintage microphone shell as its foundation. The build integrates custom greeblies, metal strip details, and coaxial connector hardware to achieve a convincing screen-inspired look. Finishing techniques include acetone vapor smoothing, layered metallic spray paints, acrylic weathering washes, and a simple LED circuit for glowing eyes. The result is a showpiece prop that balances accuracy with creative problem-solving.
VanOaksProps walks through the construction of a cemetery monument prop featuring a bust with a classic 'following eyes' optical illusion — the face appears to track viewers as they move past it. The build relies primarily on XPS foam, a cardboard tube column, and a bust sourced from a third-party supplier, finished with textured coatings and earth-tone paints to mimic aged stone. Weathering techniques including dry brushing and wash layers give the piece convincing graveyard patina. The result is a striking, customizable centerpiece suited for yard haunts, home haunts, and cemetery scenes.
VanOaksProps walks through the full process of creating a replica Holy Grail prop from Indiana Jones and the Last Crusade, following a community request. The build covers research and reference gathering, 3D modeling and printing on a Bambu Lab X1-Carbon, and a multi-stage painting process using acrylics, airbrush, and gold leaf to achieve a convincing aged stone-and-metal finish. The result is a screen-accurate-looking display piece that translates well to Halloween or pop-culture prop collections.
Allen Hopps of Stiltbeast Studios delivers a fast, beginner-friendly walkthrough on achieving a convincing stone texture with paint. The technique is versatile enough to work on individual props as well as larger set pieces. At just four minutes, it's a compact, actionable lesson designed to get creators building quickly.
VanOaksProps walks through a straightforward faux-concrete painting technique inspired by the queue-line statues found at Disney's Haunted Mansion attraction. The method combines modeling paste for surface texture with layered grey spray paints and acrylic highlights to convincingly replicate the look of aged, textured cement. The tutorial is accessible to beginners and requires only a handful of inexpensive materials. The resulting finish works on a wide variety of Halloween props and set pieces.
VanOaksProps walks through a step-by-step painting process for creating a Haunted Mansion-style door handle that convincingly mimics aged, ornate metal. The tutorial focuses on accessible paints and layering techniques rather than expensive materials, making a theme-park-quality result achievable for most skill levels. Finishing steps include rub n buff for a brass-like sheen and a patina acrylic wash to sell the aged look.
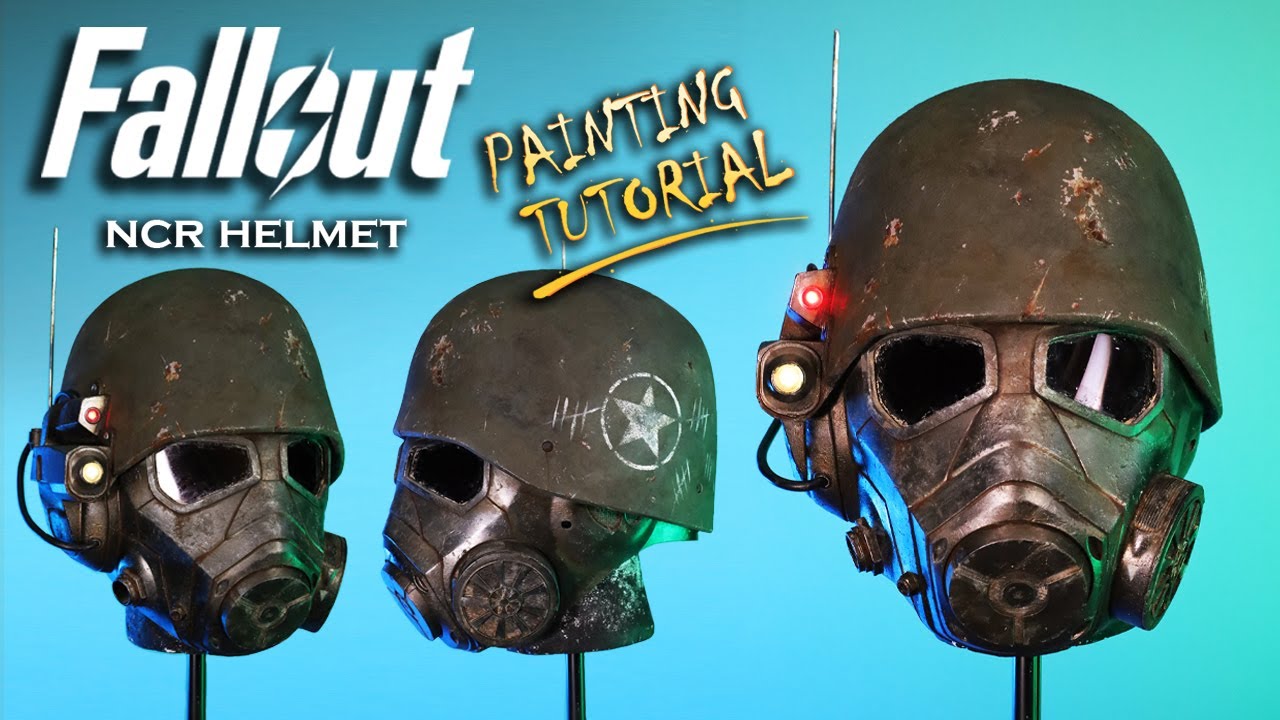
SKS Props walks through the full painting and finishing process for a 3D-printed Fallout NCR Ranger helmet, transforming a raw print into a battle-worn wasteland prop. The tutorial covers base coating, layered weathering with rust effects and metallic powders, and the addition of practical details including LED lights, a metal antenna, resin-cast accessories, and tinted lenses. Techniques are clearly demonstrated and applicable to both printed and fabricated helmet builds. Free chest-armor PDF templates are also offered via the creator's website for viewers wanting to extend the build.
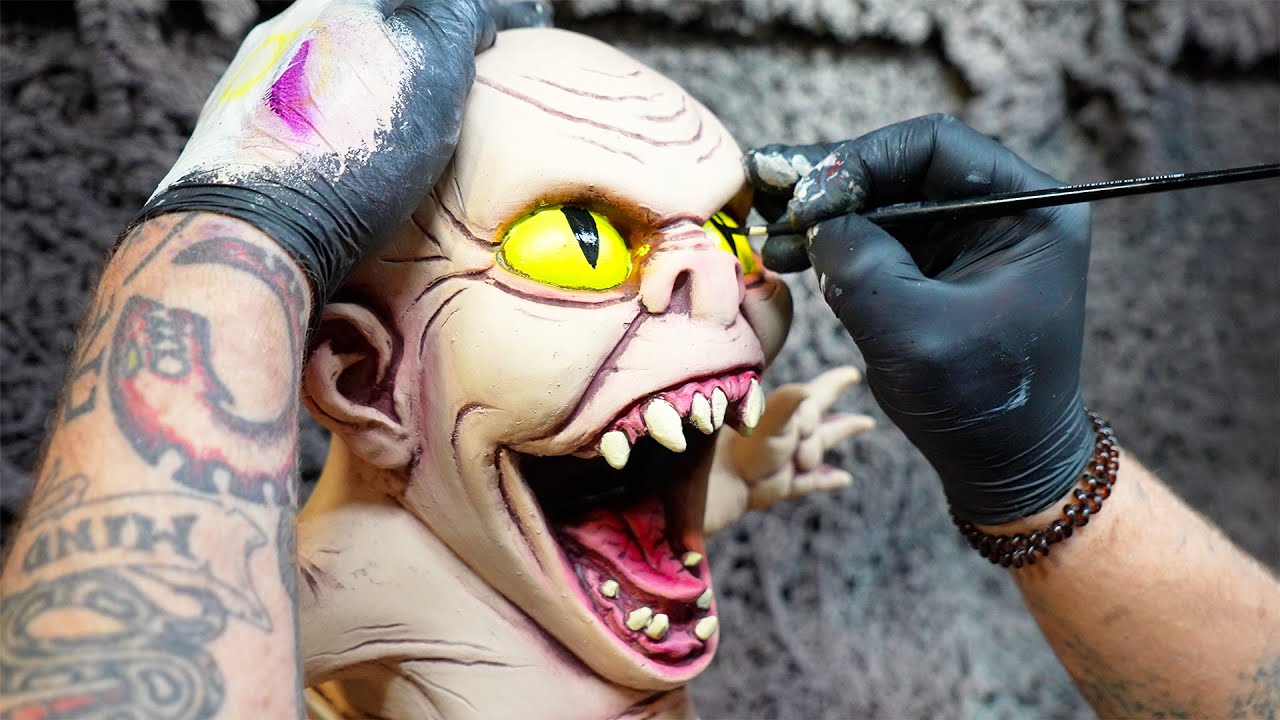
This behind-the-scenes clip from Distortions Unlimited showcases Ed crafting and painting a large latex alligator prop. Viewers get a look at how the reptile sculpt is brought to life with realistic paintwork and detailing. It functions as a showcase of the studio's prop-making process rather than a step-by-step tutorial.
This behind-the-scenes look at Distortions Unlimited follows founder Ed Edmunds as he paints a Bound Corpse prop while sharing production secrets for manufacturing Halloween props at volume. Team members Tom and Trevor also weigh in with practical tips for maintaining consistent paint quality across large runs of animatronics like the Xenovore. The video offers a rare insider glimpse into the workflow and craft philosophy of one of the haunt industry's most recognized prop studios.
Distortions Unlimited co-founders Ed Edmunds and Tom Cassidy are shown developing four distinct paint color schemes for the company's new 2022 T-Rex Head Wall Mount prop. The video goes behind the scenes of the professional prop design process, revealing how creative decisions are made collaboratively — including input from Marsha and the broader crew. The four finished colorways — Jungle Green, Desert Red, Mountain Grey, and Swamp with Bloody Teeth — reflect both aesthetic range and retail appeal. The piece holds personal significance for Tom Cassidy, who sculpted it with the T-Rex as his all-time favorite monster.
VanOaksProps walks through a multi-step painting technique to make a flat sign look convincingly like aged, weathered metal. The process layers spray paints and acrylic colors — including gold tones and teal for a patina effect — along with baby powder and spray adhesive for added texture. The creator frames the skill as a storytelling tool, arguing that small prop details like this elevate the overall quality of a haunt. A giveaway for the finished sign from the video was also featured.
VanOaksProps walks through a paint upgrade process for the Ghostbusters Ghost Trap popcorn bucket available from Regal Cinemas or Spirit Halloween, transforming the stock plastic prop into a convincingly movie-accurate replica. The tutorial relies on a short list of accessible acrylic and spray paints combined with liquid latex masking to achieve a weathered, metallic finish. The result elevates a novelty theater collectible into a display-worthy prop without requiring advanced skills or expensive equipment.
VanOaksProps walks through a faux bronze patina painting technique inspired by the iconic Tower of Terror sign. Using a small selection of FolkArt acrylic paints, waxes, and an airbrush, the tutorial demonstrates how to achieve a convincingly aged, weather-worn metal look on any prop surface. The method is approachable for beginners and adaptable beyond the specific Disney replica to any project requiring a realistic bronze or verdigris finish. A sealing step with clear coat and wax ensures the finished effect is durable and display-ready.
Part one of a five-part series from StiltbeastStudios introduces viewers to the fundamentals of airbrushing for haunted attraction and prop work. The video covers how an airbrush functions, the role of the compressor, and the key differences between various airbrush types. It serves as a foundational primer before diving into more advanced technique videos later in the series.
Distortions Unlimited takes viewers behind the scenes as Tom Cassidy and Ed Edmunds paint their new Mutinee prop — the 2023 Monster Day mascot for Greeley, Colorado. The video follows the full painting workflow from base coat through detail work, with crew members weighing in on early paint tests. The finished prop is then brought to an official City of Greeley meeting, where it earns enthusiastic approval ahead of the Monster Day festival.