
Repaint a Toy Mandalorian Blaster Prop
by VanOaksProps
Embedded from YouTube. This video belongs to its creator; Halloween Universe indexes it as a discovery resource.View original ↗
What this video covers
VanOaksProps walks through a multi-stage repaint of a Rubies toy Mandalorian blaster, transforming it from a flat costume accessory into a screen-accurate-looking prop. The process layers graphite powder, faux wood grain, airbrushed aluminum lacquer, Rub N Buff in two metallic tones, and wax paint weathering to build convincing depth and wear. Each technique is demonstrated in sequence with clear before-and-after context. The result is a display- or cosplay-ready blaster achieved with widely available hobby materials.
Key takeaways
- ◆Graphite powder applied over a matte black base creates a subtle metallic sheen without paint
- ◆Faux wood grain on the grip is achieved with caramel paint, a chip brush, and dark walnut wood stain
- ◆Rub N Buff in pewter and antique gold adds layered metallic highlights to raised details
- ◆Airbrushed aluminum lacquer contributes a fine-scale metallic effect before hand-applied finishes
- ◆Wax paint stippled on last delivers grime and battle-worn weathering in final details
Who this is for
Cosplayers and prop enthusiasts who want to elevate an off-the-shelf Star Wars toy blaster into a convincing, display-quality replica using accessible painting and weathering techniques.
Tools mentioned
- • heat gun
- • airbrush
- • X-Acto knife
- • mop brush
- • chip brush
- • painter's tape
- • masking tape
Materials mentioned
- • filler primer
- • matte black spray paint
- • graphite powder
- • crystal clear satin
- • satin warm caramel paint
- • Minwax Dark Walnut wood stain
- • Alclad II aluminum lacquer
- • Rub N Buff pewter
- • Rub N Buff antique gold
- • FolkArt wax paint
⚠ Safety notes
Use spray paints and lacquers in a well-ventilated area; handle X-Acto knives with care during masking tape trimming.
Explore related
More like this
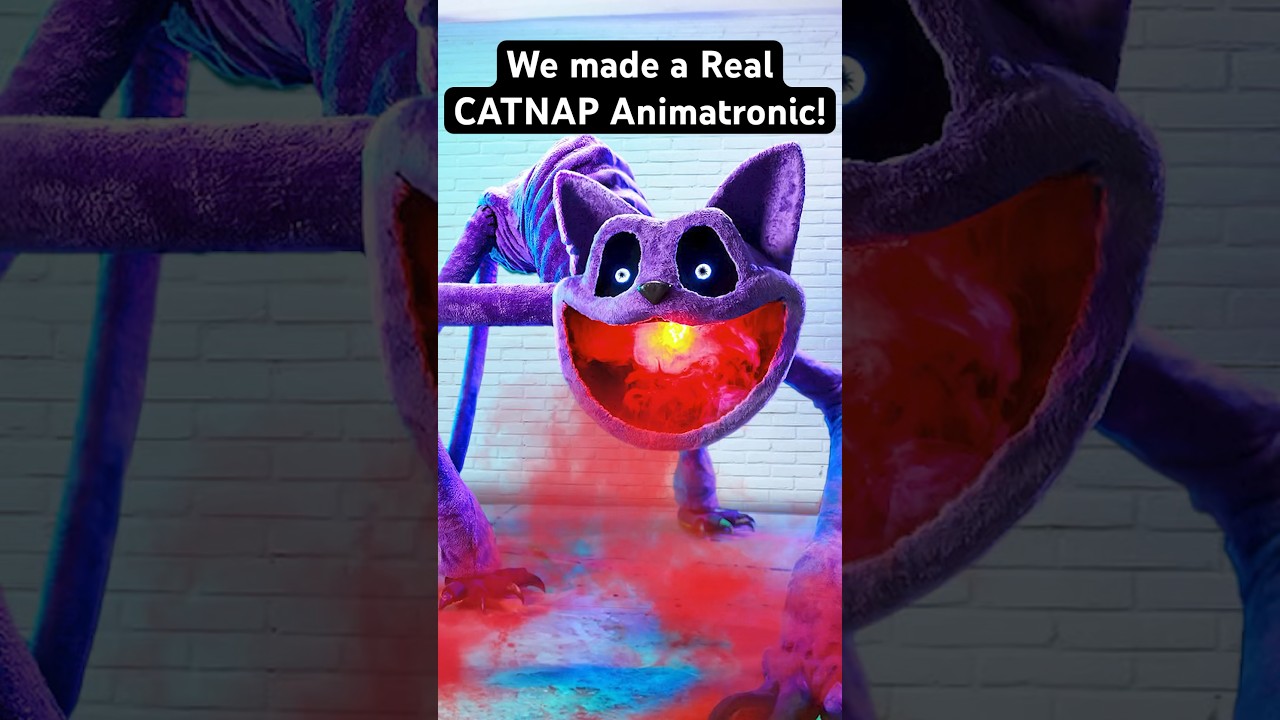
REAL CatNap Animatronic! #catnap #poppyplaytime #shorts
Wicked Makers' Jaimie and Jay build a fully functioning CatNap animatronic from scratch, bringing the popular Poppy Playtime horror-game character to life. The short-form video showcases the impressive finished result of their fabrication work. It's a quick but striking look at what dedicated prop builders can achieve with recognizable pop-culture source material.

Real YARNABY Animatronic! 🧶😱 #poppyplaytime
Wicked Makers' Jay and Jaimie construct a full animatronic version of Yarnaby from the horror game Poppy Playtime, built from steel and driven by pneumatics. The build goes beyond aesthetics — the team stress-tests the animatronic's jaw mechanism using a ballistic gel arm to see whether it could realistically bite through a limb. The video blends behind-the-scenes fabrication footage with chaotic prop-testing in classic Wicked Makers style. It sits alongside their broader catalog of mascot-horror animatronics inspired by FNAF, Poppy Playtime, and similar franchises.

Make Halloween Store Skeletons Way Better! 💀 #shorts
Wicked Makers' Jay and Jaimie demonstrate how to transform a basic store-bought Halloween skeleton into a far more impressive and creepy display piece. The short teases a full-length tutorial focused on giving the skeleton a pirate or drunken drinking character. The upgrade elevates a generic prop into a themed centerpiece without starting from scratch.
Ratings & reviews
No ratings yet — be the first to say whether this one delivered.
Sign in to rate this video and tell others if it helped.