Video Tag
Every video tagged “corpsing” in the library — a focused slice of the Halloween archive.
41 videos
Wicked Makers' Jay and Jaimie transform a basic store-bought plastic skeleton into a swaying drunken pirate animatronic inspired by Pirates of the Caribbean. The build covers two parallel tracks: constructing a wiper-motor-driven PVC swaying mechanism, and detailing the skeleton with corpsing (cotton, liquid latex, and contact cement), custom painting, and thrift-store costume weathering. The corpsing method demonstrated produces a decayed, fleshy look distinct from the mummified result of heat-gun-and-plastic-wrap techniques. The finished prop is designed for outdoor yard display and makes an impressive centerpiece for a home haunt.
Allen Hopps of StiltbeastStudios presents a plastic corpsing technique designed to be faster, easier, and more affordable than traditional methods. The tutorial demonstrates how to transform inexpensive skeletons into convincing decomposed corpse props suitable for haunted house environments. The approach emphasizes accessibility, making professional-looking results achievable without a large budget or advanced skill set.
Stiltbeast Studios demonstrates a quick and accessible corpsing technique using duct tape and a blowtorch to create gooey, tendon-like organic detail on skeleton props. The entire project was completed in roughly two hours, making it an efficient method for haunters working under time pressure. Heating the tape causes it to shrink, warp, and string into convincing sinew and tissue textures without the need for expensive materials or advanced skills.
Monster Tutorials walks viewers through building ultra-budget skeleton props using pool noodles, with this episode focusing on constructing the torso — considered the most critical section of the build. The technique is designed for haunters who need to populate a scene with many characters without spending much money. Additional installments covering the head, arms, legs, and corpsing are planned as companion videos. A downloadable PDF e-book guide is also referenced as a supplemental resource.
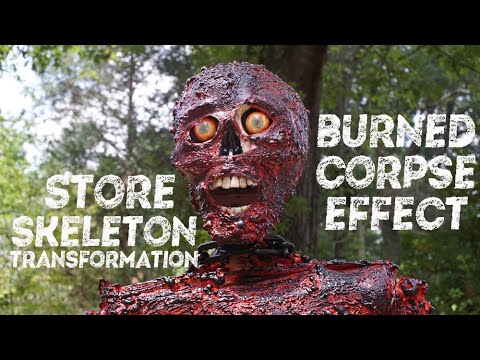
This tutorial walks through how to transform an off-the-shelf Halloween skeleton into a convincing burned-corpse prop using sculpting putty and painting techniques. The build is designed to be accessible for intermediate DIYers looking to elevate a basic store-bought prop into something far more sinister. Companion tutorials for crafting resin eyes and custom teeth are referenced to take the finished piece even further. The result is a striking charred skeleton display piece suitable for home haunts or yard haunts.
This Monster Tutorials project shows how to transform an inexpensive dollar store bat skeleton prop into a convincing mummified bat specimen suitable for a haunted display or curiosity collection. The build focuses on corpsing and fauxidermy techniques to give the cheap prop an aged, desiccated appearance. At roughly 25 minutes, it's an accessible project for haunters of any skill level looking to add low-cost, high-impact pieces to their décor.
Stiltbeast Studios demonstrates how to achieve convincing corpsing results using latex acrylic caulk as a cost-effective alternative to traditional latex. The video walks through the application technique step by step, showing how caulk can mimic the wrinkled, dried-skin texture associated with professional prop corpsing. Finished results are shown so viewers can judge the quality for themselves.
This tutorial walks viewers through building a creepy illuminati-themed spellbook prop featuring an all-seeing eye design and a hidden LED votive that makes the eye glow ominously in the dark. The project uses easy-to-find materials and is pitched as accessible for beginners. It doubles as both a haunted house prop and a Halloween home decoration. Corpsing techniques are referenced as part of the build process.
Stiltbeast Studios walks through an accessible technique for turning inexpensive styrofoam wig heads into convincing skull props using basic tools. The process involves carving and detailing the foam with a soldering iron, shaping and texturing it with a heat gun, and finishing with acrylic or latex paint. Companion videos on plastic corpsing and making teeth are referenced for those who want to push the build further. The result is a budget-friendly, scalable prop suitable for haunted attractions or home haunts.
Stiltbeast Studios returns with an updated and expanded guide to plastic corpsing, covering new tricks and techniques not included in the original video. The tutorial focuses on achieving realistic corpse-like textures and finishes on Halloween props for haunted attractions and home haunts. With nearly 20 minutes of content, it offers a deeper dive into the craft than its predecessor.
This tutorial walks viewers through building a realistic shrunken head prop using minimal, inexpensive household materials. The technique relies on paper mache principles with toilet paper and glue to achieve convincing texture and form. The finished piece is versatile enough for Halloween displays, home haunts, curiosity shelf arrangements, or film and video production use.
This Monster Tutorials project shows how to transform a standard cheap plastic pumpkin bucket into a creepy corpsed Halloween prop using readily available materials. The build centers on corpsing techniques along with hot-glue-crafted teeth and follow-me eyes to give the pumpkin an eerie, living quality. It's a budget-friendly, beginner-accessible project that can elevate a simple seasonal item into an impressive display or yard piece.
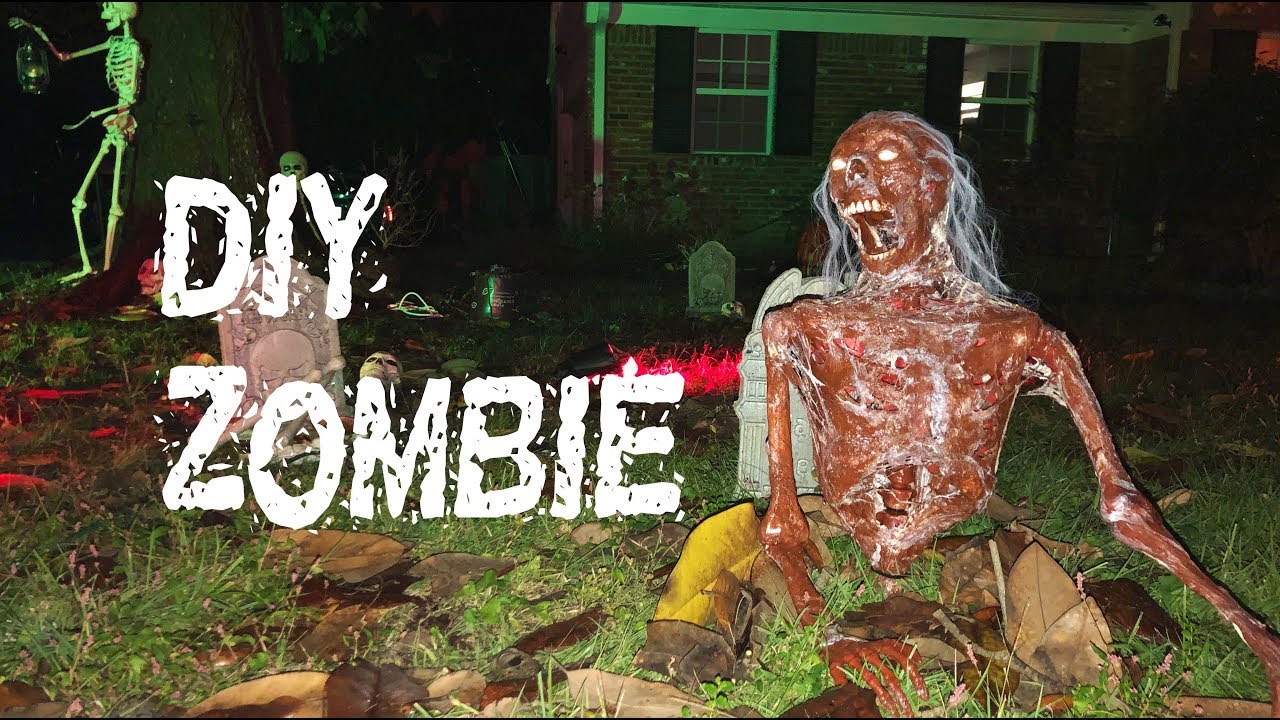
This tutorial from Monster Tutorials walks viewers through corpsing a half skeleton and transforming it into a groundbreaking zombie prop for a Halloween graveyard display. The build uses accessible materials including a plastic skeleton and drop cloth, shaped with a heat gun to create a decayed, fleshy appearance. The finished prop is designed to appear as though a zombie is rising from the ground, making it a striking yard haunt centerpiece.
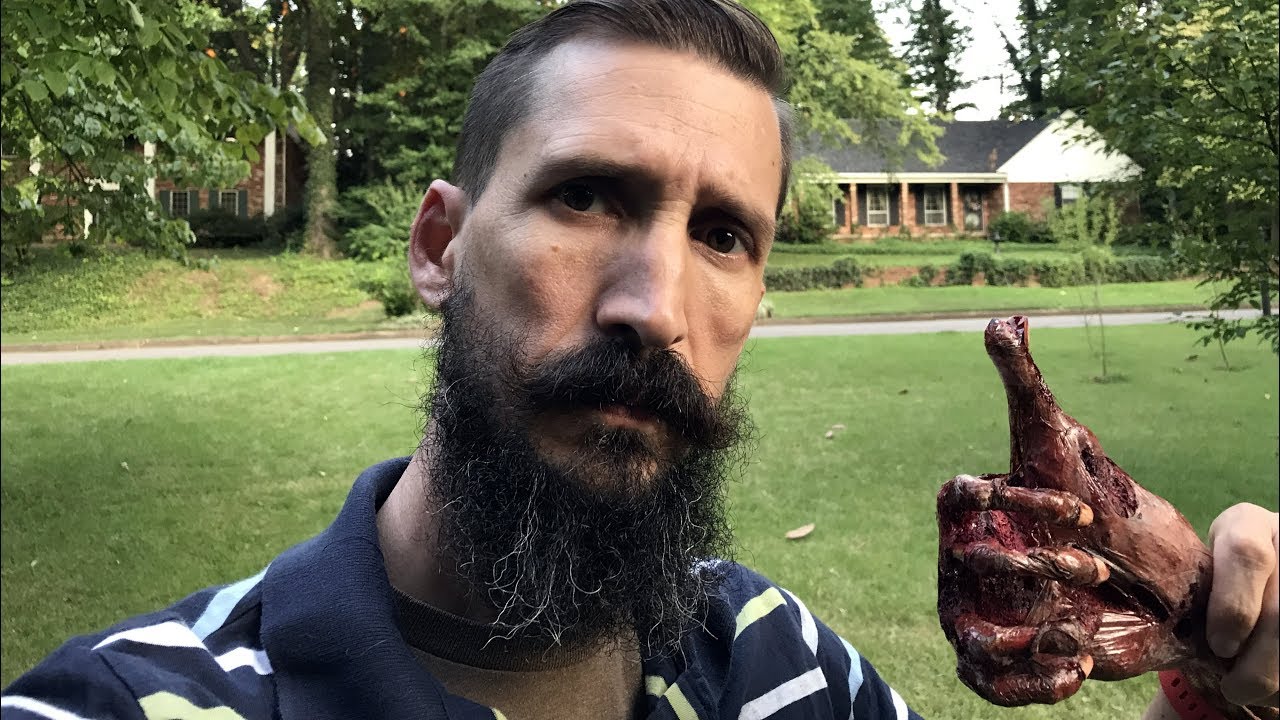
Monster Tutorials walks viewers through creating a creepy, realistic corpsed zombie hand prop from start to finish. The 35-minute tutorial focuses on achieving a convincingly rotten, decayed look suitable for haunts or Halloween displays. A jeweler saw is referenced as a useful low-cost tool in the build process.
This tutorial demonstrates how to transform Funkin foam pumpkins into gruesome, decayed Halloween props using the corpsing technique with latex and cotton balls. The process involves layering latex and cotton to simulate rotting, deteriorating flesh on the pumpkin surface. It's a budget-friendly and accessible method that dramatically elevates the horror aesthetic of an otherwise ordinary foam pumpkin.
This Monster Tutorials build video walks through two budget-friendly Halloween prop projects: a mummified fairy and a small coffin, both built primarily from Dollar Tree materials. The highlight is a fast, scalable corpsing technique designed for haunters who need to produce large quantities of mini skeletons or fairy figures quickly. A companion mummified fairy tutorial is referenced for deeper detail on that specific prop. The projects are accessible to beginners and lean heavily on affordable, easy-to-source supplies.
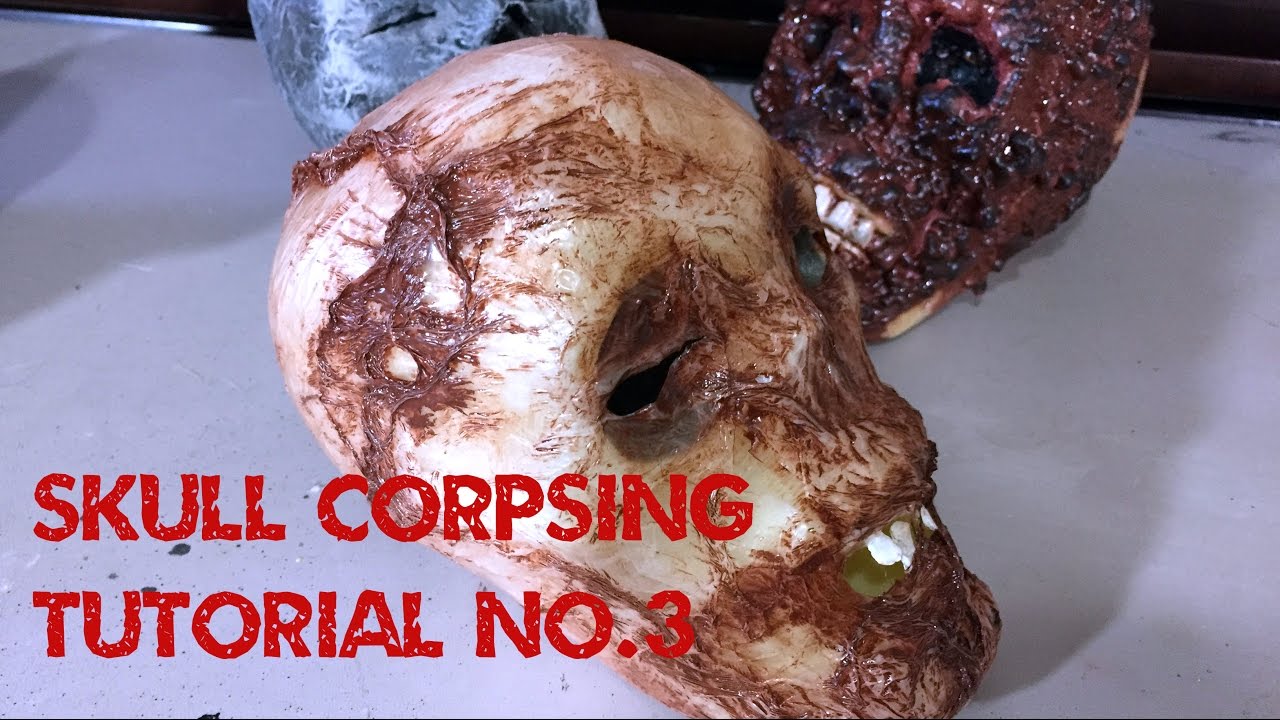
This is the third entry in Monster Tutorials' dollar store skull corpsing series, this time using plastic sheeting and a heat gun to create a convincingly decayed, tortured-looking skull prop. The technique relies on controlled heat to shrink and distress plastic over the skull's surface, producing realistic skin-like texture on the cheap. It pairs naturally with the channel's other corpsing methods — spray foam and toilet paper/glue — for a complete budget prop-making toolkit.
This tutorial walks viewers through constructing a paper mache blank base mask from scratch, designed to serve as a versatile foundation for further customization. The finished mask acts as a blank canvas that can be corpsed, painted, or transformed into virtually any character or creature. The process is presented as accessible and straightforward, making it a great starting point for haunters of all skill levels.
This Monster Tutorials video walks viewers through the process of corpsing a bird skeleton to create a creepy zombie bird prop — dubbed the 'Zombird.' The technique is described as beginner-friendly and inexpensive, making it accessible to haunters of all experience levels. The build incorporates liquid latex to simulate rotting flesh over the skeletal form, with additional linked resources covering related skills like foam work and latex flesh-making.
This tutorial walks viewers through transforming an inexpensive skull prop into a convincingly realistic severed head using burlap corpsing and a collection of previously released techniques. The build integrates dedicated companion tutorials for eyes, teeth, maggots, and blood to achieve a fully detailed, gory result. It is part of a broader Monster Tutorials series designed to teach layered prop-making skills step by step.
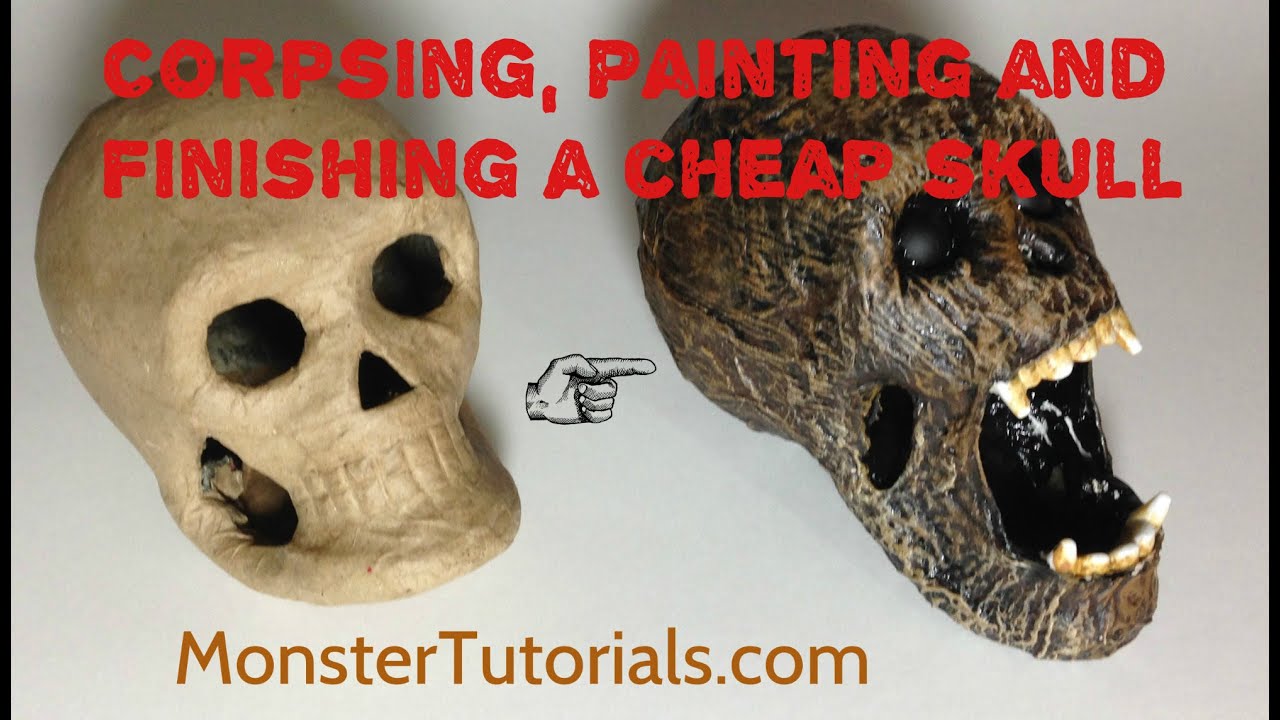
This tutorial walks through transforming an inexpensive foam or cardboard skull into a convincing, creepy Halloween prop using everyday household materials. The second part of the series focuses on the corpsing, painting, and finishing stages that bring the skull to life. The approach is budget-friendly and accessible, making it suitable for first-time prop builders.
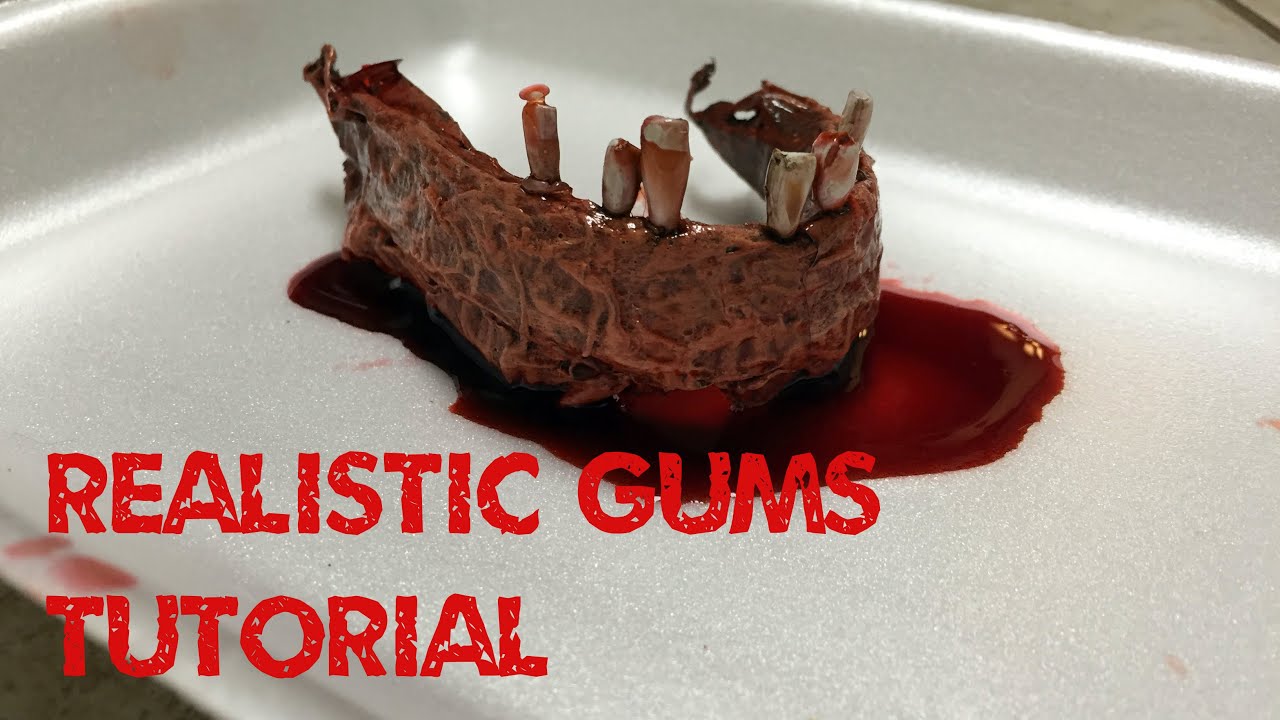
This tutorial walks home haunters through creating realistic-looking fake gums using affordable, easy-to-source materials. The finished pieces work well as standalone props, inside specimen jars, or as part of a serial killer or butcher-themed scene. The video is part of a broader series that includes complementary teeth-making tutorials. A companion blog post with a full materials list is referenced for those who want step-by-step written guidance.
This casual vlog from Monster Tutorials packs several updates into one short video: a Dollar Tree Halloween haul, a fan mail segment, a giveaway status update, and a preview of upcoming tutorials. It serves as a community-focused check-in rather than a step-by-step instructional video. Viewers get a glimpse of budget-friendly Halloween finds alongside behind-the-scenes channel news.
This tutorial from Monster Tutorials walks viewers through creating a corpsed eye 'Horrornament' — a horror-themed ornament perfect for decorating a Christmas tree or hanging from a rear-view mirror. The build uses readily available materials and extends the Halloween spirit into the holiday season. A companion realistic eye tutorial is referenced for those wanting to refine their eye-making technique.