Halloween Universe

The Screening Room

The Halloween Video Library

A curated, searchable archive of the dark craft — DIY props and animatronics, home-haunt walkthroughs, makeup, lighting, fog, and effects. Every film embedded from its creator, organized so you can actually find what you need.

Channel: VanOaksPropsClear ✕

244 videos
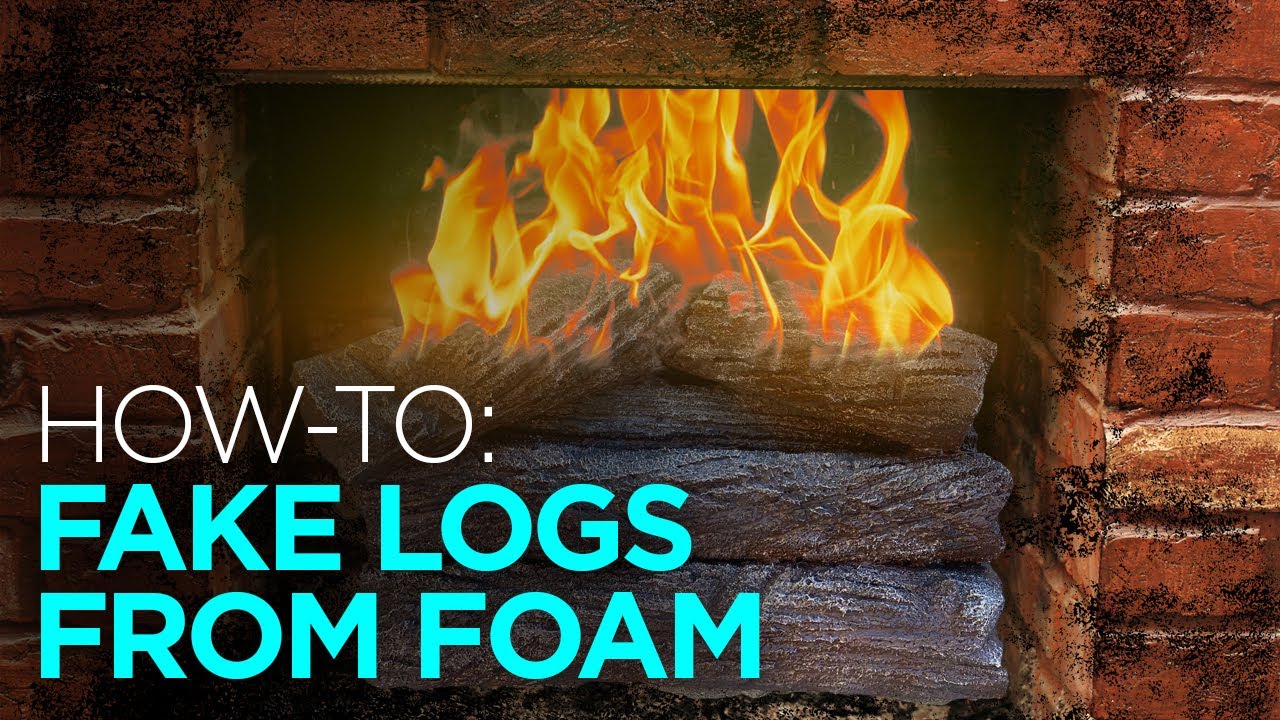
Making Fake Logs From Foam DIY
8:52
DIY PropsBeginnerlow (uses scrap foam; paints and basic hand tools)

Making Fake Logs From Foam DIY

VanOaksProps walks through the process of sculpting realistic-looking fake logs from scrap foam pieces — an ideal technique for filling a haunted house or staged fireplace. The build uses accessible hand tools like a rasp, drywall saw, and wire brush to shape and texture the foam before finishing with paint. A hard coating step is highlighted as the key to making the props durable enough for repeated seasonal use.

VanOaksProps· 44,274 views
HOW-TO: Creepy Vines DIY
7:37
DIY PropsBeginnerlow (common/inexpensive materials)

HOW-TO: Creepy Vines DIY

VanOaksProps walks through a beginner-friendly method for building realistic creepy vines using backer rod foam, shop towels, and common craft supplies. The technique is flexible enough to suit jungle dioramas, pumpkin patches, haunted house sets, or escape room builds. Painting steps using spray paint and acrylic layering give the finished vines an organic, weathered look. The whole build relies on affordable, widely available materials making it accessible for most budgets.

VanOaksProps· 57,854 views
DIY Haunted Mansion Door Handle That Looks REAL
5:45
DIY PropsBeginner$20–$50

DIY Haunted Mansion Door Handle That Looks REAL

VanOaksProps walks through a step-by-step painting process for creating a Haunted Mansion-style door handle that convincingly mimics aged, ornate metal. The tutorial focuses on accessible paints and layering techniques rather than expensive materials, making a theme-park-quality result achievable for most skill levels. Finishing steps include rub n buff for a brass-like sheen and a patina acrylic wash to sell the aged look.

VanOaksProps· 15,967 views
Repaint a Toy Mandalorian Blaster Prop
8:46
DIY PropsIntermediate$30–$80

Repaint a Toy Mandalorian Blaster Prop

VanOaksProps walks through a multi-stage repaint of a Rubies toy Mandalorian blaster, transforming it from a flat costume accessory into a screen-accurate-looking prop. The process layers graphite powder, faux wood grain, airbrushed aluminum lacquer, Rub N Buff in two metallic tones, and wax paint weathering to build convincing depth and wear. Each technique is demonstrated in sequence with clear before-and-after context. The result is a display- or cosplay-ready blaster achieved with widely available hobby materials.

VanOaksProps· 42,821 views
DIY Halloween Monument Prop from Foam!
11:01
DIY PropsIntermediate$30–$80

DIY Halloween Monument Prop from Foam!

VanOaksProps demonstrates how to build a cemetery monument prop using a foam dome, a plastic garden urn, and a crow decoy — a creative alternative to standard foam tombstones. The build incorporates carving, shaping, and a multi-step faux bronze painting technique inspired by a published Instructables project. Drylok is used as a hardening base coat before layering acrylic paints to achieve an aged, patinated bronze look. The finished piece adds impressive height and visual variety to a home graveyard display.

VanOaksProps· 72,153 views
DIY Animated Halloween Lighting Effect
6:54
Lighting TutorialsBeginner$20–$50

DIY Animated Halloween Lighting Effect

VanOaksProps demonstrates a beginner-friendly animated Halloween lighting effect that requires no prop controller or advanced electronics. The core build uses a slow-rotation motor, a lamp socket wired to an extension cord, and a decorated deli container that spins around a lit bulb to cast shifting, moody shadows. Silhouette patterns cut into or applied to the container add themed visual texture to the effect. The result is an atmospheric, low-cost lighting prop accessible to haunters at any skill level.

VanOaksProps· 141,186 views
How To Setup Your Halloween Tombstones
4:06
Yard HauntsBeginnerunder $20

How To Setup Your Halloween Tombstones

VanOaksProps walks through a simple, low-profile method for keeping Halloween tombstones standing firm even in windy conditions. The technique involves drilling into foam tombstones and using stakes driven into the ground to anchor them securely. At just four minutes, this is a quick, practical tutorial suited for any outdoor graveyard display.

VanOaksProps· 40,634 views
SUPER Easy Haunted House Wallpaper
9:44
Set DesignBeginner$20–$60

SUPER Easy Haunted House Wallpaper

VanOaksProps demonstrates a fast, budget-friendly method for creating faux antique wallpaper on haunted house walls using a lace curtain panel as a reusable spray mask. The technique produces an ornate, repeating pattern without traditional stencils, saving significant time and cost. A bonus segment covers using a wood graining tool to add realistic wood texture, rounding out the wall-finishing toolkit.

VanOaksProps· 43,007 views
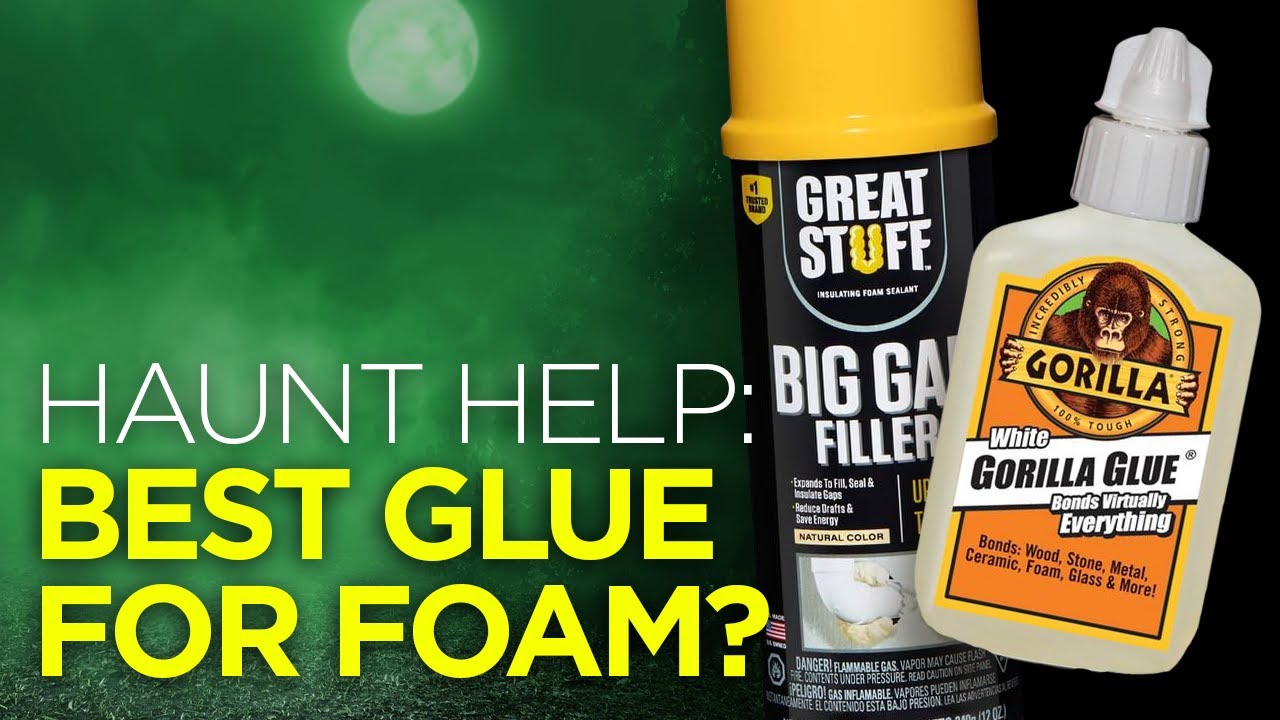
This Is The Best Glue For Foam!
3:55
DIY PropsBeginner

This Is The Best Glue For Foam!

VanOaksProps tackles one of the most frequently asked questions in Halloween prop-making: what adhesive works best for foam? The video compares several community-recommended products before landing on White Gorilla Glue and Great Stuff expanding foam as the top picks for their price point and wide availability. Alongside the product recommendations, the creator shares practical application tricks to get the strongest, cleanest bond possible.

VanOaksProps· 47,197 views
Basic Silicone Mold Making & Casting
8:39
DIY PropsBeginner

Basic Silicone Mold Making & Casting

VanOaksProps walks beginners through the fundamentals of silicone block mold making and resin casting as a practical way to duplicate hard-to-find Halloween prop parts. The tutorial uses Smooth-On Mold Star 15 Slow silicone and Smoothcast resin, with sulfur-free clay as a key supporting material. Despite the creator mistakenly calling it a two-part mold in the video, it is clarified to be a straightforward block mold — an ideal starting point for newcomers to prop replication.

VanOaksProps· 25,880 views
DIY Fake Tree Stump With Spray Foam
8:11
DIY PropsBeginnerlow (many materials sourced from dollar stores and home improvement stores)

DIY Fake Tree Stump With Spray Foam

VanOaksProps walks through the full process of building a convincing fake tree stump using a 5-gallon bucket as a base form, expanding spray foam for texture, and layered acrylic and spray paints to achieve a realistic wood-and-moss finish. The build relies on inexpensive, widely available materials, making it accessible to beginners. A handy secondary use highlighted in the video is concealing a projector inside the hollow stump, adding functional value to a purely decorative prop.

VanOaksProps· 142,582 views
Easy Fake Brick Wall Using Joint Compound
8:18
DIY PropsBeginnerunder $30

Easy Fake Brick Wall Using Joint Compound

VanOaksProps demonstrates a budget-friendly method for creating a convincing faux brick wall using joint compound and precision masking tape — no large foam panels required. The technique is well-suited for small accent sections within a haunt or set build, making it ideal when only a localized brick effect is needed. Multiple FolkArt acrylic paint colors are layered with sponges and brushes to add depth, age, and realism to the finished surface. The approach doubles as a general home-décor faux-finish technique beyond Halloween use.

VanOaksProps· 109,182 views
How to Make Monster Mud & Monster Mud Alternatives
4:24
DIY PropsBeginnerlow (basic materials readily available at hardware stores)

How to Make Monster Mud & Monster Mud Alternatives

This VanOaksProps tutorial demystifies Monster Mud — a classic home-haunter staple used to coat and texture Halloween props like tombstones, reapers, and graveyard statues. The video covers what Monster Mud is, how it's mixed and applied, and how to protect finished props from the elements. It also introduces Monster Mud 2.0 (Morbid Mortar), a thinset-based alternative that offers additional durability and texture options.

VanOaksProps· 115,276 views
Easy Creepy Potion Bottles with FREE Labels!
5:55
DIY PropsBeginnerlow / mostly household items

Easy Creepy Potion Bottles with FREE Labels!

VanOaksProps walks viewers through transforming recycled bottles into atmospheric Halloween apothecary props using everyday household supplies. A key highlight is the paper-aging technique, which uses an espresso solution to give printed labels an authentically weathered, antique look. Free downloadable labels are provided to make the project even more accessible. The finished bottles suit witch, alchemist, or mad scientist display themes.

VanOaksProps· 15,910 views
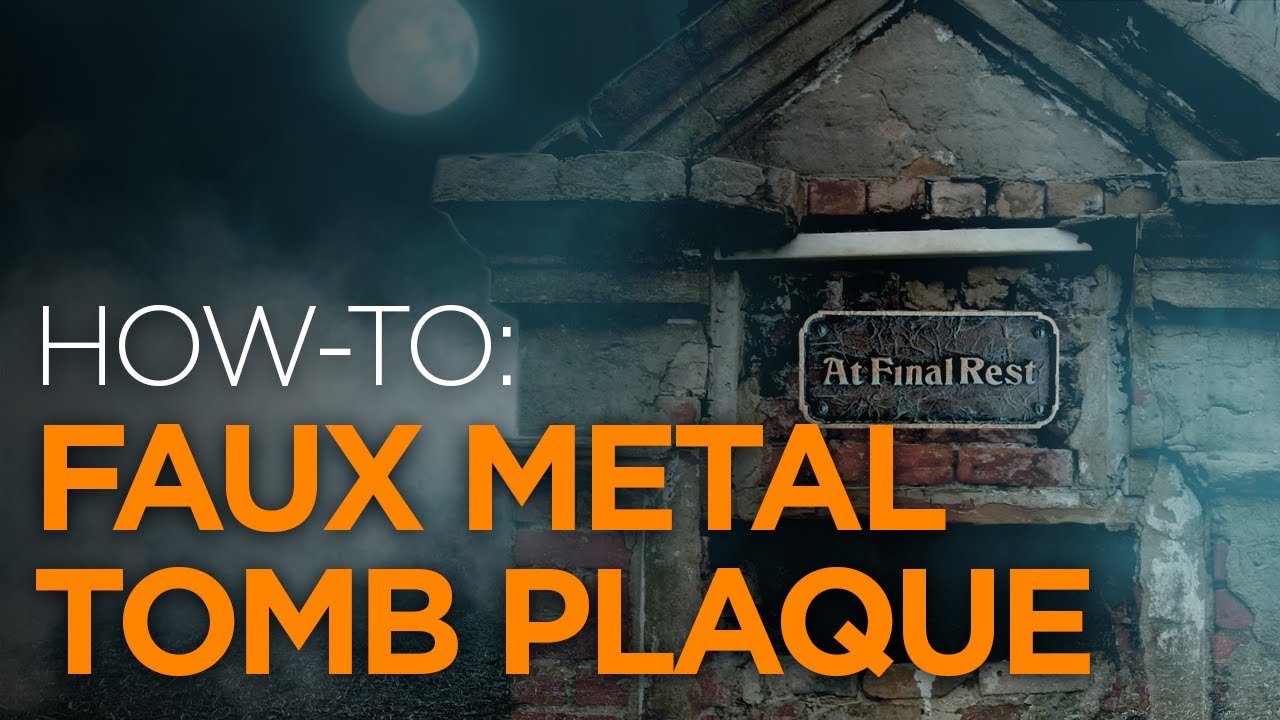
Making a Metal Plaque using Tissue Paper!
6:49
DIY PropsBeginner$10–$25

Making a Metal Plaque using Tissue Paper!

VanOaksProps demonstrates how to transform basic craft-store materials into a convincing faux-metal tomb plaque suitable for coffins, mausoleums, or haunt set dressing. The core technique uses tissue paper and Mod Podge to build an organic surface texture that mimics cast metal, followed by layered acrylic paints to achieve a realistic bronze patina. The creator emphasizes that small, believable details like this elevate a haunt from amateur to near-professional quality. A downloadable 3D model for the plaque design is also provided.

VanOaksProps· 18,712 views
Make PVC Look Like Wood
9:34
DIY PropsBeginner$20–$50

Make PVC Look Like Wood

VanOaksProps walks through a beginner-friendly technique for transforming ordinary PVC pipe into convincing faux wood using a heat gun, Apoxie Sculpt for texture, and layered acrylic paints. The method is versatile enough to produce a witches' broom handle, a cauldron stirring stick, or a Harry Potter-style broomstick. Multiple earth-tone paint colors are blended and dry-brushed to achieve realistic wood grain and aging. A final Mod Podge seal protects the finished piece for display or wear.

VanOaksProps· 60,418 views
Repainting Your Faded Halloween Pumpkins
5:50
DIY PropsBeginner$10–$25

Repainting Your Faded Halloween Pumpkins

VanOaksProps demonstrates how to transform plain, solid-orange craft store foam pumpkins into convincing, character-rich Halloween props using craft paints and wall texture spray. The tutorial walks through layering multiple FolkArt paint colors to add depth and realism, with texture spray providing surface interest that plain foam pumpkins lack. A sealant finish ties everything together for a durable result. The process is quick, affordable, and requires no advanced skills.

VanOaksProps· 16,965 views
Make Your Own Realistic Halloween Tombstones
9:38
DIY PropsIntermediate$20–$60

Make Your Own Realistic Halloween Tombstones

VanOaksProps walks through the full process of building realistic foam tombstones from scratch using materials available at hardware and craft stores. The build covers shaping and carving expanded insulation foam with a Dremel and rasp, adding surface texture with a blow torch, and finishing with a multi-layer paint technique anchored by masonry sealant. The result is a graveyard-worthy prop that far surpasses typical store-bought options. A companion video on finger detail work is also referenced for those wanting to push the realism further.

VanOaksProps· 213,028 views
Rusted Metal Paint Effect using Hairspray & Coffee Grounds
12:34
DIY PropsBeginner$20–$50

Rusted Metal Paint Effect using Hairspray & Coffee Grounds

This tutorial from VanOaksProps covers two distinct techniques for achieving a convincing rusted, aged-metal paint finish on props and set pieces. The first method uses hairspray as a resist layer to create realistic chipped and peeling paint, while the second incorporates coffee grounds to build up a grungy, corroded surface texture. Both approaches rely on accessible, low-cost materials and are well-suited to haunted house scenic painting or cosplay prop finishing. Note that the creator issued a correction: any mention of 'burnt umber' in the video is intended to mean 'raw sienna.'

VanOaksProps· 216,388 views
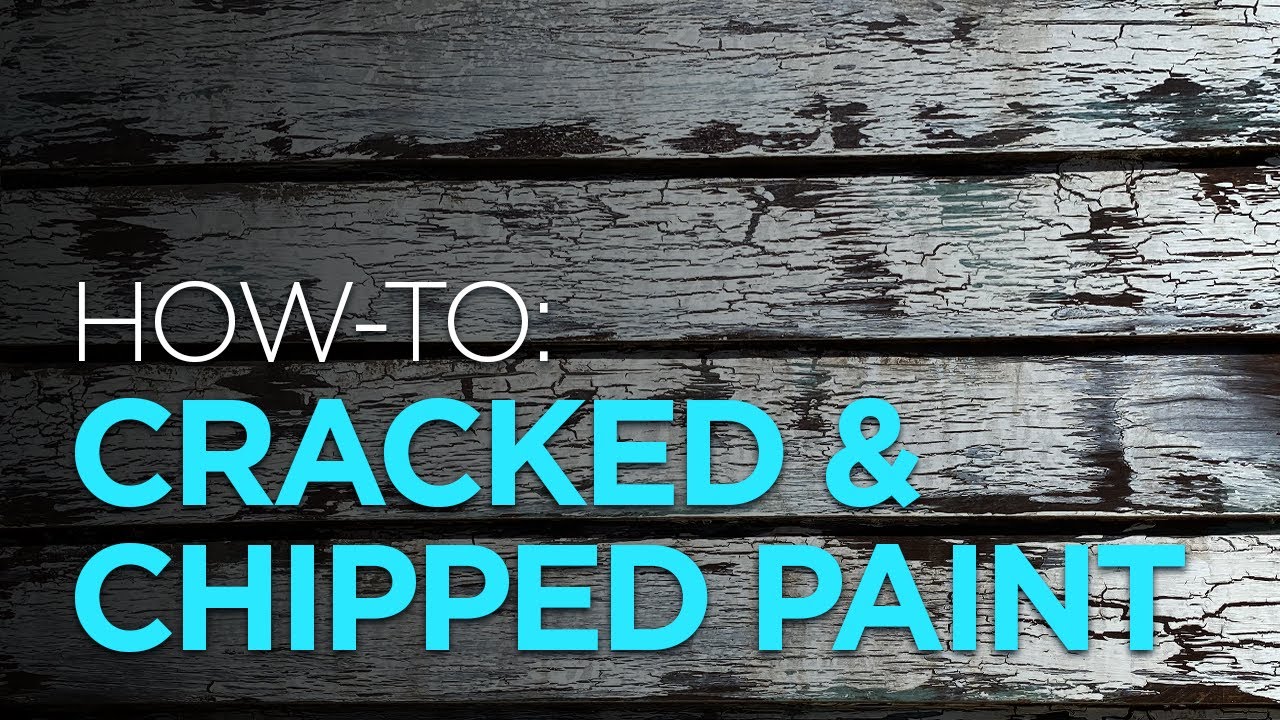
Simple Cracked & Chipped Paint Effect using a Wood Block
7:00
Set DesignBeginner

Simple Cracked & Chipped Paint Effect using a Wood Block

VanOaksProps demonstrates a quick and forgiving faux-finishing technique that makes haunt wall panels look aged and deteriorated. Using a wood block and layered spray paint, the method replicates the look of decades-old cracked and chipped paint without specialized skills or expensive materials. The result is convincing weathered surfaces well-suited for haunted house exteriors or interior set dressing.

VanOaksProps· 153,447 views
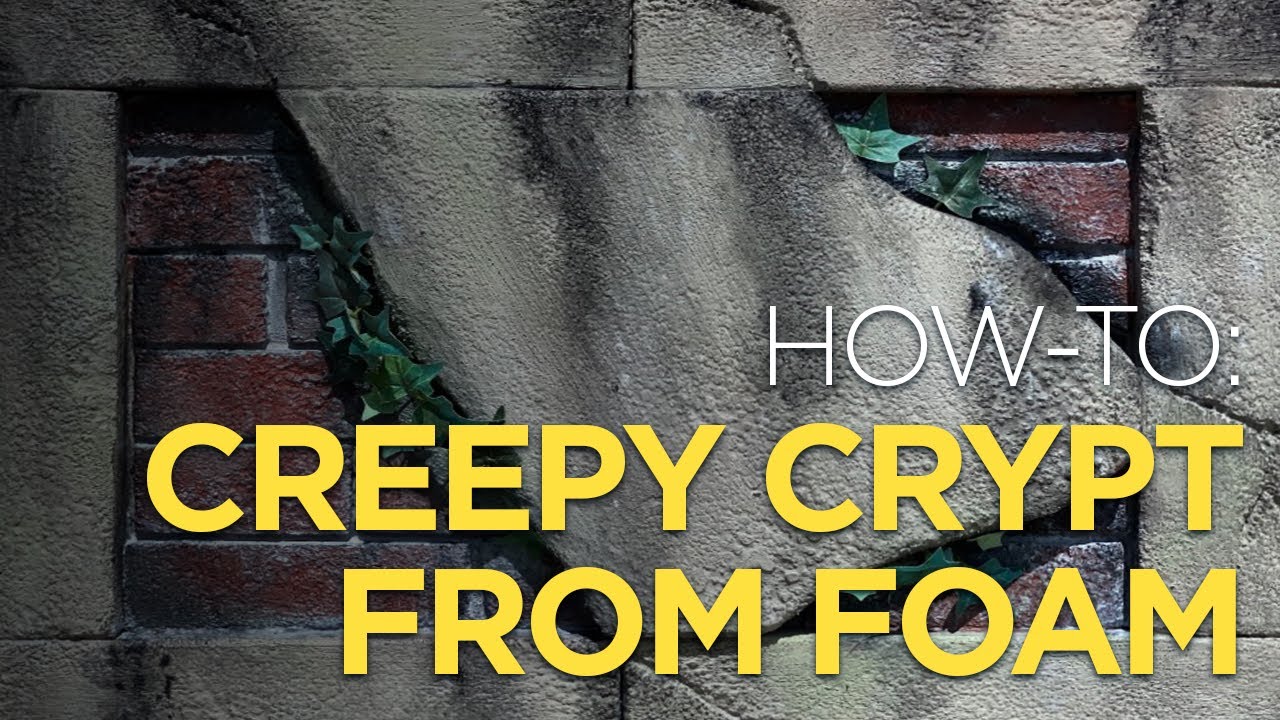
Creepy Halloween Crypt from Foam!
10:46
DIY PropsIntermediate$30–$80

Creepy Halloween Crypt from Foam!

VanOaksProps walks viewers through building a foam crypt or mausoleum from scratch using common XPS foam and basic hand tools, making it accessible for home haunters of most skill levels. The build covers cutting and shaping foam to mimic stone and brick architecture, then sealing and painting it with layered acrylic washes to achieve a convincingly aged, mossy, weathered finish. The result is a dramatic cemetery centerpiece that goes well beyond a standard tombstone display.

VanOaksProps· 63,599 views
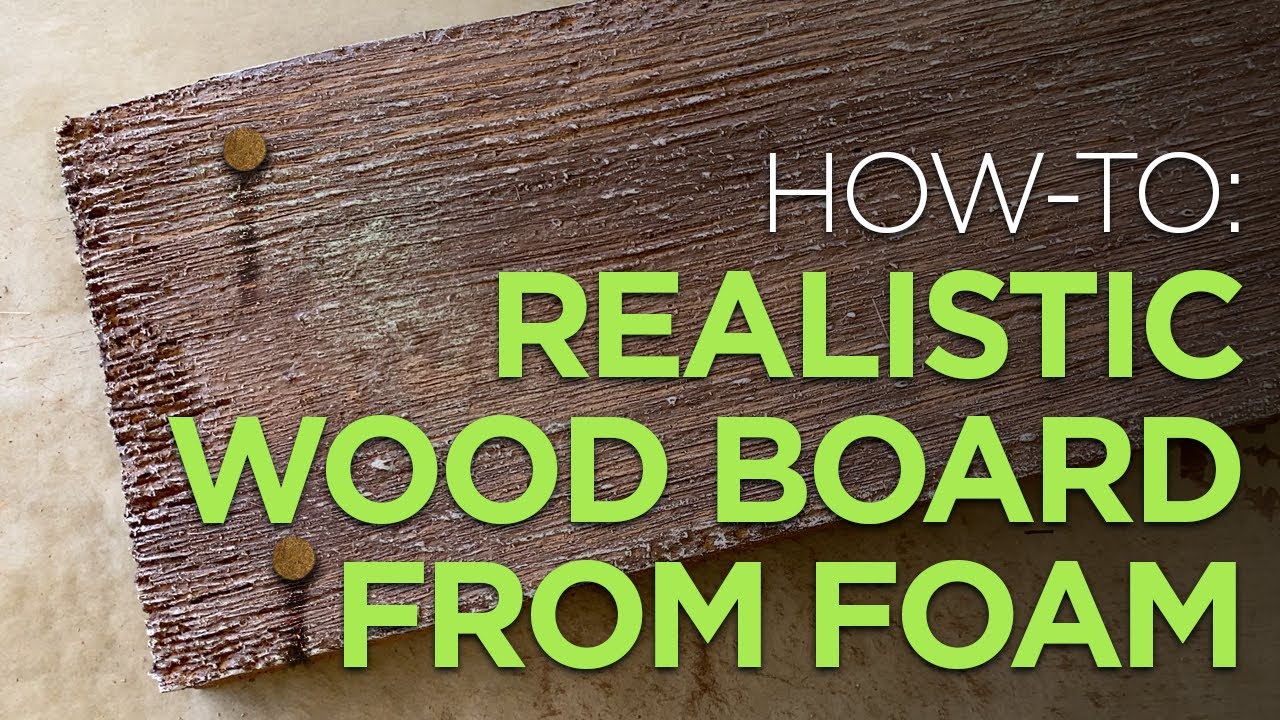
Making Foam Look Like Old Wood Beams
8:24
DIY PropsBeginner$20–$50

Making Foam Look Like Old Wood Beams

VanOaksProps walks through a straightforward process for turning lightweight foam into convincingly aged wooden boards using basic carving and texturing tools. The technique layers multiple acrylic paint colors and a glazing medium to build realistic wood grain depth and an old, weathered appearance. At under 10 minutes, the tutorial covers the full workflow from raw foam to finished faux plank. The result is a lightweight, cost-effective alternative to real lumber for haunted house panels, escape rooms, or stage set construction.

VanOaksProps· 240,359 views
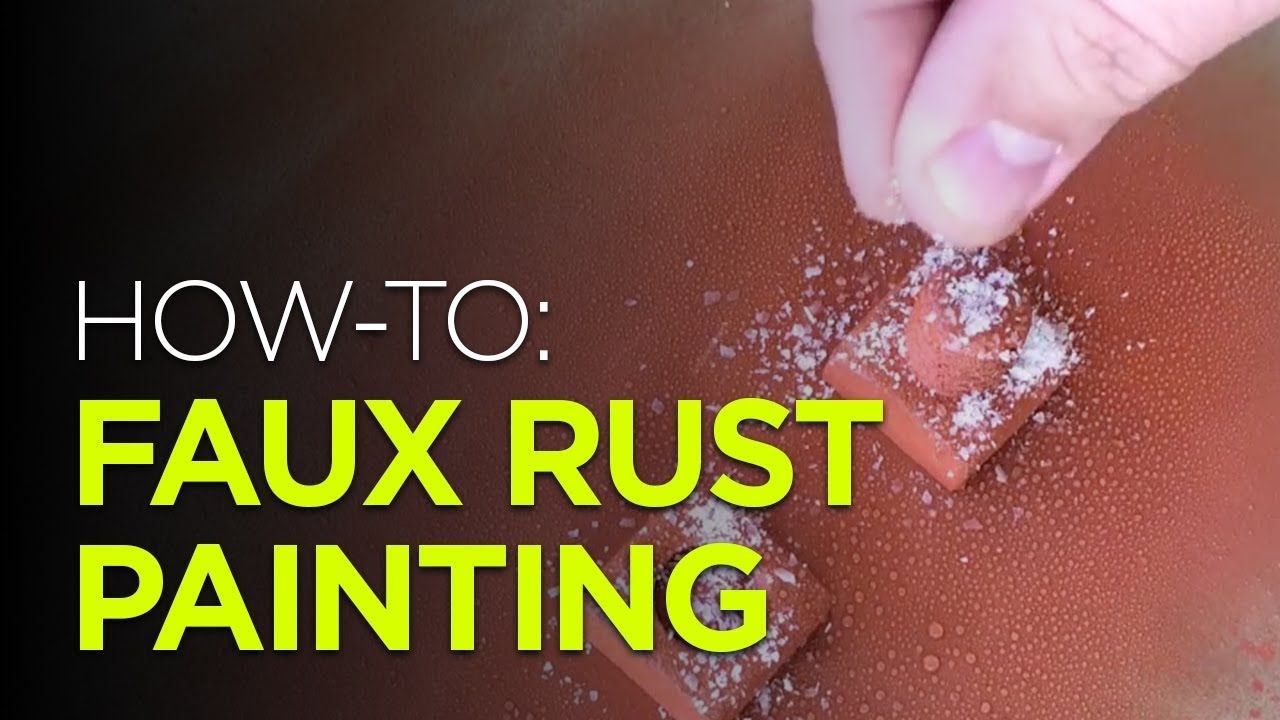
DIY Rust Finish with Salt - SUPER Easy!
2:40
DIY PropsBeginnerunder $20

DIY Rust Finish with Salt - SUPER Easy!

VanOaksProps demonstrates a quick and accessible faux rust technique using common household salt, water, and metallic spray paint. This is the second rust tutorial from the channel, offering an alternate approach to achieving a convincing aged-metal look on prop hardware. The method is designed to look realistic even at close range, making it well-suited for detailed Halloween props and haunted house set pieces.

VanOaksProps· 21,553 views
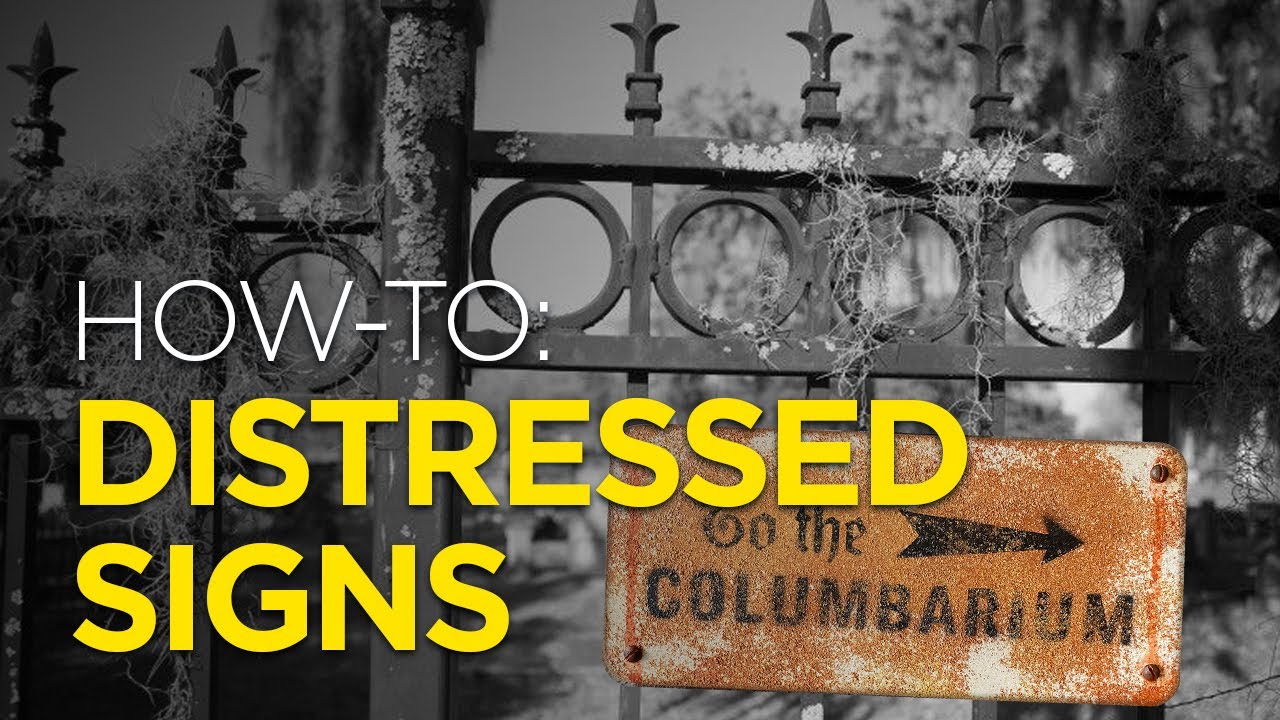
Easy Distressed Sign using Salt & Spray Paint
5:11
DIY PropsBeginner$10–$25

Easy Distressed Sign using Salt & Spray Paint

This short tutorial from VanOaksProps walks through a quick and budget-friendly method for creating a convincingly aged, rusted sign using layered spray paints and a salt resist technique. Kosher salt is applied to wet paint to create organic texture, mimicking rust and surface decay. The technique is versatile — while demonstrated with rust tones for a Halloween haunted house sign, the same approach works with any color palette for different aged or antique effects.

VanOaksProps· 23,862 views