Halloween Universe

The Screening Room

The Halloween Video Library

A curated, searchable archive of the dark craft — DIY props and animatronics, home-haunt walkthroughs, makeup, lighting, fog, and effects. Every film embedded from its creator, organized so you can actually find what you need.

Channel: VanOaksPropsClear ✕

244 videos

Fake Rust with Sawdust
7:38
DIY PropsBeginner$10–$30

Fake Rust with Sawdust

VanOaksProps explores a creative low-cost rust finish by applying sawdust as a texture medium over 3D-printed mine cart wheels made for a real haunted attraction. The technique layers a brush-on epoxy to bind the sawdust, followed by multiple acrylic paint colors to mimic oxidized metal convincingly. The result is a gritty, organic-looking rust effect achievable with readily available craft supplies. This crossover project between a home prop builder and a professional haunt offers practical, real-world validation of the method.

VanOaksProps· 10,198 views
DIY Halloween Skeleton Animatronic
7:29
DIY AnimatronicsIntermediate$30–$80

DIY Halloween Skeleton Animatronic

VanOaksProps builds a rocking skeleton animatronic Halloween prop largely from salvaged parts and a wiper motor. The build centers on a custom aluminum bracket and rod linkage that converts the motor's rotation into a smooth back-and-forth rocking motion on a posed skeleton. A 10A speed controller lets the builder fine-tune the movement speed to taste. Detailed dimensions are provided for the base and metal stock cuts, making it straightforward to replicate.

VanOaksProps· 81,505 views
PROP LAB: Building Star Wars Cargo Crates
8:19
DIY PropsIntermediate$30–$80

PROP LAB: Building Star Wars Cargo Crates

VanOaksProps builds a pair of Star Wars-themed cargo crates to complement a dedicated prop display case, inspired by a visit to Star Wars Celebration Anaheim. The crates are shaped using an Inventables X-Carve CNC router, then finished with layered spray paints, wax paint, and weathering techniques to achieve a battle-worn, screen-accurate look. Liquid latex and steel wool add tactile texture before the final paint stages, giving the props convincing depth and age.

VanOaksProps· 12,510 views
Realistic Dynamite Props You Can Make at Home
7:25
DIY PropsBeginnerUnder $10

Realistic Dynamite Props You Can Make at Home

VanOaksProps walks through how to build realistic-looking antique dynamite props on a tight budget using common household and craft-store materials. The build centers on PVC pipe sections dressed up with a printable period-style label, wrapped twine, and a coffee-powder aging wash for a convincing weathered look. The finished props are well suited to old-west or haunted mine shaft Halloween themes. At just a few dollars per stick, this is one of the more cost-effective scene-dressing projects in the channel's lineup.

VanOaksProps· 40,932 views
Carving Halloween Tombstones with a Robot?!
4:10
DIY Props

Carving Halloween Tombstones with a Robot?!

VanOaks Props showcases using the Inventables X-Carve CNC machine to carve custom Halloween tombstones from foam, describing it as a dream workflow for bringing detailed tombstone designs to life with precision. The video highlights how CNC automation elevates the quality and repeatability of handcrafted Halloween props. Custom tombstone props created with this method are also available for purchase through the creator's Etsy shop.

VanOaksProps· 10,449 views
$5 Halloween Prop Controller!
4:36
Arduino & ControllersIntermediate$5–$13

$5 Halloween Prop Controller!

VanOaksProps reveals a low-cost relay timer module as a simple, affordable way to automate Halloween props including motors, lights, and sound. The FRM-01 can be sourced for as little as $5 and paired with a 12V power supply to trigger AC-powered loads on a timed cycle. The creator provides wiring guidance along with an important correction regarding hot vs. neutral wire placement on the relay side. It's a practical entry point into haunt automation without the need for microcontroller programming.

VanOaksProps· 61,805 views
Building a Gonk Projector Droid | Part 1
9:38
DIY PropsIntermediate

Building a Gonk Projector Droid | Part 1

VanOaks Props kicks off a multi-part build series turning a sponsor-provided Jireno Cube4 portable projector into a functional, movie-playing Gonk droid replica. The creator uses a 3D rendering by James Mason as a visual reference and repurposes off-the-shelf storage bins to form the droid's iconic boxy body. This first episode focuses on the concept and early construction groundwork. The project blends Star Wars fandom with practical outdoor movie-night functionality.

VanOaksProps· 15,192 views
5 Methods for Adding Texture to your Props
5:16
DIY PropsBeginnerlow — most materials are common household items

5 Methods for Adding Texture to your Props

VanOaksProps walks through five accessible methods for adding realistic texture to Halloween props and set pieces, using everyday household and hardware-store materials. Each technique produces a different texture level, making the tutorial adaptable for a wide range of projects. The video is a quick, practical primer ideal for prop builders who want to add grit, grime, or surface detail without specialized equipment.

VanOaksProps· 16,810 views
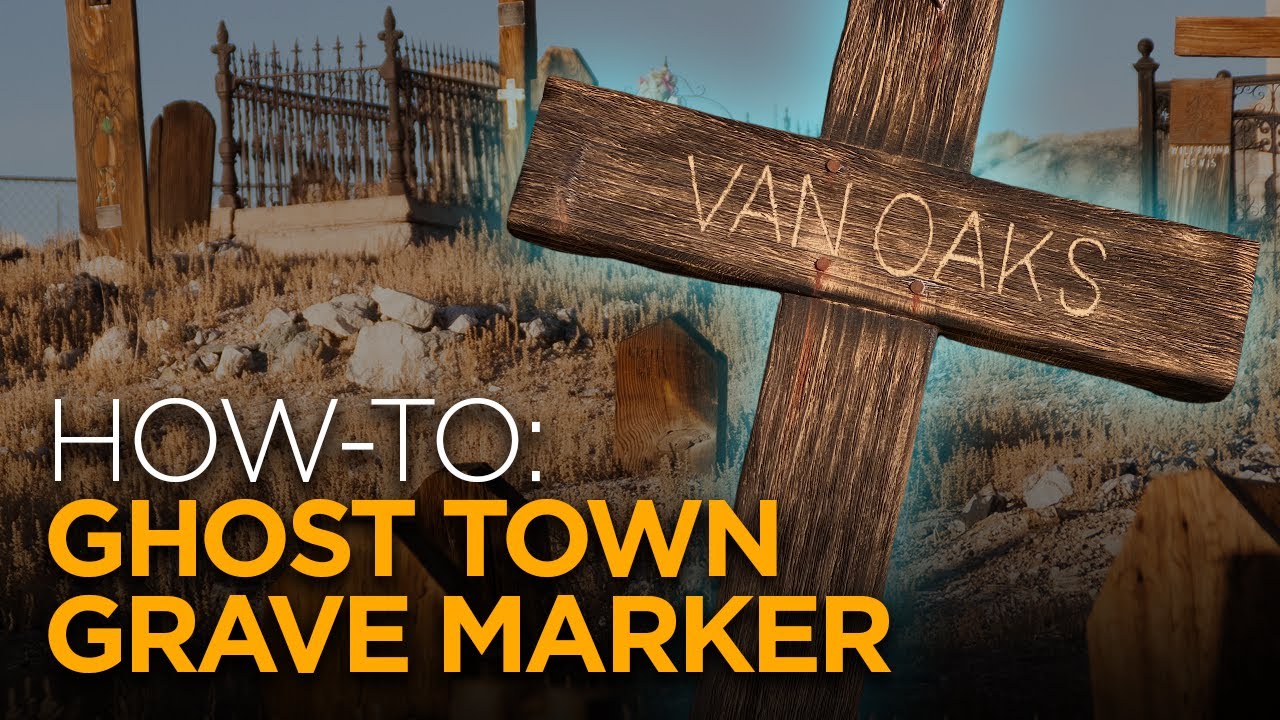
Ghost Town Grave Marker / Wooden Cross for Halloween
6:42
DIY PropsBeginnerunder $20

Ghost Town Grave Marker / Wooden Cross for Halloween

VanOaksProps walks through how to turn a standard 2x4 into a convincingly aged, sun-bleached wooden cross grave marker suited for ghost town or wild west themed haunts. The build relies on a wire wheel, torch, and craft paint to achieve a weathered, distressed look without expensive materials. The result is a low-cost prop that reads well in cemetery or frontier-style display settings.

VanOaksProps· 14,383 views
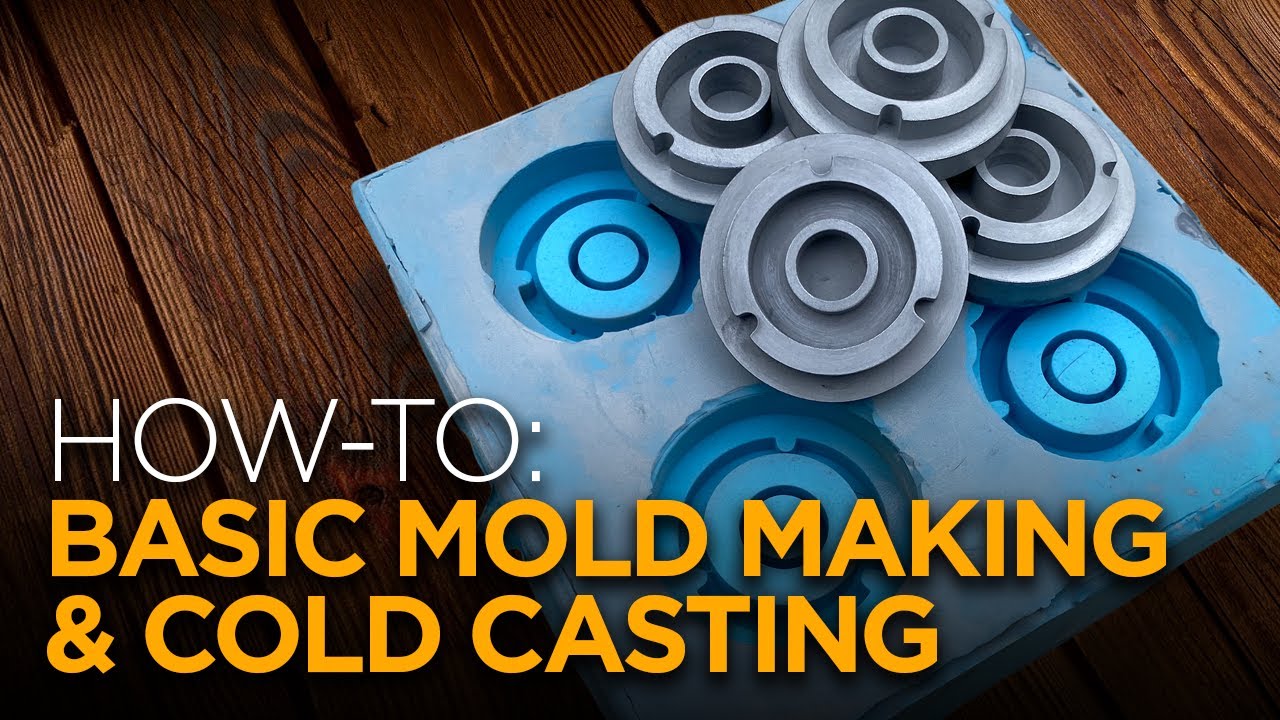
EASY mold making and casting with ALUMINUM powder!
8:10
DIY PropsBeginner$30–$80

EASY mold making and casting with ALUMINUM powder!

VanOaksProps walks through the complete workflow for duplicating prop parts using a tin-cure silicone mold and cast resin, then finishing the casts to resemble brushed aluminum. The technique — known as cold casting — uses aluminum powder mixed into or applied over resin, with steel wool buffing to bring out a convincing metallic sheen. It's a practical solution for haunters who need multiple identical parts without hand-building each one. The tutorial is kept approachable and concise, making it accessible even for first-time mold makers.

VanOaksProps· 86,535 views
Star Wars Electro Binoculars & Case
9:36
DIY PropsIntermediate

Star Wars Electro Binoculars & Case

VanOaksProps takes on Luke Skywalker's electrobinoculars from The Empire Strikes Back, building a screen-accurate replica from a 3D-printed model with LED accents, detailed paintwork, and weathering. As a bonus, a custom fabric-lined flight case inspired by Disney's Galaxy's Edge is also constructed to house the finished prop. This entry in the creator's casual 'Let's Make' series focuses on personal passion builds rather than step-by-step instruction. The result is a polished Star Wars replica that bridges DIY prop-making and theme-park fandom.

VanOaksProps· 9,507 views
LET'S MAKE: #StarWars Fusion Furnace/Fusion Generator - Smart Lamp Hack!
9:09
DIY PropsIntermediate$30–$80 (estimated based on lamp, filament, paints)

LET'S MAKE: #StarWars Fusion Furnace/Fusion Generator - Smart Lamp Hack!

VanOaksProps walks through a casual, build-along episode of crafting a Star Wars-inspired fusion furnace/generator prop by combining a 3D-printed shell with an off-the-shelf smart LED lamp. The build is credited to a fellow maker whose lamp-hack concept inspired the project. Painting and weathering techniques give the finished piece a worn, screen-adjacent look suitable for display in any Star Wars fan space.

VanOaksProps· 9,406 views
DIY Tusken Raider Helmet
10:41
Costume TutorialsIntermediate$30–$80

DIY Tusken Raider Helmet

This tutorial from VanOaksProps walks through building a wearable Tusken Raider helmet using duck canvas, faux leather, and hot glue as the primary construction method, with a Thingiverse 3D model as a reference or base. The build incorporates fabric shaping, leather detailing, and a multi-step paint and weathering process to achieve an authentic, battle-worn look. The video is sponsored by Surebonder, whose cordless glue gun and Cosplay Stik adhesive are featured throughout. The finished prop is suited for Star Wars cosplay or Halloween costume use.

VanOaksProps· 73,232 views
How to make a Realistic Peeling Paint Effect
7:12
Set DesignBeginner$20–$40

How to make a Realistic Peeling Paint Effect

VanOaksProps demonstrates a quick, low-cost technique for creating convincingly aged, peeling paint on haunted house walls. The method combines orange peel texture spray and liquid latex to build up layers that peel away realistically. Acrylic paints in earthy tones add depth and a grimy, neglected look. The result is a theatrical faux finish achievable with minimal supplies and little experience.

VanOaksProps· 24,460 views
Fake Frosted Windows for Christmas with Salt! | DIY Holiday
4:26
DIY PropsBeginnerunder $10

Fake Frosted Windows for Christmas with Salt! | DIY Holiday

VanOaksProps demonstrates a quick, budget-friendly technique for creating realistic-looking frosted or icy windows using just epsom salt and hot water. The method is spray-applied directly to glass and suits both spooky Christmas and Halloween set dressing. At only four minutes long, the tutorial is highly accessible for decorators at any skill level. It works equally well for haunted holiday displays or winter-themed haunted house scenes.

VanOaksProps· 59,016 views
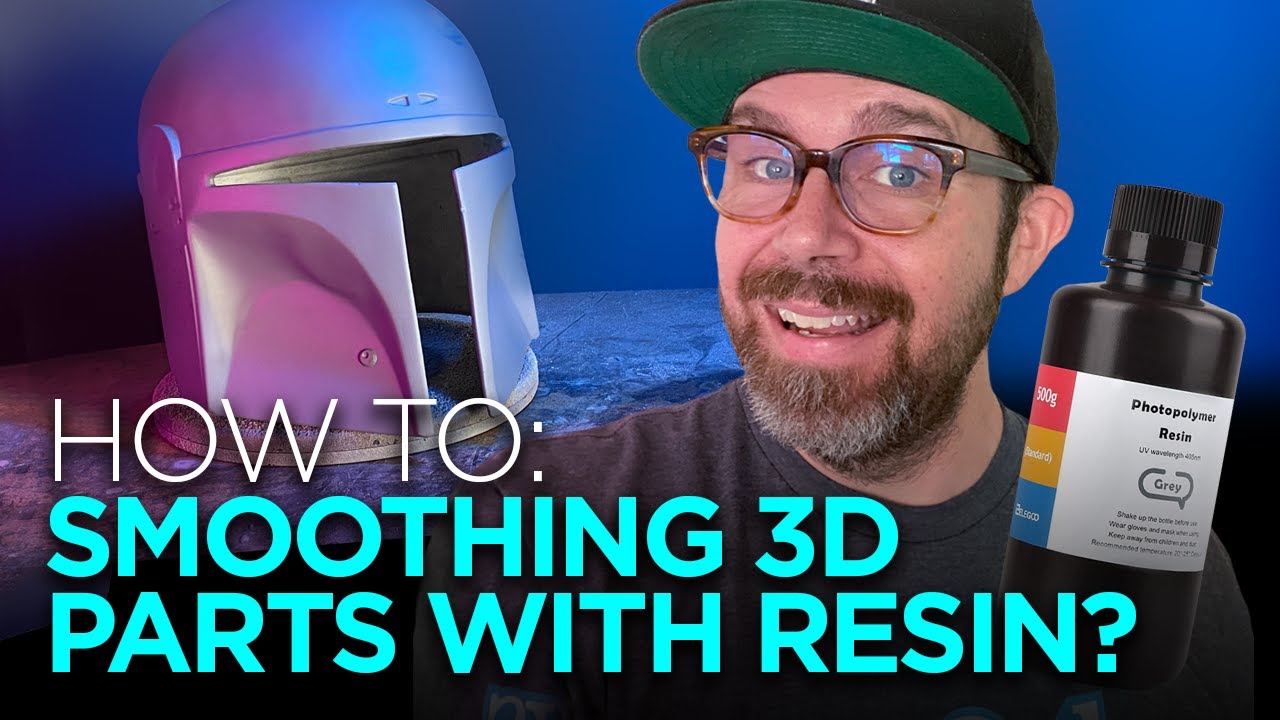
Smooth Your 3D Prints FAST with UV Resin!
6:37
DIY PropsBeginner$20–$50

Smooth Your 3D Prints FAST with UV Resin!

This short tutorial from VanOaksProps demonstrates using UV resin as a faster, easier alternative to air-dry spot putty for smoothing layer lines on FDM 3D prints. The technique is demonstrated on a Boba Fett helmet and involves applying UV resin to fill surface imperfections, curing it quickly under a UV light, then sanding smooth. The result is a significantly cleaner surface with less effort than traditional methods.

VanOaksProps· 44,405 views
PROP LAB: Turn Your Battery Powered Props to Plug-in!
4:08
DIY PropsBeginner$10–$30

PROP LAB: Turn Your Battery Powered Props to Plug-in!

VanOaksProps teams up with maker Beejay Oslon to demonstrate how to convert battery-powered Halloween props to run on plug-in 12V DC power. The core of the mod is a step-down voltage regulator circuit that drops 12V supply power down to whatever voltage the original batteries provided. The short, focused tutorial makes this an accessible upgrade for haunters who want to eliminate battery swaps during a display season.

VanOaksProps· 21,002 views
Chipped Paint Effect for Props & Costumes | #andor
7:32
DIY PropsBeginner$20–$50

Chipped Paint Effect for Props & Costumes | #andor

VanOaksProps demonstrates a simple toothpaste-masking method to create a convincing multi-layer chipped paint effect on props and costumes. Using toothpaste as a resist between paint layers, the technique simulates years of wear and repainting without complex tools. The tutorial is demonstrated on a Star Wars E-11 blaster build inspired by Andor and Rogue One. Finishing touches with antique wax deepen the battle-worn look.

VanOaksProps· 11,275 views
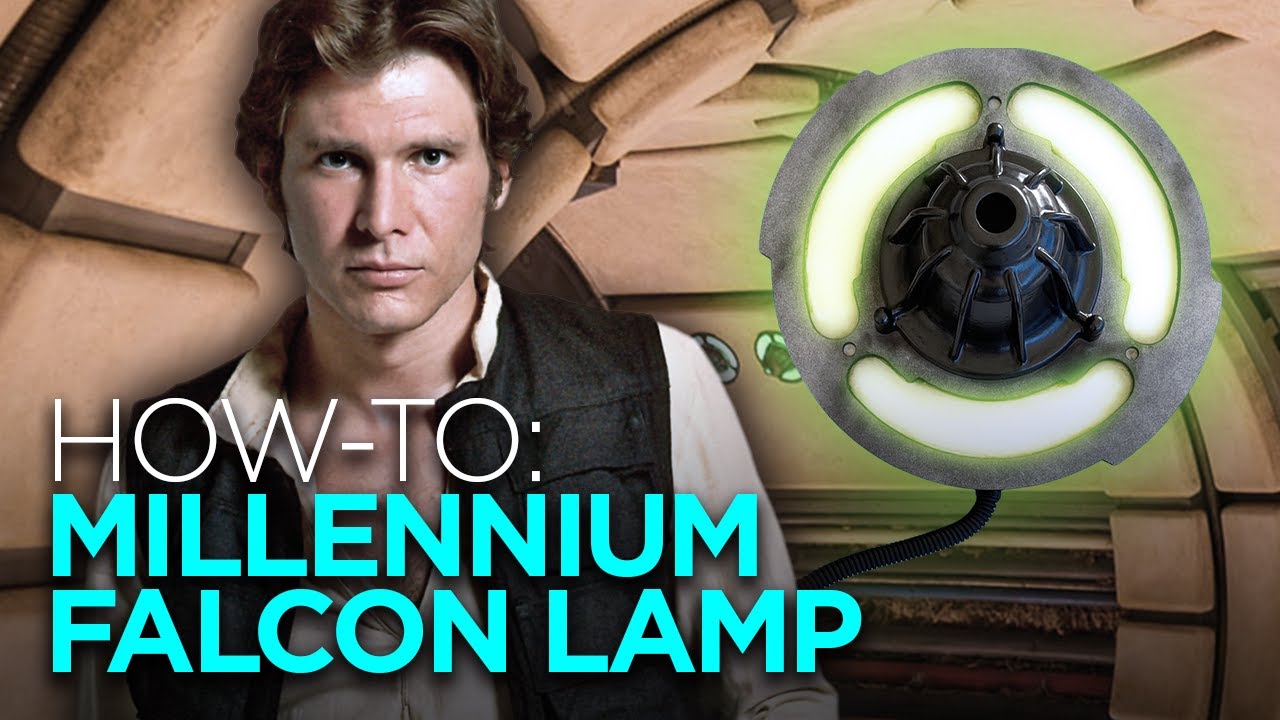
Making a Star Wars Millennium Falcon Lamp Replica | Smuggler’s Run
7:30
DIY PropsIntermediate

Making a Star Wars Millennium Falcon Lamp Replica | Smuggler’s Run

VanOaksProps builds a screen-accurate replica of the iconic corridor lamp from inside the Millennium Falcon, as seen at Galaxy's Edge Smuggler's Run. The build combines laser-cut MDF and acrylic panels with LED neon strip lighting and a PVC pipe core. A detailed painting and weathering process — including chrome finishes, an oil paint wash, and a satin clear coat — brings the prop to a convincing, battle-worn finish.

VanOaksProps· 11,500 views
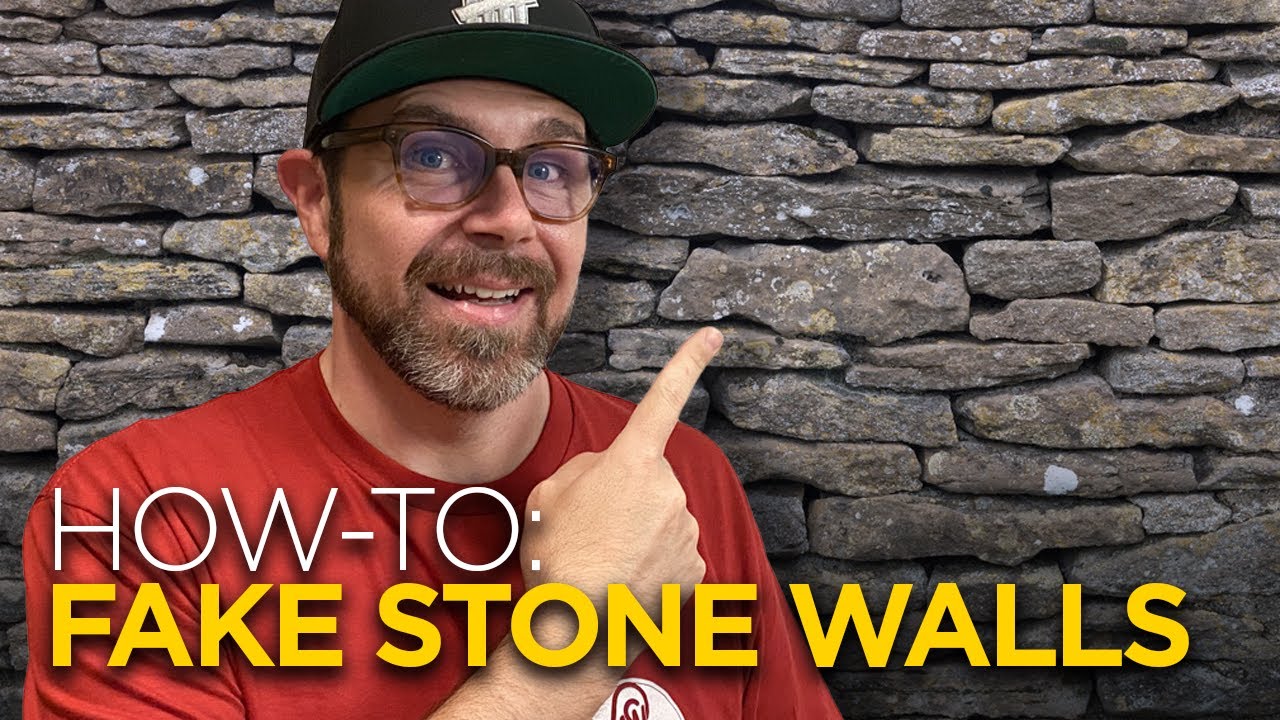
Easy & Realistic Faux Stone Walls with Foam!
7:30
DIY PropsBeginner$20–$50

Easy & Realistic Faux Stone Walls with Foam!

VanOaksProps walks through a beginner-friendly method for creating convincing faux stone panels from foam using minimal tools. The process covers shaping and texturing foam with a box cutter, wire brush, and propane torch, then sealing and painting with Drylok and layered acrylic washes. The finished panels are well-suited for haunted house facades, fireplace surrounds, or any set piece requiring a stone aesthetic.

VanOaksProps· 504,162 views
Halloween Projection Mapping Basics
6:16
Projection EffectsBeginner

Halloween Projection Mapping Basics

VanOaksProps breaks down an accessible approach to Halloween projection mapping aimed at haunters with little to no prior experience. Using a compact pico projector and Photoshop smart objects, the tutorial demonstrates how to achieve theme-park-caliber visual effects on a home or yard haunt. Stock photo resources and downloadable project files are provided to help viewers get started quickly. The video is sponsored in part by AAXA Technologies, which supplied the featured projector.

VanOaksProps· 57,174 views
Haunt Lighting 101
4:49
Lighting TutorialsBeginner

Haunt Lighting 101

This beginner-friendly tutorial from VanOaks Props breaks down essential haunt lighting concepts, helping haunters understand core techniques and terminology to elevate their displays. The video focuses on using LED lighting to add depth, texture, and atmosphere to both yard haunts and indoor haunted house setups. It also references companion videos on building custom mini LED spotlights for those who want a DIY approach to their lighting rig.

VanOaksProps· 70,116 views
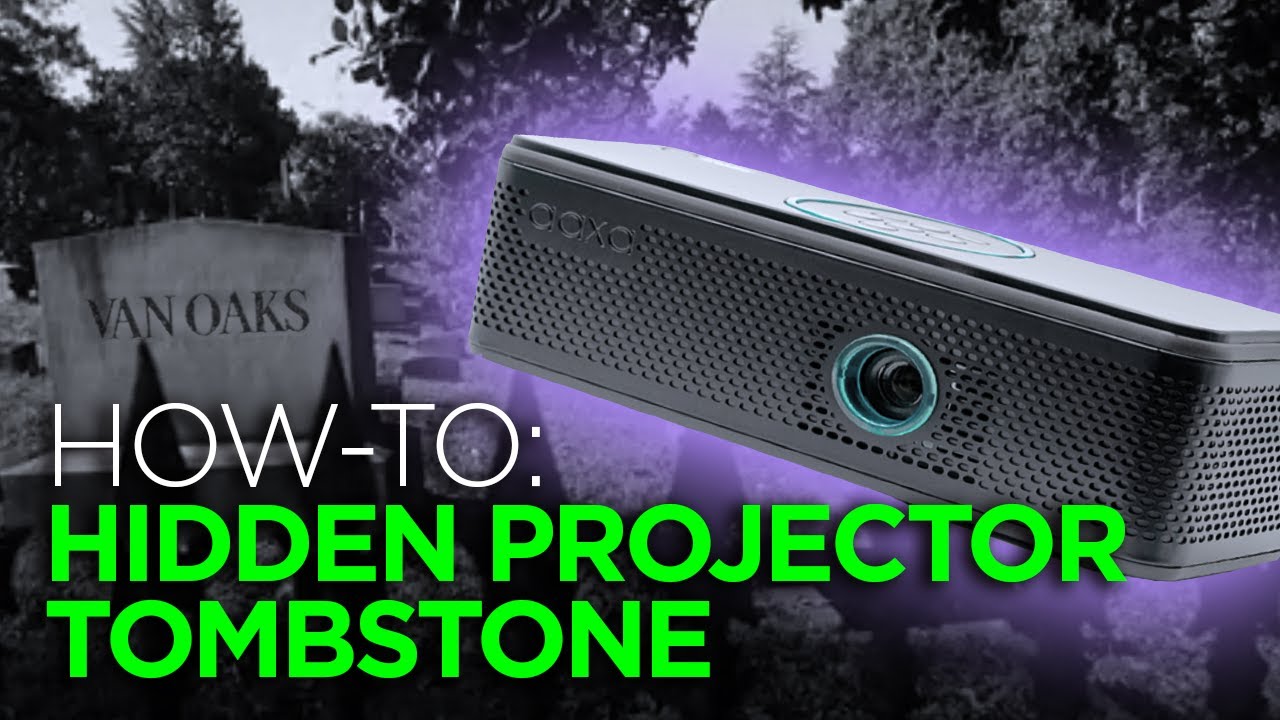
Hidden Projector Tombstone feat. the AAXA HP1
11:16
Projection EffectsIntermediate

Hidden Projector Tombstone feat. the AAXA HP1

VanOaksProps walks through building a realistic foam tombstone that doubles as a concealed housing for a compact projector, keeping the unit hidden from view and shielded from the elements. The build covers foam carving and shaping, router detailing, and a multi-step paint process to achieve a convincing aged-stone look. The finished prop integrates seamlessly into a graveyard display while secretly delivering Halloween projection effects. It's a clever solution for haunters who want polished projection visuals without exposing expensive equipment.

VanOaksProps· 91,619 views
Tower of Terror Sign Replica - Bronze Patina Paint Technique
8:01
DIY PropsBeginner$20–$50

Tower of Terror Sign Replica - Bronze Patina Paint Technique

VanOaksProps walks through a faux bronze patina painting technique inspired by the iconic Tower of Terror sign. Using a small selection of FolkArt acrylic paints, waxes, and an airbrush, the tutorial demonstrates how to achieve a convincingly aged, weather-worn metal look on any prop surface. The method is approachable for beginners and adaptable beyond the specific Disney replica to any project requiring a realistic bronze or verdigris finish. A sealing step with clear coat and wax ensures the finished effect is durable and display-ready.

VanOaksProps· 12,713 views