
Tower of Terror Sign Replica - Bronze Patina Paint Technique
by VanOaksProps
Embedded from YouTube. This video belongs to its creator; Halloween Universe indexes it as a discovery resource.View original ↗
What this video covers
VanOaksProps walks through a faux bronze patina painting technique inspired by the iconic Tower of Terror sign. Using a small selection of FolkArt acrylic paints, waxes, and an airbrush, the tutorial demonstrates how to achieve a convincingly aged, weather-worn metal look on any prop surface. The method is approachable for beginners and adaptable beyond the specific Disney replica to any project requiring a realistic bronze or verdigris finish. A sealing step with clear coat and wax ensures the finished effect is durable and display-ready.
Key takeaways
- ◆A small palette of FolkArt bronze, cocoa, aqua, and patina acrylics combine to mimic naturally oxidized metal
- ◆Antiquing wax and semi-clear wax add depth and authenticity to the aged effect
- ◆An airbrush speeds up blending but the technique can be adapted for brush-only application
- ◆The finished look is versatile — usable on any prop, not just Tower of Terror replicas
- ◆A clear coat topcoat protects the patina for long-term outdoor or display use
Who this is for
Halloween prop builders and Disney fans who want a realistic aged-bronze finish on signs, plaques, or decorative props without advanced sculpting skills.
Tools mentioned
- • airbrush
- • air compressor
- • acid brushes
- • chip brushes
- • spray bottle
- • paint strainers
Materials mentioned
- • CA glue
- • Mod Podge Ultra Spray
- • FolkArt Brushed Bronze acrylic paint
- • FolkArt Cocoa paint
- • FolkArt Aqua acrylic paint
- • FolkArt Patina acrylic paint
- • FolkArt Wax Semi-Clear
- • FolkArt Antiquing Wax
- • satin clear coat
⚠ Safety notes
Use clear coat and spray products in a well-ventilated area. Follow manufacturer safety guidelines for aerosol and acrylic products.
Explore related
More like this
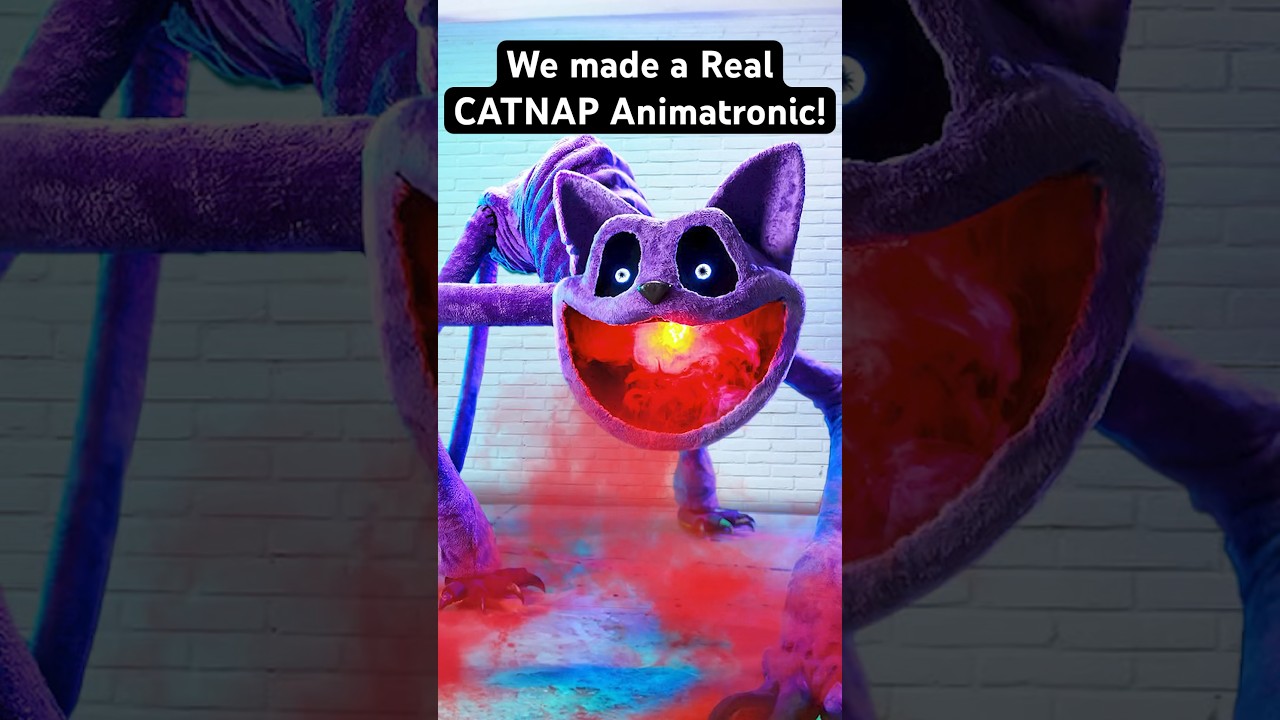
REAL CatNap Animatronic! #catnap #poppyplaytime #shorts
Wicked Makers' Jaimie and Jay build a fully functioning CatNap animatronic from scratch, bringing the popular Poppy Playtime horror-game character to life. The short-form video showcases the impressive finished result of their fabrication work. It's a quick but striking look at what dedicated prop builders can achieve with recognizable pop-culture source material.

Real YARNABY Animatronic! 🧶😱 #poppyplaytime
Wicked Makers' Jay and Jaimie construct a full animatronic version of Yarnaby from the horror game Poppy Playtime, built from steel and driven by pneumatics. The build goes beyond aesthetics — the team stress-tests the animatronic's jaw mechanism using a ballistic gel arm to see whether it could realistically bite through a limb. The video blends behind-the-scenes fabrication footage with chaotic prop-testing in classic Wicked Makers style. It sits alongside their broader catalog of mascot-horror animatronics inspired by FNAF, Poppy Playtime, and similar franchises.

Make Halloween Store Skeletons Way Better! 💀 #shorts
Wicked Makers' Jay and Jaimie demonstrate how to transform a basic store-bought Halloween skeleton into a far more impressive and creepy display piece. The short teases a full-length tutorial focused on giving the skeleton a pirate or drunken drinking character. The upgrade elevates a generic prop into a themed centerpiece without starting from scratch.
Ratings & reviews
No ratings yet — be the first to say whether this one delivered.
Sign in to rate this video and tell others if it helped.