
Building a Star Wars Hologram!
by VanOaksProps
Embedded from YouTube. This video belongs to its creator; Halloween Universe indexes it as a discovery resource.View original ↗
What this video covers
VanOaksProps walks through a full build of an Andor Season 2-inspired Star Wars holoprojector prop, combining vintage part sourcing and modification with 3D printing, laser cutting, and practical electronics. The build integrates an ESP32 microcontroller, Neopixel lighting, and a hologram fan to achieve an in-universe screen-accurate effect. Weathering is accomplished through airbrushing, oil paint washes, liquid latex, and Rub n Buff, giving the finished piece an authentic, battle-worn look. Downloadable files are available for creators who want to replicate the project.
Key takeaways
- ◆Combines vintage kitbashing with modern fabrication tools like 3D printing and laser cutting for a screen-accurate Star Wars prop
- ◆ESP32 microcontroller drives the Neopixel and LED lighting effects inside the holoprojector housing
- ◆Multi-stage weathering — primer, spray paint, oil washes, liquid latex, and Rub n Buff — sells the aged, in-universe aesthetic
- ◆Safety precautions were taken when stripping paint from vintage components, including lead testing and proper PPE
- ◆Free downloadable print files are provided to help others replicate the build
Who this is for
Experienced prop makers, Star Wars cosplayers, and sci-fi set designers looking to build a screen-accurate, electronics-integrated holoprojector display piece.
Tools mentioned
- • Bambu Lab H2D 3D printer
- • Iwata Eclipse airbrush
- • laser cutter
- • nylon brush
Materials mentioned
- • hologram fan
- • ESP32 microcontroller
- • ESP32 breakout board
- • Neopixel strip light
- • 5mm pre-wired LED lights
- • LED bulb holder
- • buck converter
- • Wago 221-415 connectors
- • 2-gang electrical box
- • socket cap hex screws
- • Starbond CA glue
- • 3M VHB tape
- • wire loom
- • 1-inch acrylic tiles
- • Upol filler primer
- • Duplicolor Metallic Silver
- • Montana Shock White Cream
- • Montana Shock Orange
- • Createx Bloodline Diseased Umber
- • Windsor & Newton Black Oil Paint
- • liquid latex
- • Pewter Rub n Buff
- • chemical paint stripper
⚠ Safety notes
Paint on vintage parts was tested for lead before removal; chemical paint stripper was used as the primary removal method, with hand sanding for stubborn areas — proper PPE was worn throughout.
Explore related
More like this
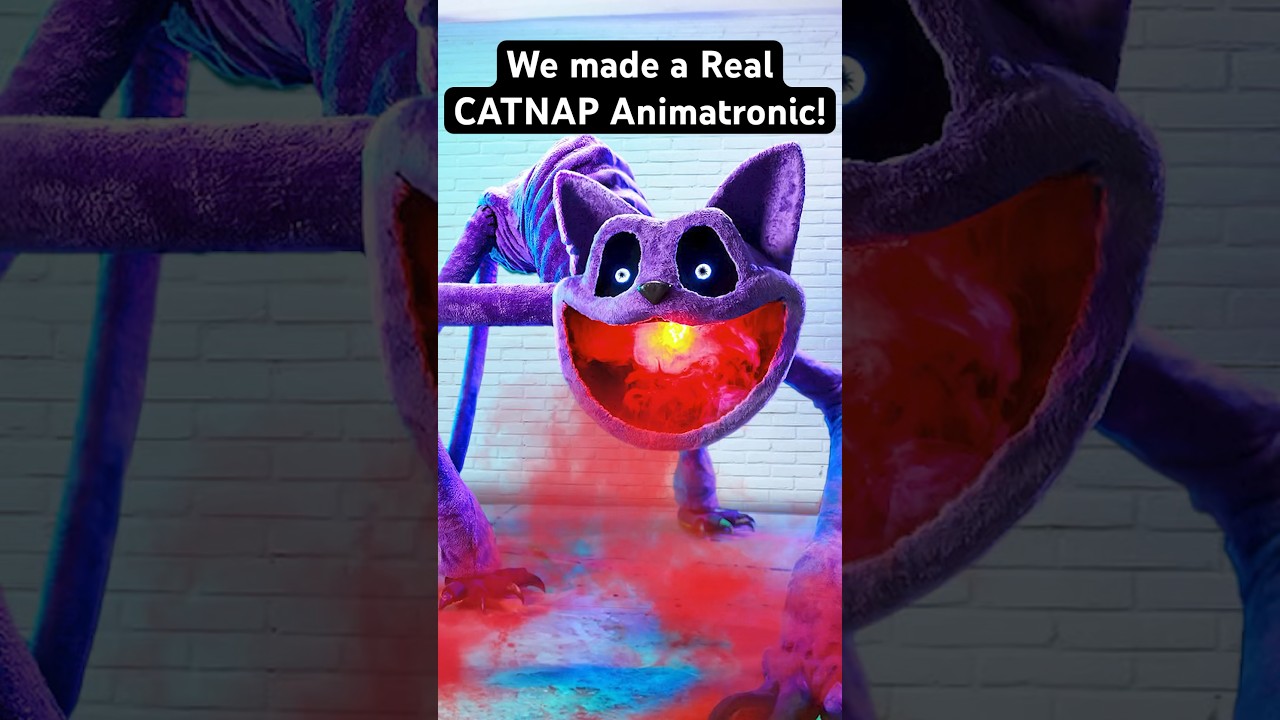
REAL CatNap Animatronic! #catnap #poppyplaytime #shorts
Wicked Makers' Jaimie and Jay build a fully functioning CatNap animatronic from scratch, bringing the popular Poppy Playtime horror-game character to life. The short-form video showcases the impressive finished result of their fabrication work. It's a quick but striking look at what dedicated prop builders can achieve with recognizable pop-culture source material.

Real YARNABY Animatronic! 🧶😱 #poppyplaytime
Wicked Makers' Jay and Jaimie construct a full animatronic version of Yarnaby from the horror game Poppy Playtime, built from steel and driven by pneumatics. The build goes beyond aesthetics — the team stress-tests the animatronic's jaw mechanism using a ballistic gel arm to see whether it could realistically bite through a limb. The video blends behind-the-scenes fabrication footage with chaotic prop-testing in classic Wicked Makers style. It sits alongside their broader catalog of mascot-horror animatronics inspired by FNAF, Poppy Playtime, and similar franchises.

Make Halloween Store Skeletons Way Better! 💀 #shorts
Wicked Makers' Jay and Jaimie demonstrate how to transform a basic store-bought Halloween skeleton into a far more impressive and creepy display piece. The short teases a full-length tutorial focused on giving the skeleton a pirate or drunken drinking character. The upgrade elevates a generic prop into a themed centerpiece without starting from scratch.
Ratings & reviews
No ratings yet — be the first to say whether this one delivered.
Sign in to rate this video and tell others if it helped.