Video Tag
Every video tagged “weathering” in the library — a focused slice of the Halloween archive.
94 videos
Wicked Makers' Jaimie and Jay take a Spirit Halloween sitting scarecrow animatronic and overhaul it into a DC Comics-inspired nightmare creature. After unboxing and weathering the existing costume, they remove the original burlap mask to reveal a hidden plastic head, which they use as a form for a new hand-stitched burlap mask featuring glowing red LED eyes and a sinister stitched smile. The build combines fabric work, painting, and basic electronics to dramatically elevate a store-bought prop into a custom haunted-house centerpiece.
Wicked Makers' Jay and Jaimie transform a basic store-bought plastic skeleton into a swaying drunken pirate animatronic inspired by Pirates of the Caribbean. The build covers two parallel tracks: constructing a wiper-motor-driven PVC swaying mechanism, and detailing the skeleton with corpsing (cotton, liquid latex, and contact cement), custom painting, and thrift-store costume weathering. The corpsing method demonstrated produces a decayed, fleshy look distinct from the mummified result of heat-gun-and-plastic-wrap techniques. The finished prop is designed for outdoor yard display and makes an impressive centerpiece for a home haunt.
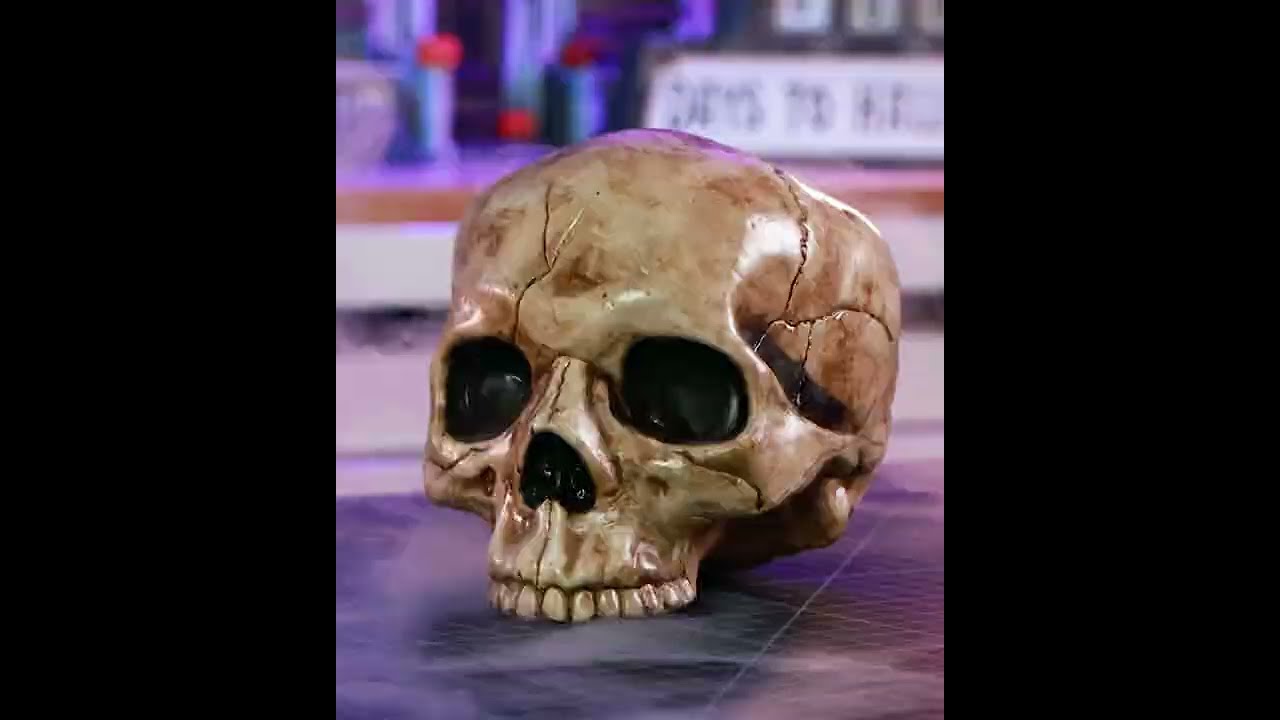
Wicked Makers hosts Jaimie and Jay demonstrate how to transform ordinary store-bought Halloween skulls into convincing, high-quality props. The project focuses on elevating cheap, mass-produced decorations through hands-on techniques that dramatically improve their appearance. This is a budget-friendly upgrade rather than a full build from scratch.
Creator Matt Daniels builds a fully functional Fallout Pip-Boy prop by hiding a broken smartphone inside a 3D-printed shell to drive the screen and dial lighting. A homemade vacuum forming rig is used to shape a curved plastic lens that recreates the classic CRT aesthetic. The build also covers weathering, painting, and the kind of practical movie-magic tricks used by real prop departments to sell the illusion. The result is a screen-accurate, wearable cosplay prop at a fraction of commercial replica prices.
This video documents a comprehensive upgrade of Home Depot's large R2-D2 animatronic, transforming it from a fun but screen-inaccurate prop into a movie-faithful display piece. The creator rebuilds the logic displays, replaces stock lighting with proper LEDs, reshapes acrylic diffusers, repaints chrome edges, and applies a full Star Wars-style weathering pass. The result is a store-bought animatronic that closely resembles the iconic droid as seen on film.
This tutorial from VanOaksProps walks through building a wearable Tusken Raider helmet using duck canvas, faux leather, and hot glue as the primary construction method, with a Thingiverse 3D model as a reference or base. The build incorporates fabric shaping, leather detailing, and a multi-step paint and weathering process to achieve an authentic, battle-worn look. The video is sponsored by Surebonder, whose cordless glue gun and Cosplay Stik adhesive are featured throughout. The finished prop is suited for Star Wars cosplay or Halloween costume use.
VanOaksProps demonstrates how to build a screen-accurate, Original Trilogy-inspired lightsaber entirely from common PVC plumbing components and basic hardware. The build walks through assembly of various PVC fittings to form the hilt body, followed by a multi-stage paint process — chrome base, matte black, and oil-paint weathering — to achieve a realistic metal appearance. Free grip template files are available to download, making the project accessible to beginners with intermediate crafting ambition. The result is a movie-quality prop built at a fraction of the cost of commercial replicas.
VanOaksProps walks through a full build of an Andor Season 2-inspired Star Wars holoprojector prop, combining vintage part sourcing and modification with 3D printing, laser cutting, and practical electronics. The build integrates an ESP32 microcontroller, Neopixel lighting, and a hologram fan to achieve an in-universe screen-accurate effect. Weathering is accomplished through airbrushing, oil paint washes, liquid latex, and Rub n Buff, giving the finished piece an authentic, battle-worn look. Downloadable files are available for creators who want to replicate the project.
Creator Matt Daniels of Creative Geekery takes on a full garage build of a Jurassic World-inspired raptor, combining foam carving, foam clay sculpting, and 3D-printed animatronics into a single epic documentary-style video compiled from five original episodes. The build covers the complete journey from raw materials to a finished, detailed dinosaur prop — including a custom raptor containment unit. Honest behind-the-scenes footage captures the real trial-and-error process rather than a polished step-by-step tutorial. Free build resources are offered on the creator's website for those who want to attempt their own version.
VanOaksProps walks through a full large-scale crypt build inspired by the iconic above-ground tombs of New Orleans cemeteries. The project covers design through final weathered finish using accessible materials centered on XPS insulation foam. Techniques include routing decorative details, foam carving, spackling for texture, and paint weathering to achieve an authentic aged-stone look. The finished prop is designed to be lightweight and durable enough for repeated seasonal outdoor use.
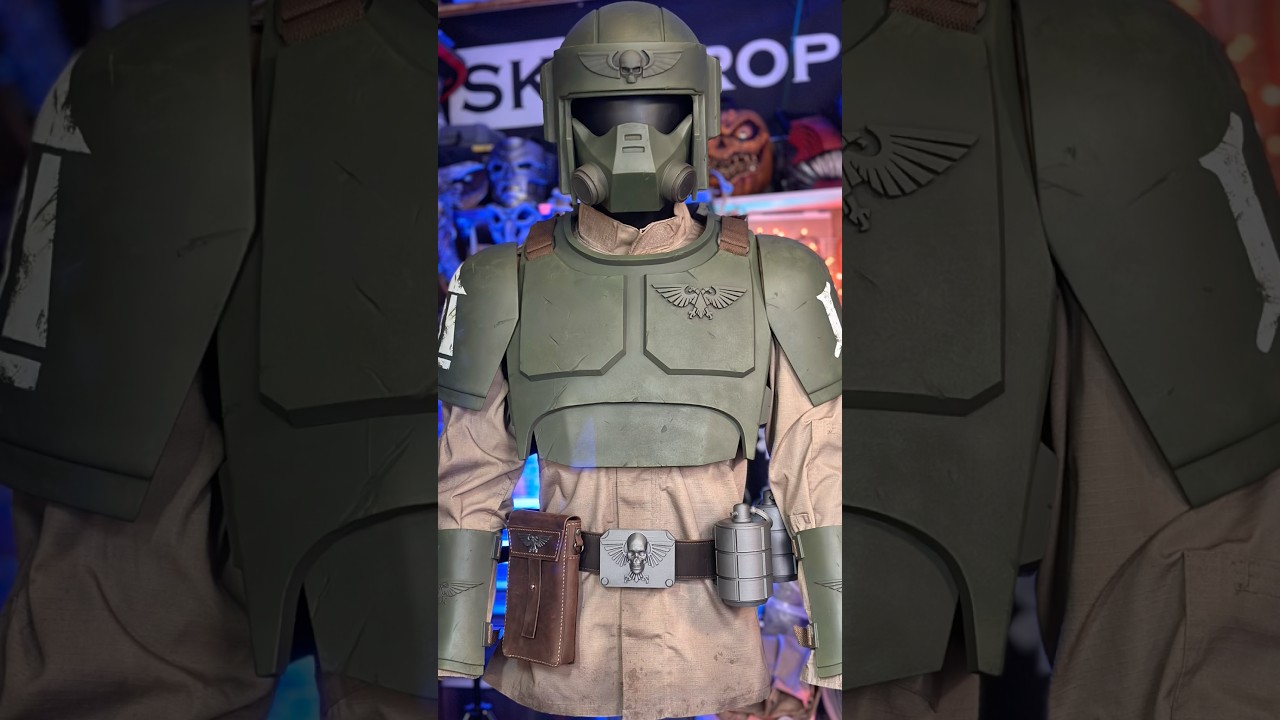
This installment in SKS Props' ongoing Warhammer 40K Cadian armor build series focuses on strapping the shoulder and forearm armor pieces and beginning the weathering process on the soft goods. The creator combines Dirty Down sprays with Liquitex heavy body acrylics to achieve a battle-worn, grimdark aesthetic. The series is designed to help viewers build a complete Cadian Imperial Guard cosplay in time for a group appearance at Dragon Con. Free foam templates and STL files for 3D-printed components are available via links in the description.
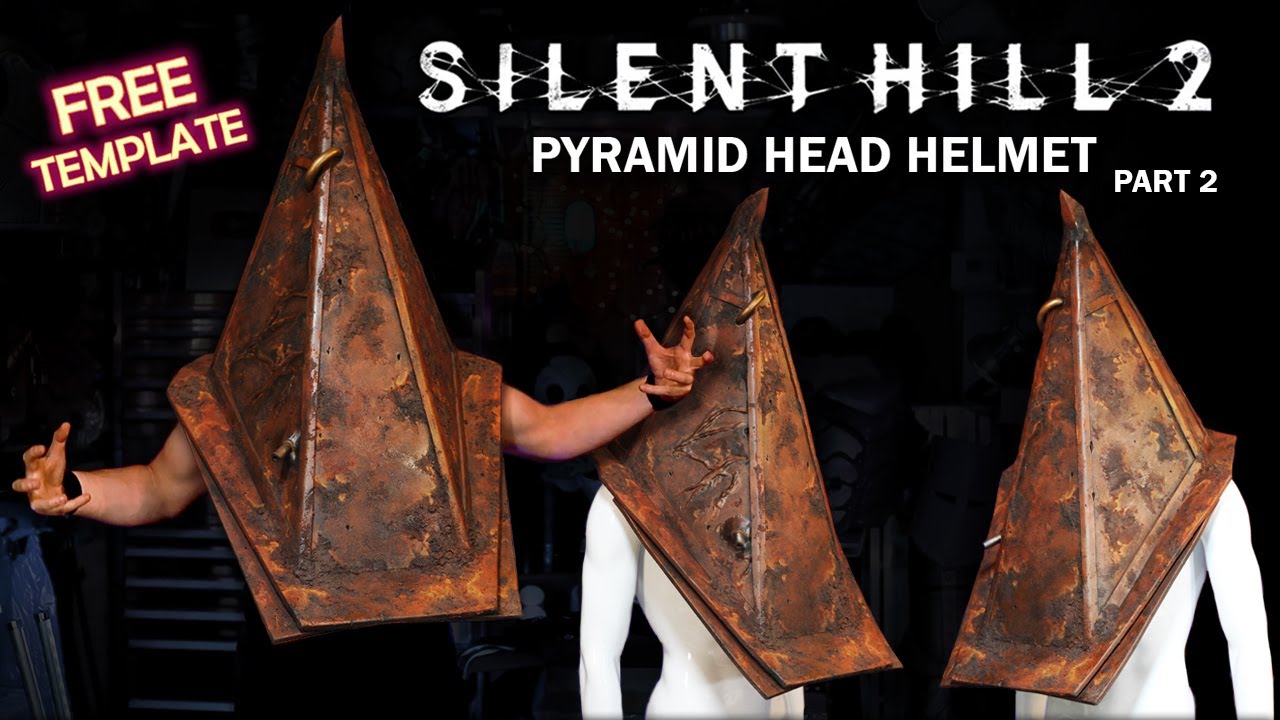
This is Part 2 of SKS Props' Pyramid Head helmet build series, focusing entirely on painting and weathering the foam helmet to look like aged, rusted metal. The creator uses Liquitex heavy body acrylics applied with various brushes alongside a pumice medium for added surface texture, achieving a convincing rust effect. A free downloadable PDF template for the helmet is available on the creator's website. The techniques demonstrated are broadly applicable to any prop or costume build requiring a convincing rusted-metal finish.
In this interview recorded at MegaCon Orlando, the Creative Geekery channel sits down with Weta Workshop luminaries Sir Richard Taylor, Tania Rodger, and Daniel Falconer to explore the philosophy behind one of Hollywood's most celebrated practical effects studios. The trio reflects on how Weta grew from humble bedroom builds to Oscar-winning productions, crediting a willingness to dive in without a roadmap as a core driver of their success. Key topics include how Weta evaluates creative talent, the importance of weathering and contextual storytelling in prop work, and why embracing failure is essential to any maker's growth. The conversation serves as an inspirational masterclass for anyone hesitant to start a creative project.
This tutorial — Part 3 of a multi-part series — focuses on texturing and painting EVA foam chest armor inspired by the knight designs of The Elder Scrolls: Oblivion. The creator walks through surface preparation using texture mediums and sealers, then demonstrates layered acrylic painting and graphite powder buffing techniques to achieve a convincing metallic finish. Free PDF templates for the armor are available on the creator's website. The video is pitched at beginners but contains enough detail to benefit intermediate builders as well.
This video from SKS Props covers the construction of Fallout NCR Ranger chest armor using HD foam, with a focus on adding realistic battle damage and weathering effects. The lightweight foam construction makes the finished piece comfortable to wear and move in. The creator also references a companion 3D-printed helmet and offers free PDF templates on their website for viewers who want to build their own version.
Allen Hopps of Stiltbeast Studios demonstrates how to elevate a store-bought skeleton prop by adding custom sculpted detail, specifically a brow ridge built up with Apoxie Sculpt two-part epoxy clay. The technique transforms an off-the-shelf piece into a more menacing, character-driven prop. The subject skeleton is an oversized Frankenbucky-style piece, giving the methods shown a dramatic visual payoff even at large scale.
VanOaksProps compiles their top ten Star Wars DIY prop builds spanning four years into a single 103-minute showcase. Projects range from beginner-friendly repaints of toy blasters and droid weathering to more ambitious scratch-builds like a Gonk projector droid, a Tusken Raider helmet, and a one-of-a-kind Star Wars lamp. Each segment links back to a dedicated source video where full materials and paint details can be found. The collection covers a wide variety of prop-making skills, making it a useful reference for Star Wars fans at multiple experience levels.
This tutorial walks through transforming a brand-new lantern into a convincingly aged, rusty antique using accessible materials and straightforward finishing techniques. The process covers creating a faux rust effect, aging the glass with glue, and layering finishes to achieve an overall worn, antique appearance. It is designed to be approachable for beginners with no specialized tools required. The techniques shown can be applied beyond lanterns to virtually any prop or surface.
VanOaksProps walks through a detailed scratch-build recreation of the 2-1B medical droid head from The Empire Strikes Back, combining a scaled 3D-printed model with a real vintage microphone shell as its foundation. The build integrates custom greeblies, metal strip details, and coaxial connector hardware to achieve a convincing screen-inspired look. Finishing techniques include acetone vapor smoothing, layered metallic spray paints, acrylic weathering washes, and a simple LED circuit for glowing eyes. The result is a showpiece prop that balances accuracy with creative problem-solving.
This short teaser from SKS Props showcases progress on a Dead by Daylight Huntress cosplay mask, highlighting the painting and weathering stage of the build. Surface texturing plays a key role in achieving a convincing, game-accurate look. A full tutorial with free templates is planned for a future release.
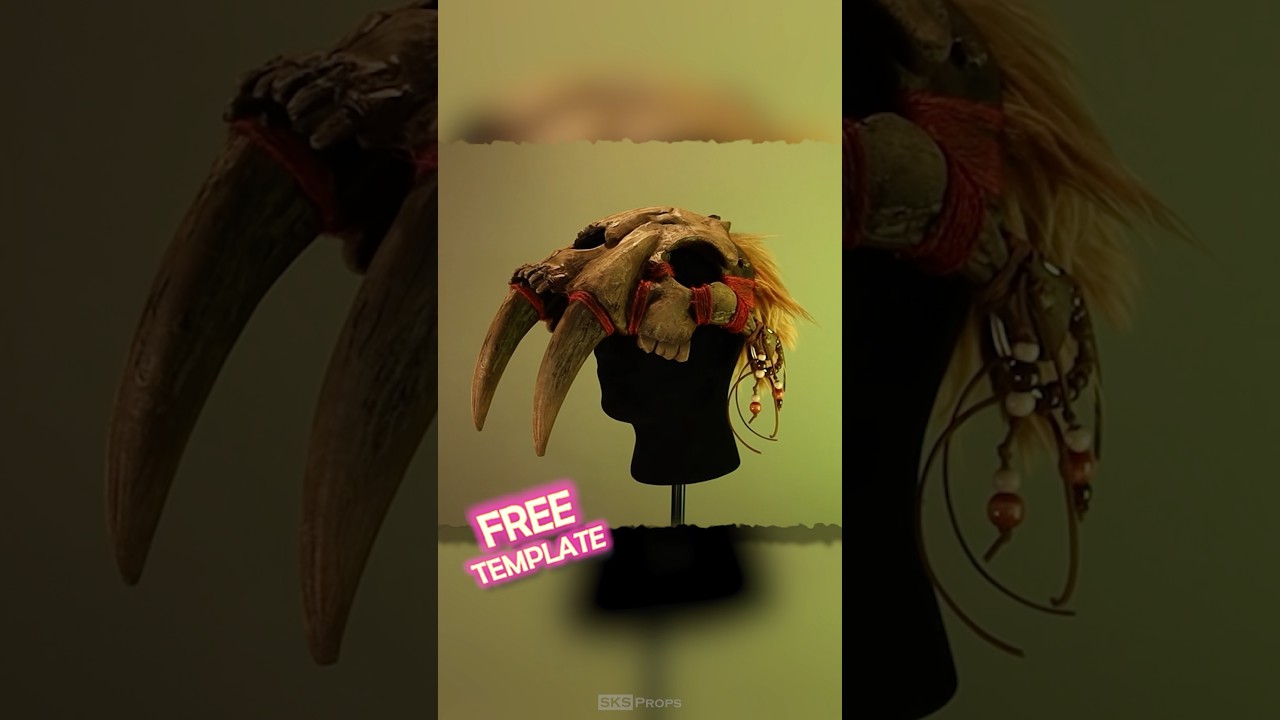
This tutorial walks through the full process of building a wearable saber-toothed tiger skull prop from HD foam, covering both construction and painting stages. The creator demonstrates how to weather and age foam using acrylic and metallic paints to achieve a primal, battle-worn aesthetic suited to cosplay or video game-inspired looks. The finished piece is notably lightweight and comfortable for extended wear. Free downloadable PDF templates are available on the creator's website to help viewers replicate the build.
VanOaks Props compiles six of his favorite Star Wars helmet and droid prop builds into a single hour-long marathon video. Projects span a wide range of characters — from bounty hunters and protocol droids to desert warriors — each constructed using 3D printing, paint, and hands-on prop-making techniques inspired by the original films. The video highlights weathering, lighting effects, and creative problem-solving throughout each build. Links to the individual source videos and associated files are provided in the description.
VanOaksProps walks through the full painting and weathering process for two 3D-printed IG-88 droid heads inspired by Star Wars and The Mandalorian. The workflow starts with a gloss black base coat followed by a chrome lacquer layer to achieve that signature metallic droid look. Acrylic paints in rust, orange, and brown tones are then layered on to simulate wear, grime, and battle damage, making the props look authentically aged. The build uses a 3D model sourced from Thingiverse and relies on tools and materials that are largely accessible to hobbyist prop makers.
Monster Tutorials demonstrates how to age and distress concrete surfaces, using their own cast concrete skulls as the primary demo piece. The process covers staining and faux moss techniques that simulate years of outdoor weathering. Importantly, the methods shown are transferable to any concrete or cement surface, making this a broadly useful skill for haunters and Halloween decorators alike.