
DIY Electro Shock Prop from Star Wars
by VanOaksProps
Embedded from YouTube. This video belongs to its creator; Halloween Universe indexes it as a discovery resource.View original ↗
What this video covers
VanOaksProps walks through a detailed screen-accurate recreation of the electro-shock prod from Star Wars: The Last Jedi, starting from a free 3D model and taking it to convention-ready finish. The build covers resin printing, chrome painting with Alclad, and a multi-step weathering process including liquid latex paint chipping, airbrush heat discoloration, and Rub N Buff accents. The result is a battle-worn, layered finish that closely mimics the prop's on-screen appearance. The creator also touches on display packaging options for a vintage collectible presentation.
Key takeaways
- ◆A free 3D model from MyMiniFactory serves as the foundation, making the build accessible to anyone with a resin printer
- ◆Liquid latex masking is used to create convincing paint chip weathering before chrome and color layers are applied
- ◆Airbrush techniques simulate realistic heat discoloration and surface wear for a screen-accurate look
- ◆Rub N Buff in Pewter and Antique Gold adds final metallic edge highlights and depth
- ◆The finished prop is suitable for cosplay, convention display, or vintage-style packaged collectible presentation
Who this is for
Intermediate-to-advanced prop makers and cosplayers who want to master professional-level resin print finishing, chrome painting, and multi-layer weathering techniques on a Star Wars replica.
Tools mentioned
- • Elegoo Saturn 4 Ultra resin printer
- • Iwata Eclipse airbrush
- • California Air Tools compressor
- • Scotchbrite pad
- • applicator bottle
- • sea sponge
- • popsicle sticks
- • Tamiya masking tape
- • 1-inch painters tape
- • double-faced carpet tape
Materials mentioned
- • Sunlu ABS-like water washable resin
- • CA glue
- • liquid latex
- • Upol Expert sandable primer
- • matte black spray paint
- • Alclad Aqua Gloss
- • Alclad Chrome
- • Vallejo Game Air Orange Fire
- • Vallejo Game Air Electric Blue
- • Vallejo Game Air Scarlet Blood
- • Vallejo Game Air Sun Yellow
- • Createx Bloodline Diseased Umber
- • Pewter Rub N Buff
- • Antique Gold Rub N Buff
⚠ Safety notes
Resin printing requires proper ventilation and PPE (gloves, mask). Airbrush paints and spray primers should be used in well-ventilated areas or with appropriate respiratory protection.
Explore related
More like this
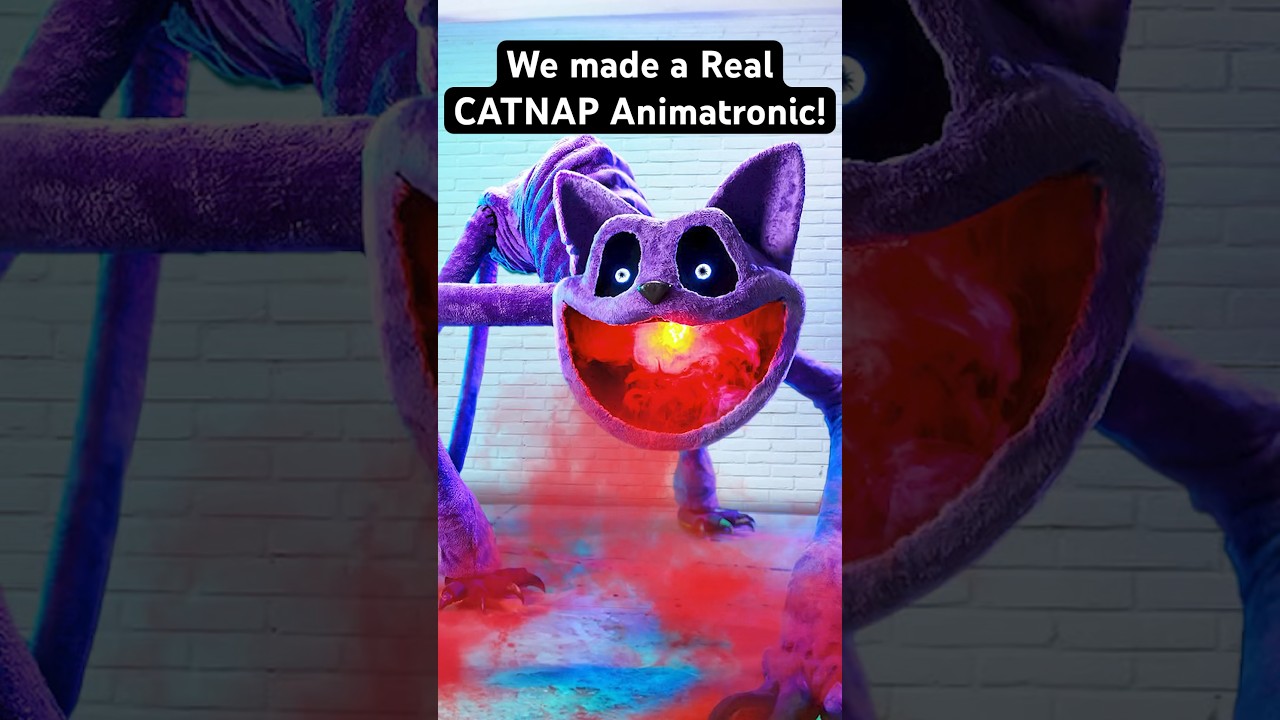
REAL CatNap Animatronic! #catnap #poppyplaytime #shorts
Wicked Makers' Jaimie and Jay build a fully functioning CatNap animatronic from scratch, bringing the popular Poppy Playtime horror-game character to life. The short-form video showcases the impressive finished result of their fabrication work. It's a quick but striking look at what dedicated prop builders can achieve with recognizable pop-culture source material.

Real YARNABY Animatronic! 🧶😱 #poppyplaytime
Wicked Makers' Jay and Jaimie construct a full animatronic version of Yarnaby from the horror game Poppy Playtime, built from steel and driven by pneumatics. The build goes beyond aesthetics — the team stress-tests the animatronic's jaw mechanism using a ballistic gel arm to see whether it could realistically bite through a limb. The video blends behind-the-scenes fabrication footage with chaotic prop-testing in classic Wicked Makers style. It sits alongside their broader catalog of mascot-horror animatronics inspired by FNAF, Poppy Playtime, and similar franchises.

Make Halloween Store Skeletons Way Better! 💀 #shorts
Wicked Makers' Jay and Jaimie demonstrate how to transform a basic store-bought Halloween skeleton into a far more impressive and creepy display piece. The short teases a full-length tutorial focused on giving the skeleton a pirate or drunken drinking character. The upgrade elevates a generic prop into a themed centerpiece without starting from scratch.
Ratings & reviews
No ratings yet — be the first to say whether this one delivered.
Sign in to rate this video and tell others if it helped.