Video Tag
Every video tagged “screen accurate” in the library — a focused slice of the Halloween archive.
14 videos
VanOaks Props compiles six of his favorite Star Wars helmet and droid prop builds into a single hour-long marathon video. Projects span a wide range of characters — from bounty hunters and protocol droids to desert warriors — each constructed using 3D printing, paint, and hands-on prop-making techniques inspired by the original films. The video highlights weathering, lighting effects, and creative problem-solving throughout each build. Links to the individual source videos and associated files are provided in the description.
This step-by-step tutorial walks viewers through building a full-size Ghostbusters proton pack using the free, open-source Q-Pack files designed by Marc Carabelli and Quentin Machiels. The creator covers the entire physical build process — from sourcing and prepping print files to assembly, filling, sanding, painting for screen-accurate results, and scratch-building the motherboard. A free resource guide and parts list are available via the creator's website. Electronics, lighting, sound, and weathering are promised in a follow-up video.
VanOaksProps walks through a detailed, screen-accurate build of the Jedi Comlink seen in the hands of Qui-Gon Jinn and Obi-Wan Kenobi across two Star Wars prequel films. The foundation is a vintage Gillette Sensor Excel razor — the same found object used by the original prop department — enhanced with custom 3D-printed parts, laser-cut acrylic, and hard-to-find specialty hardware like Coughtrie screws and aerospace pins. The tutorial concludes with a full weathering sequence using primer, spray paint, and oil washes to achieve a convincingly worn, screen-matched finish. It's a masterclass in blending digital fabrication with traditional kit-bashing for obsessive prop accuracy.
VanOaksProps builds screen-inspired light fixtures modeled after the Smuggler's Run ride at Galaxy's Edge, combining 3D-printed parts, acrylic tubing, and craft foam detailing to achieve a convincing in-universe look. The fixtures are brought to life with Linkind RGBTW smart bulbs, which allow programmable color scenes and automation to replicate the immersive atmosphere of the ride. The build is sponsored by Linkind and doubles as a charitable tie-in with the Jimmy Darts Kindness is Candy initiative.
This marathon compilation from VanOaksProps walks through the construction of six iconic movie props, including the Goonies Copper Bones, the Indiana Jones Holy Grail, Ghostbusters Ecto Goggles, Jack Torrance's axe from The Shining, Doc Brown's binoculars from Back to the Future Part II, and HAL9000 from 2001: A Space Odyssey. Each build showcases practical fabrication techniques including 3D printing, painting, weathering, and finishing aimed at achieving screen-accurate results. The format is a compiled deep-dive suited for makers at multiple skill levels looking to tackle cinematic replicas from scratch.
This short tutorial walks fans of the Apple TV+ series Severance through building a screen-accurate Lumon Industries employee ID badge from scratch. The creator covers designing and printing the badge graphic, applying it to a card substrate, laminating with contact paper for a polished finish, and threading it onto a lanyard. As a fun bonus segment, the finished badge is worn to MegaCon Orlando to gauge fan recognition in the wild.
VanOaksProps revives a long-shelved project to complete a screen-accurate set of Ghostbusters Ecto Goggles, using a free Thingiverse 3D model as the foundation. The build focuses on hardware assembly — sourcing specific screws, snaps, and olive-colored belting straps — followed by a multi-layer paint and weathering process using acrylics and oil paint washes. The result is a wearable, movie-faithful replica suitable for cosplay or display. This video kicks off a new series dedicated to finishing abandoned prop builds.
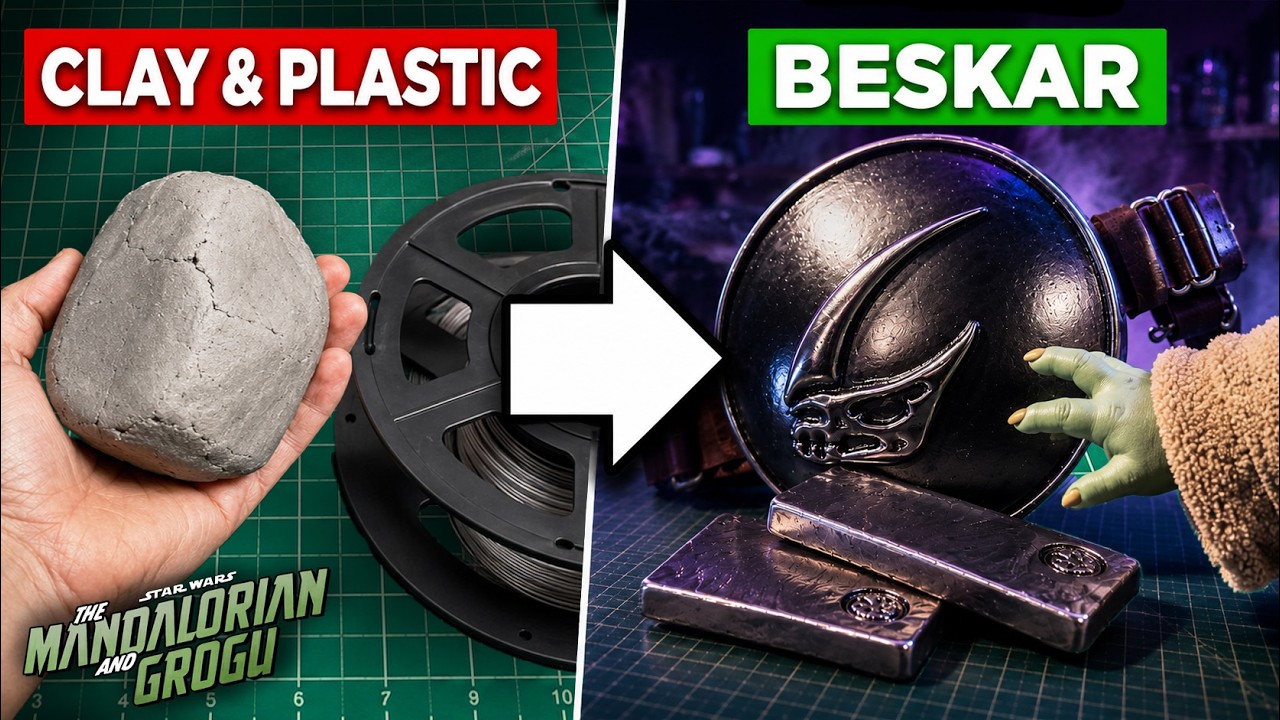
This tutorial walks through building screen-accurate Mandalorian Beskar ingots and a Grogu chest plate on a tight budget using air-dry clay and a 3D-printed mold. The creator documents the trial-and-error process of developing a custom forging template, correcting common clay-layering mistakes along the way. Key finishing techniques — including a black gloss base coat and graphite powder buffing — transform cheap hobby materials into convincing heavy-metal props. The result is a polished, practical-effects-quality build for under $30.
VanOaksProps walks through a screen-accurate recreation of Rey's scavenged Star Destroyer capacitor bearing from The Force Awakens, starting from a common screwdriver cap and custom 3D-modeled parts. The build covers digital redesign of the prop's distinctive fin and collet details, followed by resin printing and assembly. A thorough painting and weathering sequence—using primer, matte black, Rub n Buff, acrylic washes, and Fuller's Earth—delivers a convincingly gritty, battle-worn metallic finish. A free 3D model file is provided for viewers to replicate the build themselves.
VanOaksProps walks through a detailed replica build of the iconic red Death Star door control panel from Star Wars: A New Hope. The project spans the full production pipeline — from scaling reference parts and large-format 3D printing to seam removal, priming, and advanced painting. Weathering techniques give greeblies a convincing galvanized-metal look, while vinyl decals, reflective accents, and functional LED indicator lights push the result toward screen-accurate quality. The finished piece is positioned as a display-worthy, theme-park-caliber prop suitable for haunt set dressing or serious Star Wars collections.
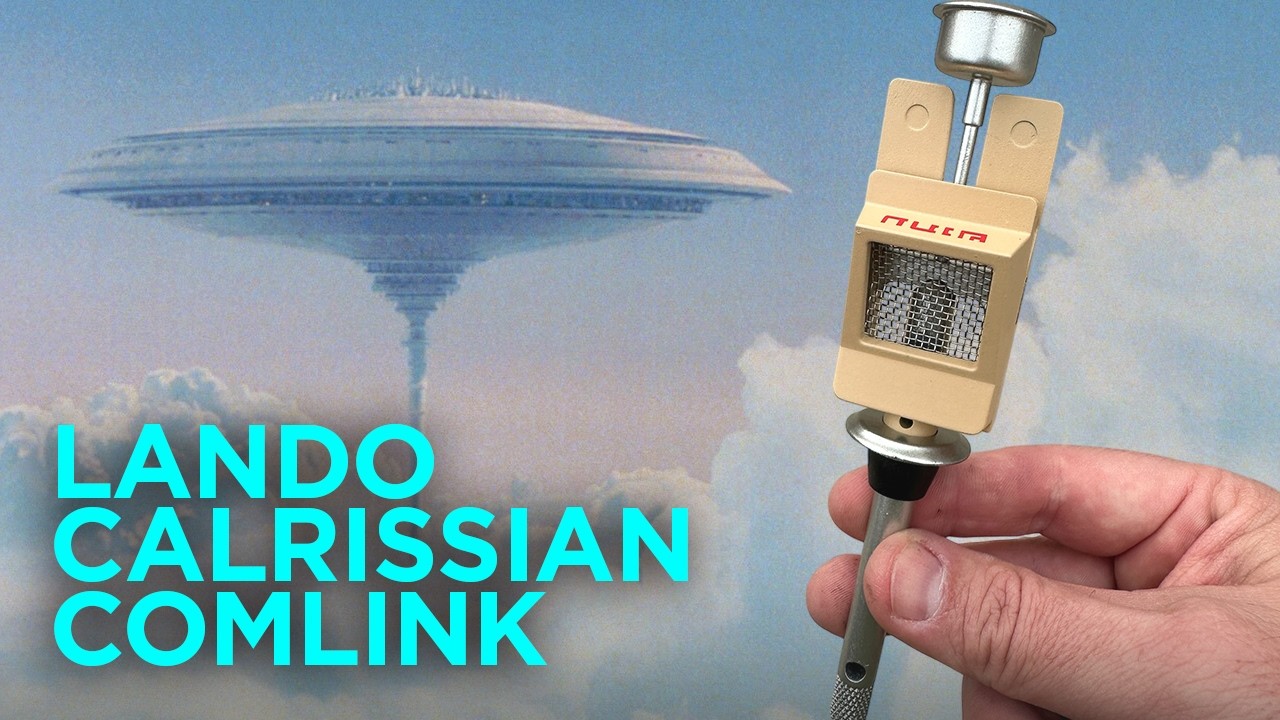
VanOaksProps digs into the obscure origins of Lando Calrissian's Bespin comlink from The Empire Strikes Back, tracing it to a real 1945 vintage electrical switch before recreating it as a highly screen-accurate SLA resin 3D print. The build draws on reference imagery and Replica Prop Forum research to nail the prop's distinctive shape and fine surface details. The tutorial walks through the full workflow: print cleanup, sandable primer, screen-matched paint colors, metallic finishes, vinyl detail work, and final assembly.
VanOaksProps walks through a complete screen-accurate build of the Resistance Comlink seen in Star Wars: The Last Jedi, referencing the official visual dictionary to nail the design. The process covers resin 3D printing a small, highly detailed part and tackling the unique challenges that come with it. Multi-step painting techniques are demonstrated to achieve convincing metallic surfaces, a faux leather grip, and realistic battle weathering using an airbrush and sponge work.
VanOaksProps walks through a detailed screen-accurate recreation of the electro-shock prod from Star Wars: The Last Jedi, starting from a free 3D model and taking it to convention-ready finish. The build covers resin printing, chrome painting with Alclad, and a multi-step weathering process including liquid latex paint chipping, airbrush heat discoloration, and Rub N Buff accents. The result is a battle-worn, layered finish that closely mimics the prop's on-screen appearance. The creator also touches on display packaging options for a vintage collectible presentation.
This video spotlights prop maker Victor's impressive screen-accurate recreation of Rino — Jinx's massive final weapon from Arcane — showcased at MegaCon Orlando 2025. Standing at over five feet tall and featuring a functional spinning barrel and detailed weathered paint, the build is a standout example of convention-level cosplay craftsmanship. The creator interviews Victor about his process, the challenges he faced, and his philosophy on cosplay as an artform.