
DIY Medieval Torch Prop
by VanOaksProps
Embedded from YouTube. This video belongs to its creator; Halloween Universe indexes it as a discovery resource.View original ↗
What this video covers
VanOaksProps walks through a one-day scratch build of a medieval-style torch prop using PVC pipe, craft foam, and an LED flame bulb. The build relies on accessible hardware and craft supplies, with a free downloadable template provided to guide shaping. Painting and weathering steps give the finished piece a convincing aged-iron look suitable for costumes, cosplay, or haunted displays. The project is sponsored in part by Surebonder, whose cosplay hot glue sticks are used throughout.
Key takeaways
- ◆A free PDF and SVG template is available to simplify the foam-shaping process
- ◆PVC pipe and fittings form the structural handle, keeping the build sturdy and lightweight
- ◆An LED flame bulb powered by a battery holder creates a safe, flameless flicker effect
- ◆Layered acrylic paints and Plasti-Dip produce a realistic weathered-metal finish
- ◆The entire prop can realistically be completed in a single day
Who this is for
Beginner to intermediate prop makers looking for a quick, affordable medieval torch for a haunted room, dungeon display, or costume/cosplay build.
Tools mentioned
- • Dremel rotary tool
- • hot glue gun
- • acid brushes
Materials mentioned
- • 1" PVC pipe
- • 1" PVC coupler
- • 1" PVC cap
- • 5mm craft foam
- • craft foam
- • Surebonder cosplay hot glue sticks
- • LED flame bulb
- • cell battery holder
- • acrylic modeling paste
- • shelf liner
- • Wago connectors
- • burnt umber acrylic paint
- • raw sienna acrylic paint
- • hot saffron acrylic paint
- • metallic aluminum spray paint
- • matte black spray paint
- • Plasti-Dip rubberized coating
⚠ Safety notes
Use caution with hot glue to avoid burns. Work in a ventilated area when using spray paints and Plasti-Dip rubberized coating.
Explore related
More like this
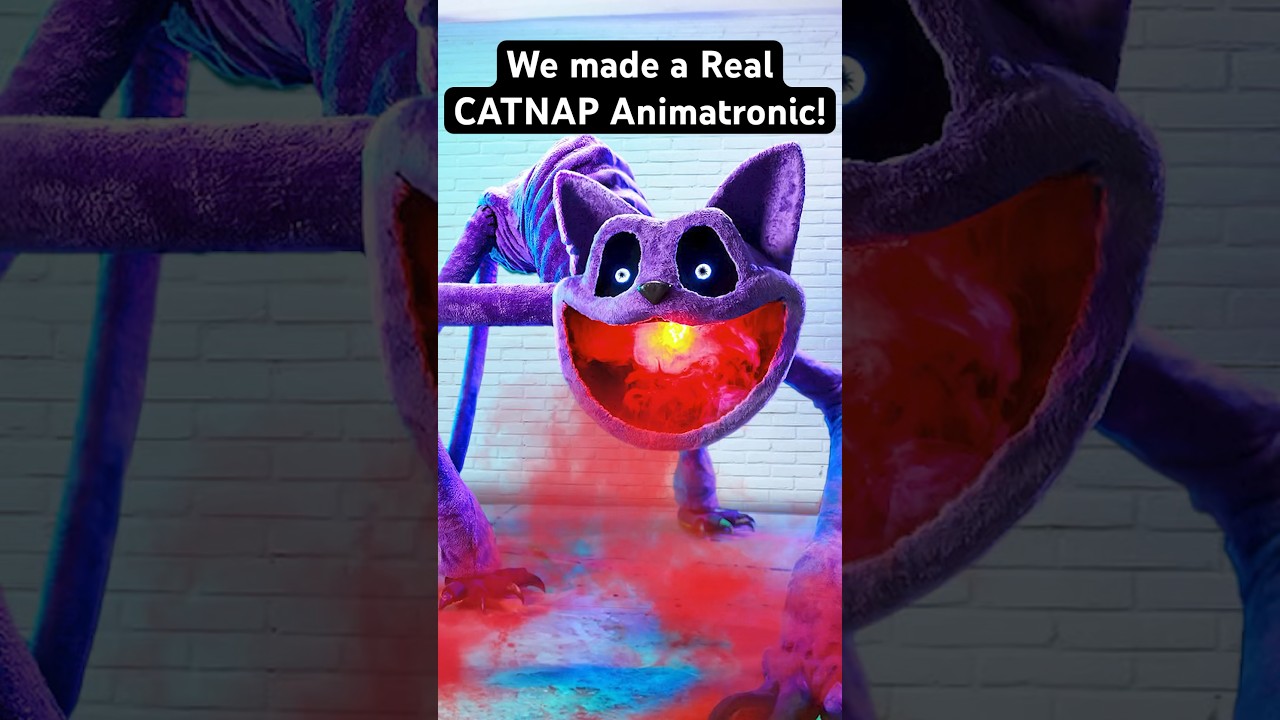
REAL CatNap Animatronic! #catnap #poppyplaytime #shorts
Wicked Makers' Jaimie and Jay build a fully functioning CatNap animatronic from scratch, bringing the popular Poppy Playtime horror-game character to life. The short-form video showcases the impressive finished result of their fabrication work. It's a quick but striking look at what dedicated prop builders can achieve with recognizable pop-culture source material.

Real YARNABY Animatronic! 🧶😱 #poppyplaytime
Wicked Makers' Jay and Jaimie construct a full animatronic version of Yarnaby from the horror game Poppy Playtime, built from steel and driven by pneumatics. The build goes beyond aesthetics — the team stress-tests the animatronic's jaw mechanism using a ballistic gel arm to see whether it could realistically bite through a limb. The video blends behind-the-scenes fabrication footage with chaotic prop-testing in classic Wicked Makers style. It sits alongside their broader catalog of mascot-horror animatronics inspired by FNAF, Poppy Playtime, and similar franchises.

Make Halloween Store Skeletons Way Better! 💀 #shorts
Wicked Makers' Jay and Jaimie demonstrate how to transform a basic store-bought Halloween skeleton into a far more impressive and creepy display piece. The short teases a full-length tutorial focused on giving the skeleton a pirate or drunken drinking character. The upgrade elevates a generic prop into a themed centerpiece without starting from scratch.
Ratings & reviews
No ratings yet — be the first to say whether this one delivered.
Sign in to rate this video and tell others if it helped.