Halloween Universe

The Screening Room

The Halloween Video Library

A curated, searchable archive of the dark craft — DIY props and animatronics, home-haunt walkthroughs, makeup, lighting, fog, and effects. Every film embedded from its creator, organized so you can actually find what you need.

15 videos
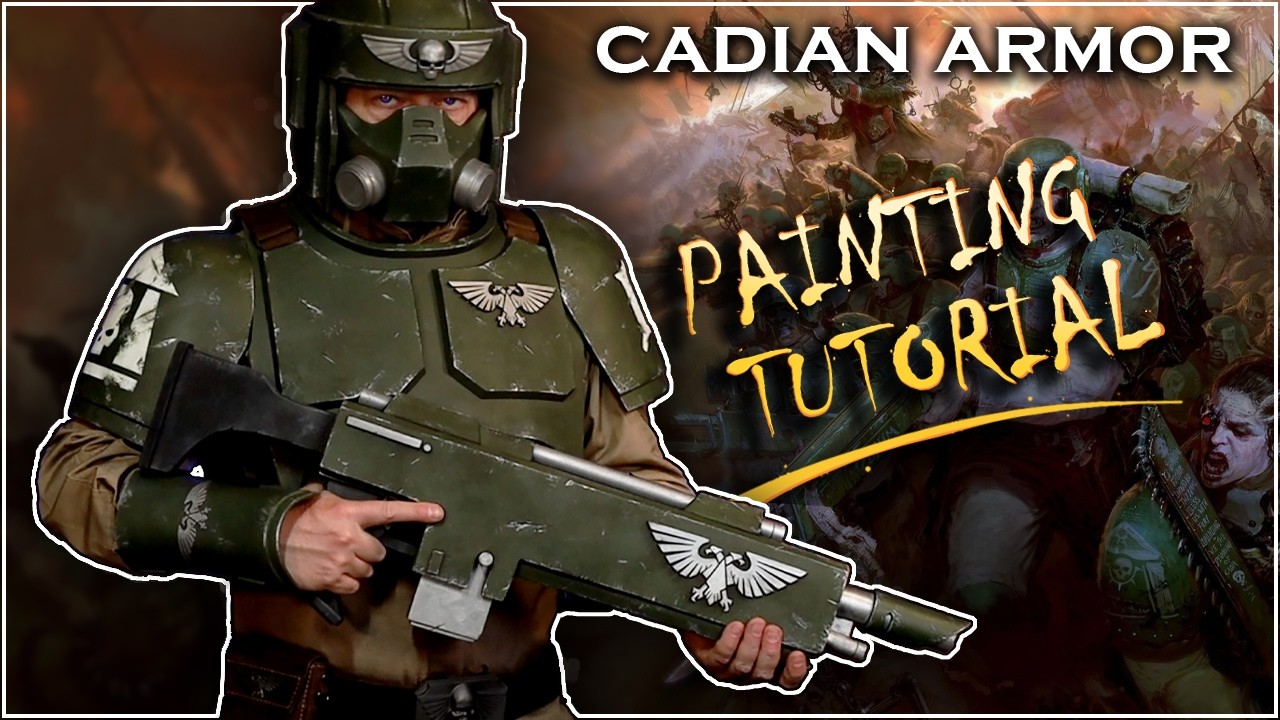
Warhammer 40K Cadian Cosplay Painting Tutorial - Free EVA Foam Armor Templates and Free stl Files
16:33
Costume TutorialsIntermediate

Warhammer 40K Cadian Cosplay Painting Tutorial - Free EVA Foam Armor Templates and Free stl Files

This is Part 4 of SKS Props' ongoing Warhammer 40K Cadian Imperial Guard cosplay armor series, focusing on painting and weathering techniques for EVA foam armor pieces. The creator walks through a multi-step paint process using greens, rust effects, metallic powders, and washes to achieve a battle-worn Imperial Guard aesthetic. Free PDF foam templates and STL files for 3D-printed components such as the helmet, shoulders, and rifle are available on the creator's website. The series is building toward a group cosplay appearance at Dragon Con.

SKS Props· 1,924 views
Started Adding Damage & Chipping to  my Cadian Armor #diycosplay #warhammer40kcosplay #cosplay
0:19
Costume TutorialsIntermediate

Started Adding Damage & Chipping to my Cadian Armor #diycosplay #warhammer40kcosplay #cosplay

This installment in an ongoing Warhammer 40K Cadian armor build series focuses on adding weathering and battle damage to EVA foam armor pieces. The creator uses a combination of Dirty Down sprays and Liquitex heavy body acrylics to achieve a grimy, battle-worn finish. Strap work for the shoulder and forearm sections is also completed, and soft goods receive their first pass of grime. The full series is aimed at a group build culminating in a Dragon Con group appearance.

SKS Props· 15,632 views
How to Make Gears of War Cosplay Armor out of EVA Foam - Free Templates - Marcus Fenix E-Day Costume
1:30:30
Costume TutorialsIntermediate

How to Make Gears of War Cosplay Armor out of EVA Foam - Free Templates - Marcus Fenix E-Day Costume

This comprehensive 91-minute tutorial by SKS Props walks through the complete construction of Marcus Fenix's COG armor from Gears of War using EVA foam, with free PDF templates available on the creator's website. The video consolidates nine individual build segments covering the chest, belt, shins, wrists, and pouches from initial cutting through final painting. Techniques include heat forming, wood-burn texturing, Plasti-Dip sealing, and multi-layer acrylic weathering. LED strip lighting is also incorporated for added visual impact.

SKS Props· 4,219 views
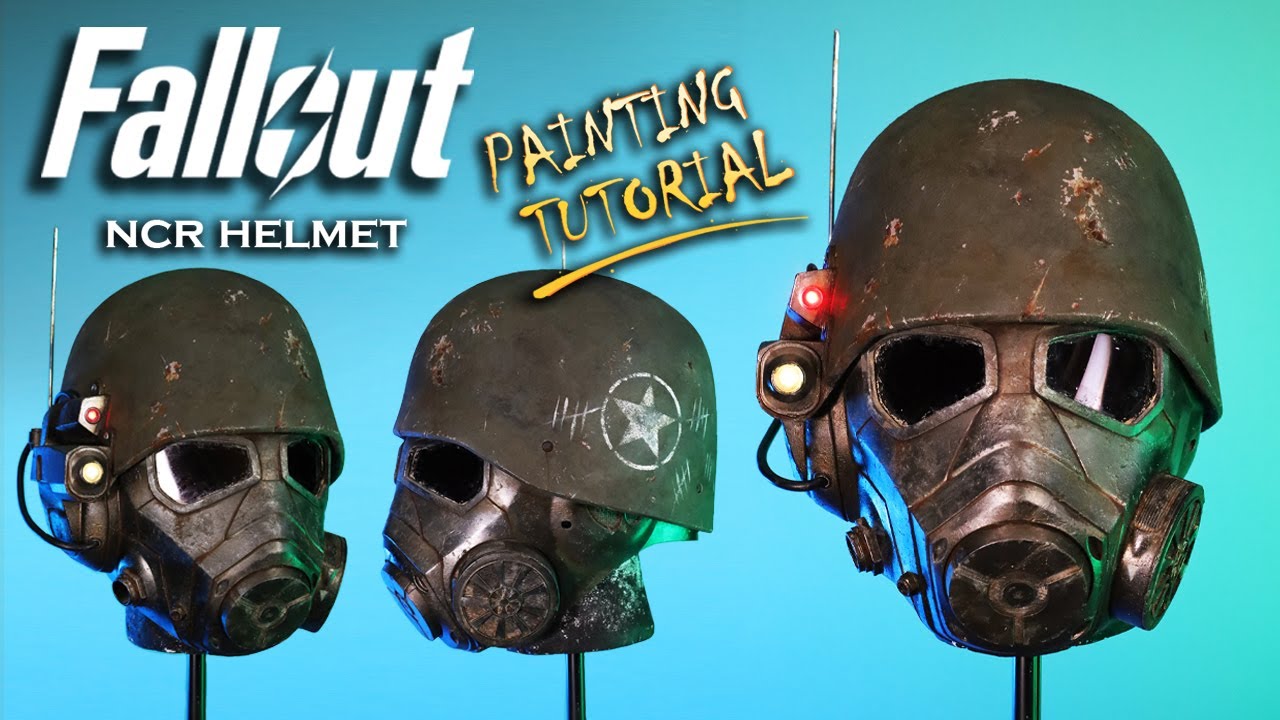
How to Paint a Fallout NCR Cosplay Helmet - Weathering A 3D Printed Prop Using Paints and Metallics
15:04
Costume TutorialsIntermediate

How to Paint a Fallout NCR Cosplay Helmet - Weathering A 3D Printed Prop Using Paints and Metallics

SKS Props walks through the full painting and finishing process for a 3D-printed Fallout NCR Ranger helmet, transforming a raw print into a battle-worn wasteland prop. The tutorial covers base coating, layered weathering with rust effects and metallic powders, and the addition of practical details including LED lights, a metal antenna, resin-cast accessories, and tinted lenses. Techniques are clearly demonstrated and applicable to both printed and fabricated helmet builds. Free chest-armor PDF templates are also offered via the creator's website for viewers wanting to extend the build.

SKS Props· 14,303 views
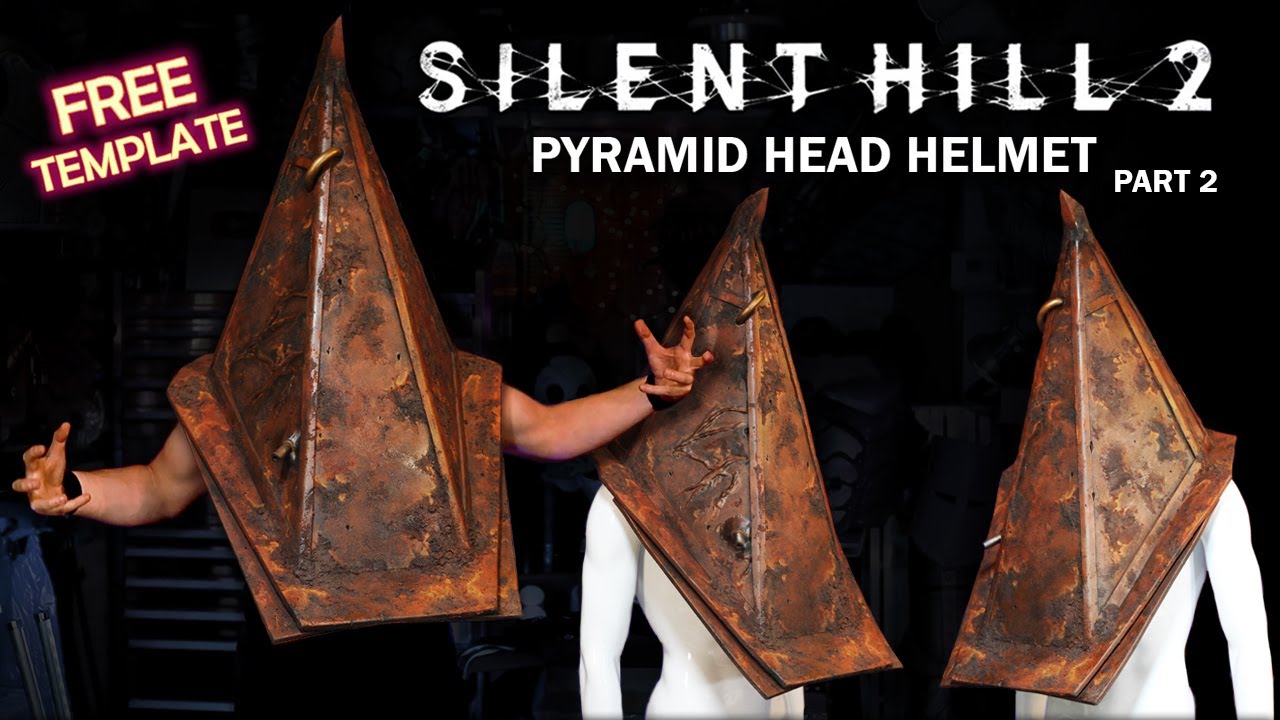
How to Make a Pyramid Head Helmet - Free Template - Silent Hill 2 Cosplay - Part 2 Painting Rust
11:32
Costume TutorialsIntermediate

How to Make a Pyramid Head Helmet - Free Template - Silent Hill 2 Cosplay - Part 2 Painting Rust

This is Part 2 of SKS Props' Pyramid Head helmet build series, focusing entirely on painting and weathering the foam helmet to look like aged, rusted metal. The creator uses Liquitex heavy body acrylics applied with various brushes alongside a pumice medium for added surface texture, achieving a convincing rust effect. A free downloadable PDF template for the helmet is available on the creator's website. The techniques demonstrated are broadly applicable to any prop or costume build requiring a convincing rusted-metal finish.

SKS Props· 32,122 views
Quick & Easy Custom Halloween Finials
6:54
DIY PropsBeginner$10–$25

Quick & Easy Custom Halloween Finials

VanOaksProps walks through a fast, budget-friendly method for crafting custom decorative finials from 5mm EVA foam using free downloadable templates. The build relies on accessible tools — a heat gun, X-Acto knife, and contact cement — to cut, shape, and bond the foam into polished architectural accents. A multi-step paint finish gives the finished pieces a convincing aged or metallic look. The free template download makes replication straightforward even for first-time foam builders.

VanOaksProps· 9,366 views
UPGRADE Your Ghostbusters Popcorn Bucket
10:03
DIY PropsBeginner$20–$50

UPGRADE Your Ghostbusters Popcorn Bucket

VanOaksProps walks through a paint upgrade process for the Ghostbusters Ghost Trap popcorn bucket available from Regal Cinemas or Spirit Halloween, transforming the stock plastic prop into a convincingly movie-accurate replica. The tutorial relies on a short list of accessible acrylic and spray paints combined with liquid latex masking to achieve a weathered, metallic finish. The result elevates a novelty theater collectible into a display-worthy prop without requiring advanced skills or expensive equipment.

VanOaksProps· 12,742 views
DIY Star Wars Data Panel with VIDEO!
11:13
DIY PropsIntermediate

DIY Star Wars Data Panel with VIDEO!

VanOaksProps walks through building a Star Wars-inspired data panel as a personal display piece, centered around a 10-inch digital photo frame that plays looping video content. The build layers laser-cut panels, EVA foam details, split loom and drain hose greeblies, and LEDs to achieve an authentic sci-fi control panel aesthetic. Airbrushing and oil paint weathering give the finished piece a battle-worn, screen-accurate look. SVG and 3D files for the panel design are available through the creator's Etsy shop.

VanOaksProps· 14,245 views
DIY Medieval Torch Prop
11:44
DIY PropsBeginner$20–$40

DIY Medieval Torch Prop

VanOaksProps walks through a one-day scratch build of a medieval-style torch prop using PVC pipe, craft foam, and an LED flame bulb. The build relies on accessible hardware and craft supplies, with a free downloadable template provided to guide shaping. Painting and weathering steps give the finished piece a convincing aged-iron look suitable for costumes, cosplay, or haunted displays. The project is sponsored in part by Surebonder, whose cosplay hot glue sticks are used throughout.

VanOaksProps· 68,498 views
DIY Holy Grail Prop from Indiana Jones and the Last Crusade
7:33
DIY PropsIntermediate

DIY Holy Grail Prop from Indiana Jones and the Last Crusade

VanOaksProps walks through the full process of creating a replica Holy Grail prop from Indiana Jones and the Last Crusade, following a community request. The build covers research and reference gathering, 3D modeling and printing on a Bambu Lab X1-Carbon, and a multi-stage painting process using acrylics, airbrush, and gold leaf to achieve a convincing aged stone-and-metal finish. The result is a screen-accurate-looking display piece that translates well to Halloween or pop-culture prop collections.

VanOaksProps· 18,184 views
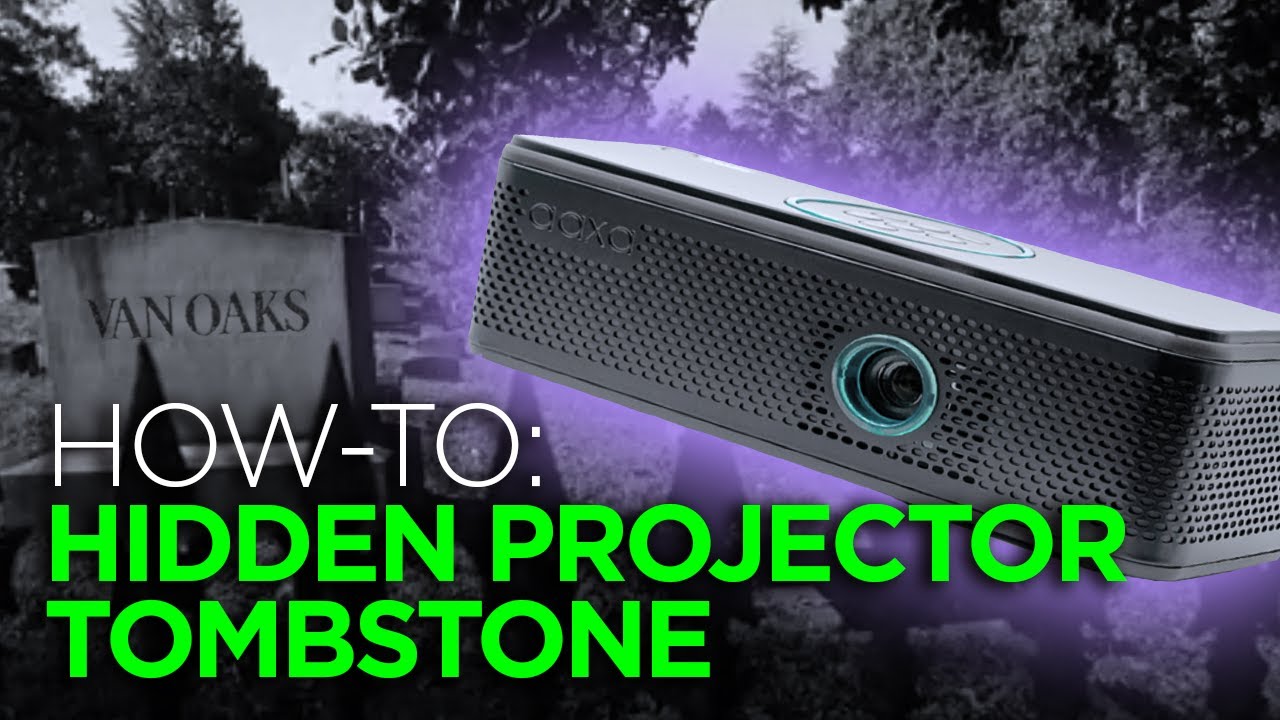
Hidden Projector Tombstone feat. the AAXA HP1
11:16
Projection EffectsIntermediate

Hidden Projector Tombstone feat. the AAXA HP1

VanOaksProps walks through building a realistic foam tombstone that doubles as a concealed housing for a compact projector, keeping the unit hidden from view and shielded from the elements. The build covers foam carving and shaping, router detailing, and a multi-step paint process to achieve a convincing aged-stone look. The finished prop integrates seamlessly into a graveyard display while secretly delivering Halloween projection effects. It's a clever solution for haunters who want polished projection visuals without exposing expensive equipment.

VanOaksProps· 91,619 views
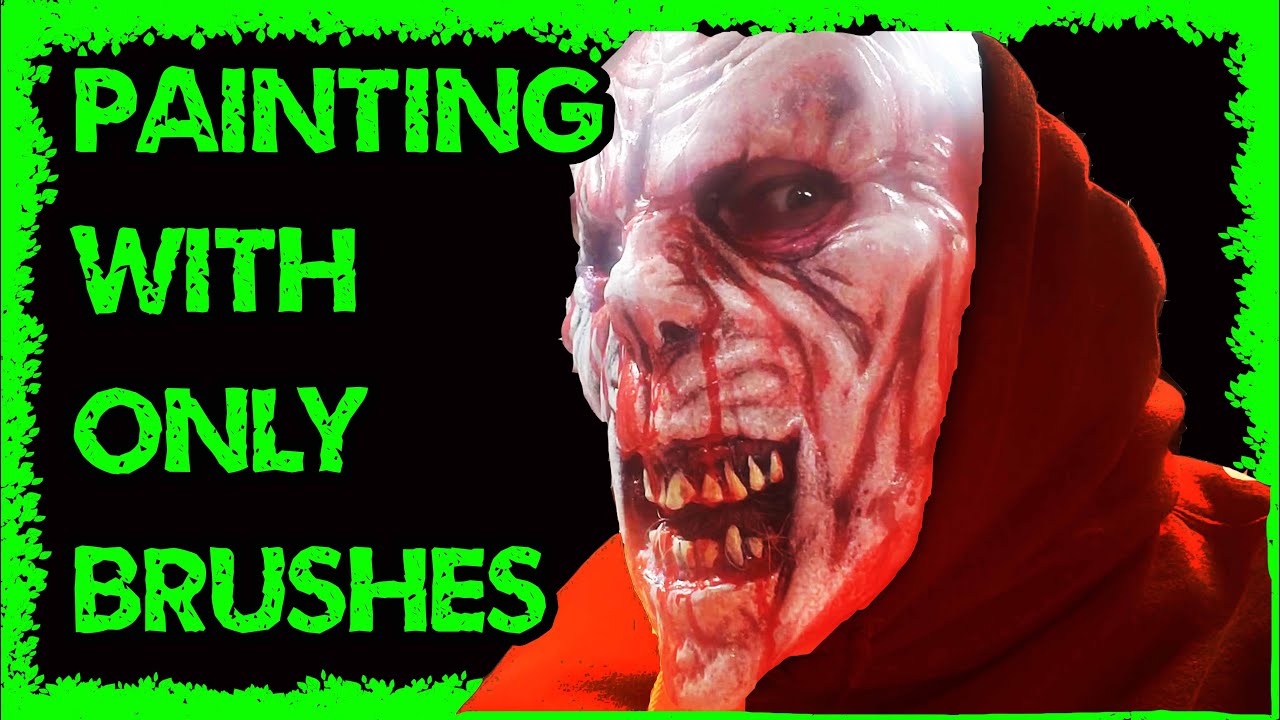
Mask painting Brush only
6:26
Makeup TutorialsIntermediate

Mask painting Brush only

Stiltbeast Studios demonstrates how to achieve professional-looking results on a latex mask using brushes alone — no airbrush or spray equipment required. Several core painting techniques are covered, including drybrushing, glazing, antiquing, and masking. The video is a practical, accessible guide for anyone wanting to elevate their mask painting without investing in spray gear.

StiltbeastStudios· 7,887 views
Hallowednesday Scarecrow.wmv
17:01
DIY PropsBeginnerUnder $20

Hallowednesday Scarecrow.wmv

StiltbeastStudios walks through the construction of a full-sized decorative scarecrow prop in roughly three hours on a very tight budget. The build leans on accessible materials and approachable techniques like garbage bag art and drybrushing to achieve a convincing pumpkin-patch display piece. The finished prop is aimed at home haunters and yard decorators looking for maximum impact without significant expense.

StiltbeastStudios· 39,788 views
quick and dirty mask painting.wmv
8:02
Makeup TutorialsBeginner

quick and dirty mask painting.wmv

Allen Hopps of Stiltbeast Studios demonstrates a fast, approachable method for painting latex Halloween masks, showing multiple color schemes side by side to highlight how technique and palette affect the final look. Masks are base-coated in latex paint, detailed with acrylics, and finished with a protective coat of ArmorAll. Painting the same mask in different colorways makes it easy to compare results and understand how contrast drives a convincing finish.

StiltbeastStudios· 12,871 views
sock mask tutorial part 2.wmv
10:01
Makeup TutorialsIntermediate

sock mask tutorial part 2.wmv

In this follow-up tutorial from Stiltbeast Studios, Allen Hopps walks through the painting phase of constructing a sock mask. The primary technique featured is drybrushing, used to pull out surface details and add depth to the finished piece. This concise ten-minute video focuses entirely on the paint application stage rather than the initial construction covered in Part 1.

StiltbeastStudios· 9,617 views