
I Created The Final Halloween Tombstone Decoration
by VanOaksProps
Embedded from YouTube. This video belongs to its creator; Halloween Universe indexes it as a discovery resource.View original ↗
What this video covers
VanOaksProps walks through the complete construction of a final Halloween tombstone, combining insulation foam and MDF to achieve a convincing stone-and-weathered-metal look. The build covers shaping and carving foam details, creating a custom faux metal plaque, and applying a multi-step paint finish that includes a masonry sealer base, hammered copper spray, patina effects, and aging washes. The result is a professional-quality graveyard prop suitable for yard haunts or haunted house displays. A thorough materials list with affiliate links accompanies the tutorial for easy replication.
Key takeaways
- ◆Foam and MDF combined create a lightweight yet realistic tombstone structure
- ◆A hammered copper spray paint base plus patina acrylics and glazing washes simulate aged metal convincingly
- ◆Drylok Masonry Sealer provides both a protective coating and a gritty stone texture
- ◆Rub N Buff Antique Gold adds fine metallic highlights to lettering and raised details
- ◆The step-by-step approach makes this accessible to intermediate prop builders looking to add graveyard pieces to their display
Who this is for
Halloween prop builders and yard haunters at an intermediate level who want to add a realistic, professionally finished tombstone to their seasonal display.
Tools mentioned
- • Dremel rotary tool
- • Dremel 115 carving bit
- • palm router
- • decorative router bits
- • palm sander
- • X-Acto blade
- • needle-tipped squeeze bottle
- • chip brushes
- • paint brush
- • tiny spray bottle
- • spray bottle
- • VanOaks Props carving plate
- • bamboo skewers
- • sea sponge
Materials mentioned
- • insulation foam
- • MDF
- • CA glue
- • White Gorilla Glue
- • paintable caulk
- • Drylok Original Masonry Sealer
- • brown spray paint
- • hammered copper spray paint
- • patina acrylic paint
- • glazing medium
- • brown acrylic paint
- • Decoart Hauser Light Green
- • Decoart Licorice Black
- • Rub N Buff Antique Gold
⚠ Safety notes
Use adequate ventilation when applying spray paints and sealers. Exercise caution with rotary tools and router bits — wear eye protection and secure workpieces firmly before carving.
Explore related
More like this
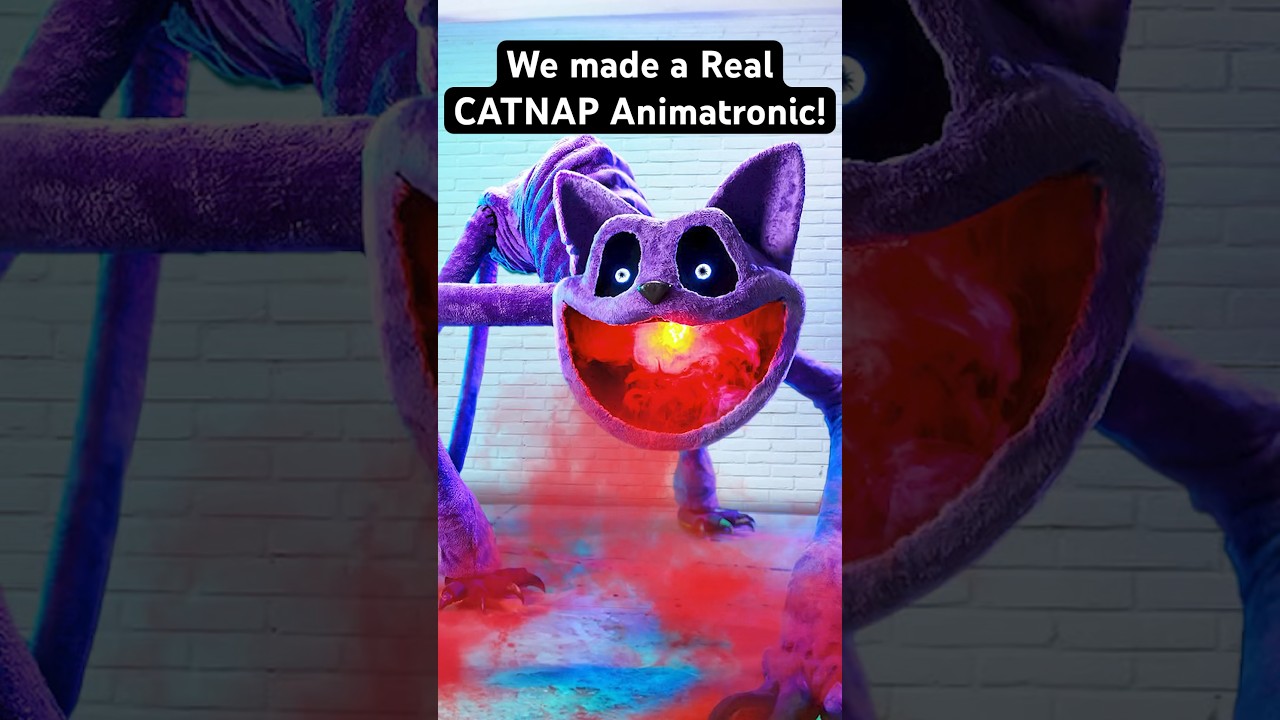
REAL CatNap Animatronic! #catnap #poppyplaytime #shorts
Wicked Makers' Jaimie and Jay build a fully functioning CatNap animatronic from scratch, bringing the popular Poppy Playtime horror-game character to life. The short-form video showcases the impressive finished result of their fabrication work. It's a quick but striking look at what dedicated prop builders can achieve with recognizable pop-culture source material.

Real YARNABY Animatronic! 🧶😱 #poppyplaytime
Wicked Makers' Jay and Jaimie construct a full animatronic version of Yarnaby from the horror game Poppy Playtime, built from steel and driven by pneumatics. The build goes beyond aesthetics — the team stress-tests the animatronic's jaw mechanism using a ballistic gel arm to see whether it could realistically bite through a limb. The video blends behind-the-scenes fabrication footage with chaotic prop-testing in classic Wicked Makers style. It sits alongside their broader catalog of mascot-horror animatronics inspired by FNAF, Poppy Playtime, and similar franchises.

Make Halloween Store Skeletons Way Better! 💀 #shorts
Wicked Makers' Jay and Jaimie demonstrate how to transform a basic store-bought Halloween skeleton into a far more impressive and creepy display piece. The short teases a full-length tutorial focused on giving the skeleton a pirate or drunken drinking character. The upgrade elevates a generic prop into a themed centerpiece without starting from scratch.
Ratings & reviews
No ratings yet — be the first to say whether this one delivered.
Sign in to rate this video and tell others if it helped.