
Recreating a Galaxy’s Edge Sign with EVA Foam – Step-by-Step Prop Build
by VanOaksProps
Embedded from YouTube. This video belongs to its creator; Halloween Universe indexes it as a discovery resource.View original ↗
What this video covers
VanOaksProps walks through a full build of a Galaxy's Edge-inspired marketplace sign using EVA foam, modeling paste, and a custom Illustrator template available as a free download. The tutorial covers every stage from cutting and shaping foam layers to painting, weathering, and finishing with Rub n Buff and airbrush decay effects for a convincingly battle-worn Batuu aesthetic. Techniques transfer readily to cosplay accessories, themed room displays, or haunt set dressing. The approachable material list and step-by-step pacing make this accessible to intermediate foam crafters.
Key takeaways
- ◆A free downloadable Illustrator template is provided to simplify the sign layout and lettering
- ◆Layered 5mm and 3mm EVA foam combined with modeling paste creates convincing dimensional texture
- ◆Multiple paint and weathering passes — including Rub n Buff and airbrush decay paint — deliver an aged, lived-in Star Wars look
- ◆Techniques such as foam layering, contact cementing, and weathering are broadly applicable to Halloween set design and haunt props
- ◆The finished piece works as a themed display prop, cosplay photo backdrop, or immersive set dressing element
Who this is for
Star Wars fans, cosplay prop builders, and haunters interested in learning foam fabrication and weathering techniques for themed signage or set dressing.
Tools mentioned
- • X-Acto knife
- • #11 razor blades
- • 1-2-3 blocks
- • tiny spray bottle
- • airbrush
Materials mentioned
- • 5mm EVA foam
- • 3mm EVA craft foam
- • Liquitex acrylic modeling paste
- • contact cement
- • CA glue
- • matte black spray paint
- • brick red acrylic paint
- • peacock blue spray paint
- • white spray paint
- • matte clear coat
- • Pewter Rub n Buff
- • Createx Bloodline Decay airbrush paint
- • raw umber acrylic paint
- • burnt sienna acrylic paint
⚠ Safety notes
Use contact cement and spray paints in a well-ventilated area; exercise caution with X-Acto knives and razor blades during foam cutting.
Explore related
More like this
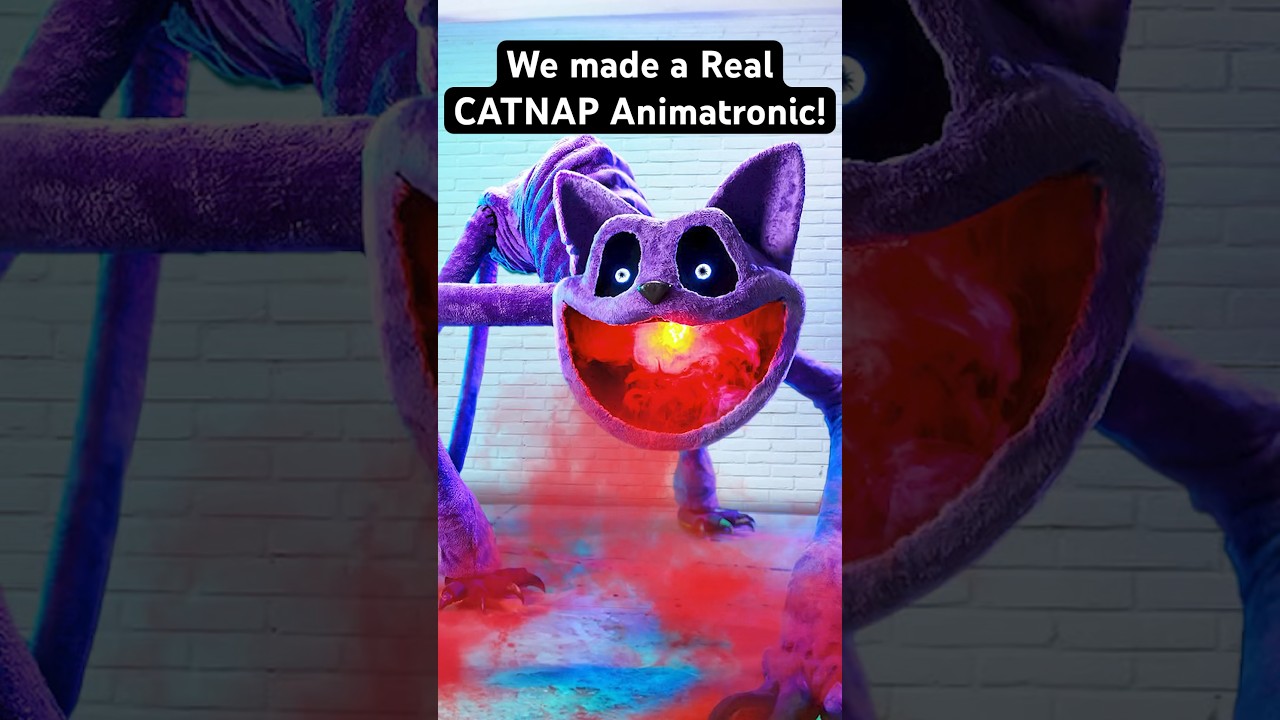
REAL CatNap Animatronic! #catnap #poppyplaytime #shorts
Wicked Makers' Jaimie and Jay build a fully functioning CatNap animatronic from scratch, bringing the popular Poppy Playtime horror-game character to life. The short-form video showcases the impressive finished result of their fabrication work. It's a quick but striking look at what dedicated prop builders can achieve with recognizable pop-culture source material.

Real YARNABY Animatronic! 🧶😱 #poppyplaytime
Wicked Makers' Jay and Jaimie construct a full animatronic version of Yarnaby from the horror game Poppy Playtime, built from steel and driven by pneumatics. The build goes beyond aesthetics — the team stress-tests the animatronic's jaw mechanism using a ballistic gel arm to see whether it could realistically bite through a limb. The video blends behind-the-scenes fabrication footage with chaotic prop-testing in classic Wicked Makers style. It sits alongside their broader catalog of mascot-horror animatronics inspired by FNAF, Poppy Playtime, and similar franchises.

Make Halloween Store Skeletons Way Better! 💀 #shorts
Wicked Makers' Jay and Jaimie demonstrate how to transform a basic store-bought Halloween skeleton into a far more impressive and creepy display piece. The short teases a full-length tutorial focused on giving the skeleton a pirate or drunken drinking character. The upgrade elevates a generic prop into a themed centerpiece without starting from scratch.
Ratings & reviews
No ratings yet — be the first to say whether this one delivered.
Sign in to rate this video and tell others if it helped.