Halloween Universe

The Screening Room

The Halloween Video Library

A curated, searchable archive of the dark craft — DIY props and animatronics, home-haunt walkthroughs, makeup, lighting, fog, and effects. Every film embedded from its creator, organized so you can actually find what you need.

77 videos

5 Halloween Foam Projects You Need to Try
39:42
DIY PropsBeginnerlow (budget-friendly, per source description)

5 Halloween Foam Projects You Need to Try

VanOaksProps presents a compilation of five foam-based Halloween prop builds, covering a range of themes from a pirate treasure chest to a medieval torch. The projects use insulation foam, expanding foam, and EVA foam to achieve realistic, lightweight, and visually striking results. Each segment serves as a highlight reel, with links to full standalone tutorials for complete materials and painting details. The collection is pitched as accessible to both beginners and experienced prop makers on a budget.

VanOaksProps· 166,144 views
Movie Raptor vs. DIY Build | How I Made a Jurassic World Raptor at Home
32:19
DIY AnimatronicsAdvanced

Movie Raptor vs. DIY Build | How I Made a Jurassic World Raptor at Home

Creator Matt Daniels of Creative Geekery takes on a full garage build of a Jurassic World-inspired raptor, combining foam carving, foam clay sculpting, and 3D-printed animatronics into a single epic documentary-style video compiled from five original episodes. The build covers the complete journey from raw materials to a finished, detailed dinosaur prop — including a custom raptor containment unit. Honest behind-the-scenes footage captures the real trial-and-error process rather than a polished step-by-step tutorial. Free build resources are offered on the creator's website for those who want to attempt their own version.

Creative Geekery· 50,563 views
How to Paint EVA Foam to Look Like Metal - Oblivion Knight Cosplay Chest Armor Tutorial Part 3
10:49
Costume TutorialsBeginner

How to Paint EVA Foam to Look Like Metal - Oblivion Knight Cosplay Chest Armor Tutorial Part 3

This tutorial — Part 3 of a multi-part series — focuses on texturing and painting EVA foam chest armor inspired by the knight designs of The Elder Scrolls: Oblivion. The creator walks through surface preparation using texture mediums and sealers, then demonstrates layered acrylic painting and graphite powder buffing techniques to achieve a convincing metallic finish. Free PDF templates for the armor are available on the creator's website. The video is pitched at beginners but contains enough detail to benefit intermediate builders as well.

SKS Props· 26,623 views
Death Star Droid Build
10:30
DIY PropsAdvanced

Death Star Droid Build

VanOaksProps walks through a full-scale RA-7 Death Star Droid head build using the Bambu Lab H2D 3D printer, covering the entire workflow from print optimization to a screen-accurate finished prop. The video dives deep into surface finishing, including multi-stage sanding, priming, and a layered painting process using both a spray gun and airbrush. Advanced weathering techniques — including a hairspray chipping method and umber washes — give the final piece a convincing worn-metal appearance. The build serves as an end-to-end masterclass for prop makers and cosplayers working with large-format 3D-printed pieces.

VanOaksProps· 6,598 views
Building a Star Wars Hologram!
12:57
DIY PropsAdvanced

Building a Star Wars Hologram!

VanOaksProps walks through a full build of an Andor Season 2-inspired Star Wars holoprojector prop, combining vintage part sourcing and modification with 3D printing, laser cutting, and practical electronics. The build integrates an ESP32 microcontroller, Neopixel lighting, and a hologram fan to achieve an in-universe screen-accurate effect. Weathering is accomplished through airbrushing, oil paint washes, liquid latex, and Rub n Buff, giving the finished piece an authentic, battle-worn look. Downloadable files are available for creators who want to replicate the project.

VanOaksProps· 51,041 views
Recreating a Galaxy’s Edge Sign with EVA Foam – Step-by-Step Prop Build
10:52
DIY PropsIntermediate

Recreating a Galaxy’s Edge Sign with EVA Foam – Step-by-Step Prop Build

VanOaksProps walks through a full build of a Galaxy's Edge-inspired marketplace sign using EVA foam, modeling paste, and a custom Illustrator template available as a free download. The tutorial covers every stage from cutting and shaping foam layers to painting, weathering, and finishing with Rub n Buff and airbrush decay effects for a convincingly battle-worn Batuu aesthetic. Techniques transfer readily to cosplay accessories, themed room displays, or haunt set dressing. The approachable material list and step-by-step pacing make this accessible to intermediate foam crafters.

VanOaksProps· 6,509 views
This Project Took 10 Years to finish
10:17
DIY PropsIntermediate

This Project Took 10 Years to finish

VanOaksProps revisits a decade-old ambition to build a screen-accurate replica of Leia's Boushh bounty hunter helmet from Return of the Jedi. After an unsatisfying first attempt that stalled at the painting stage, the creator starts fresh with refined skills and a more deliberate approach. The build focuses heavily on painting, weathering, and finishing techniques to achieve a convincing, film-accurate result.

VanOaksProps· 8,539 views
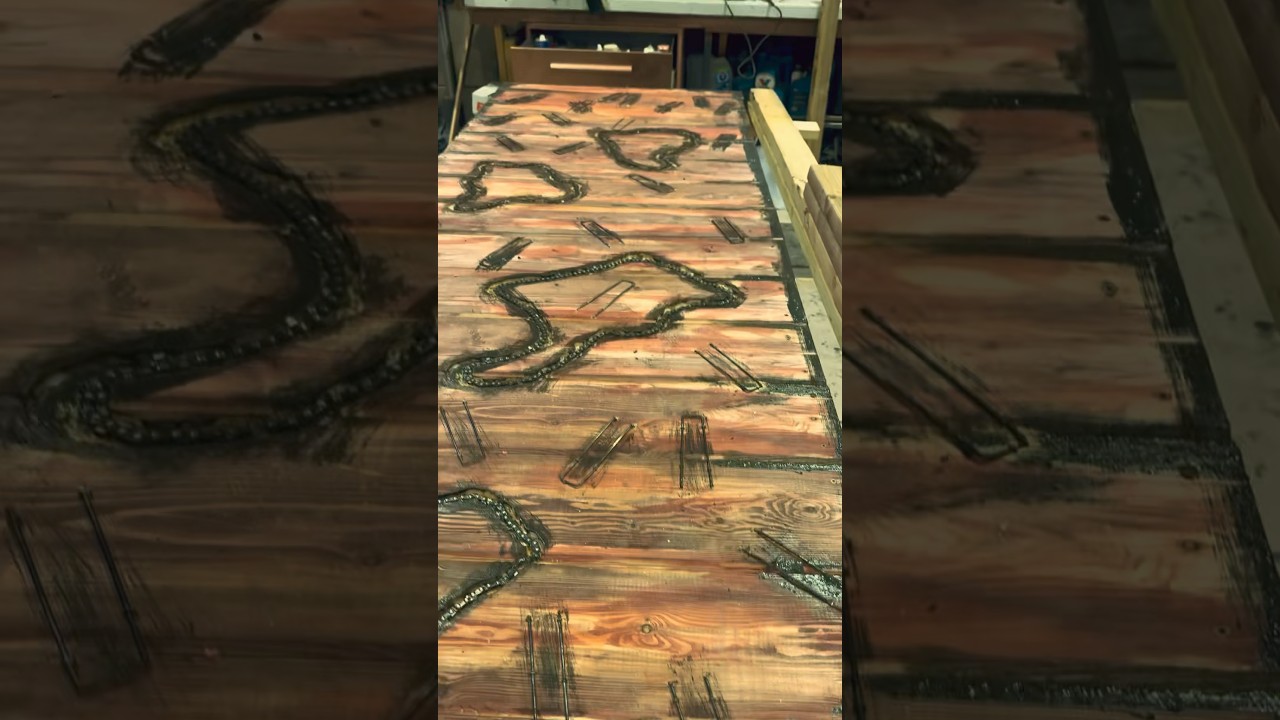
DIY doors – painting in progress #Doors #Saw #Chainsaw #Halloween #Massacre #Gory 
0:16
DIY Props

DIY doors – painting in progress #Doors #Saw #Chainsaw #Halloween #Massacre #Gory 

This short-form clip offers a glimpse into the painting process for a set of DIY Halloween doors with a gory, massacre-inspired aesthetic. The footage appears to document a work-in-progress build from the Horror 365 channel. Given the chainsaw and massacre theming suggested by the hashtags, the doors are likely styled with distressed, blood-splattered detailing. No detailed tutorial steps or narration are evident from the available metadata.

Horror 365· 1,087 views
Star Wars Detention Block Holocam (PART 2)
10:03
DIY PropsIntermediate

Star Wars Detention Block Holocam (PART 2)

This concluding build video from VanOaksProps walks through the final assembly, painting, and finishing of a replica 57C Holocam — the iconic detention block security camera from Star Wars: A New Hope. The creator covers precision detailing, multi-stage painting with an airbrush, and the application of vinyl decals and resin accents to achieve a screen-accurate look. References to community build logs on the Replica Prop Forum are cited as key research sources. The result is a display-quality prop suitable for collectors, Star Wars fans, and haunt or set designers seeking cinematic sci-fi scenery.

VanOaksProps· 4,562 views
Making a Star Wars Detention Block Holocam
8:54
DIY PropsIntermediate

Making a Star Wars Detention Block Holocam

VanOaksProps walks through a full build of the iconic 57C Holocam — the detention block surveillance camera from Star Wars: A New Hope — using 3D-printed parts sourced from a third-party model file. The tutorial covers the complete workflow from raw prints to finished replica, including cleanup, priming, multi-step spray painting, masking, and final varnish. Attention to screen-accurate color and detail is central to the build. The result is a display-ready collector prop suitable for fans and prop builders alike.

VanOaksProps· 7,042 views
Over an HOUR of DIY Star Wars Projects
1:43:16
DIY PropsIntermediate

Over an HOUR of DIY Star Wars Projects

VanOaksProps compiles their top ten Star Wars DIY prop builds spanning four years into a single 103-minute showcase. Projects range from beginner-friendly repaints of toy blasters and droid weathering to more ambitious scratch-builds like a Gonk projector droid, a Tusken Raider helmet, and a one-of-a-kind Star Wars lamp. Each segment links back to a dedicated source video where full materials and paint details can be found. The collection covers a wide variety of prop-making skills, making it a useful reference for Star Wars fans at multiple experience levels.

VanOaksProps· 23,914 views
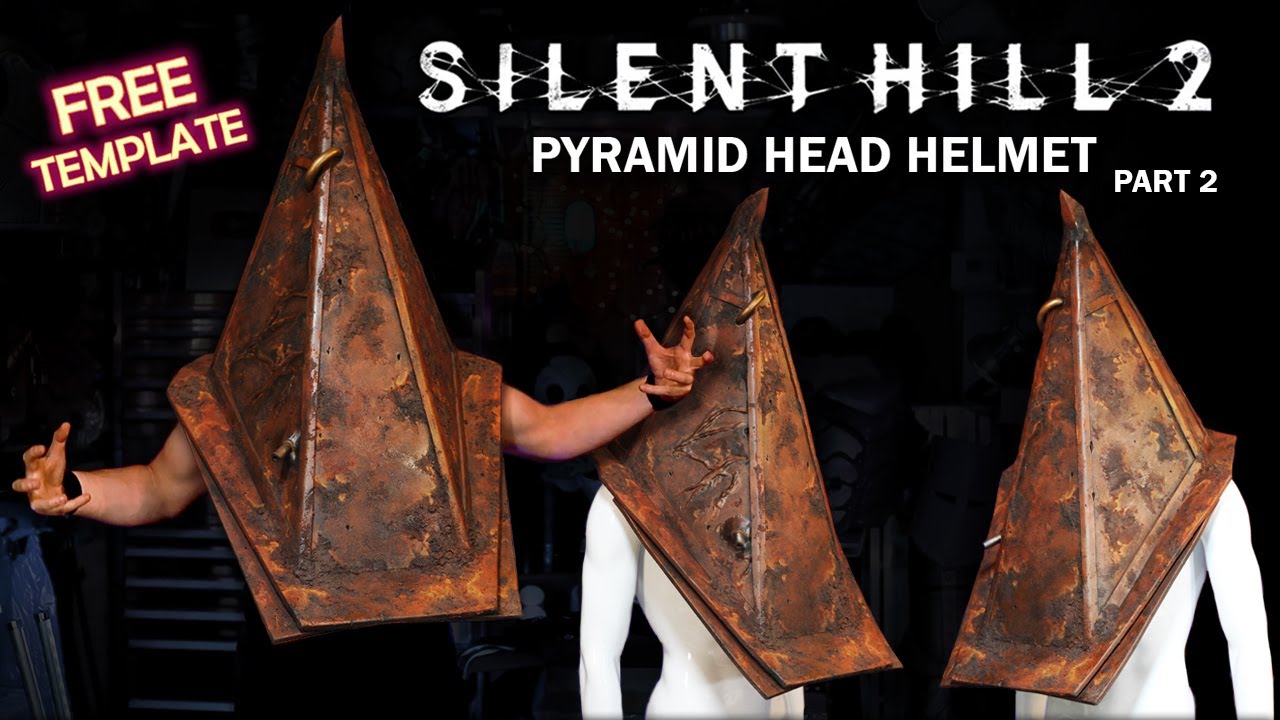
How to Make a Pyramid Head Helmet - Free Template - Silent Hill 2 Cosplay - Part 2 Painting Rust
11:32
Costume TutorialsIntermediate

How to Make a Pyramid Head Helmet - Free Template - Silent Hill 2 Cosplay - Part 2 Painting Rust

This is Part 2 of SKS Props' Pyramid Head helmet build series, focusing entirely on painting and weathering the foam helmet to look like aged, rusted metal. The creator uses Liquitex heavy body acrylics applied with various brushes alongside a pumice medium for added surface texture, achieving a convincing rust effect. A free downloadable PDF template for the helmet is available on the creator's website. The techniques demonstrated are broadly applicable to any prop or costume build requiring a convincing rusted-metal finish.

SKS Props· 32,122 views
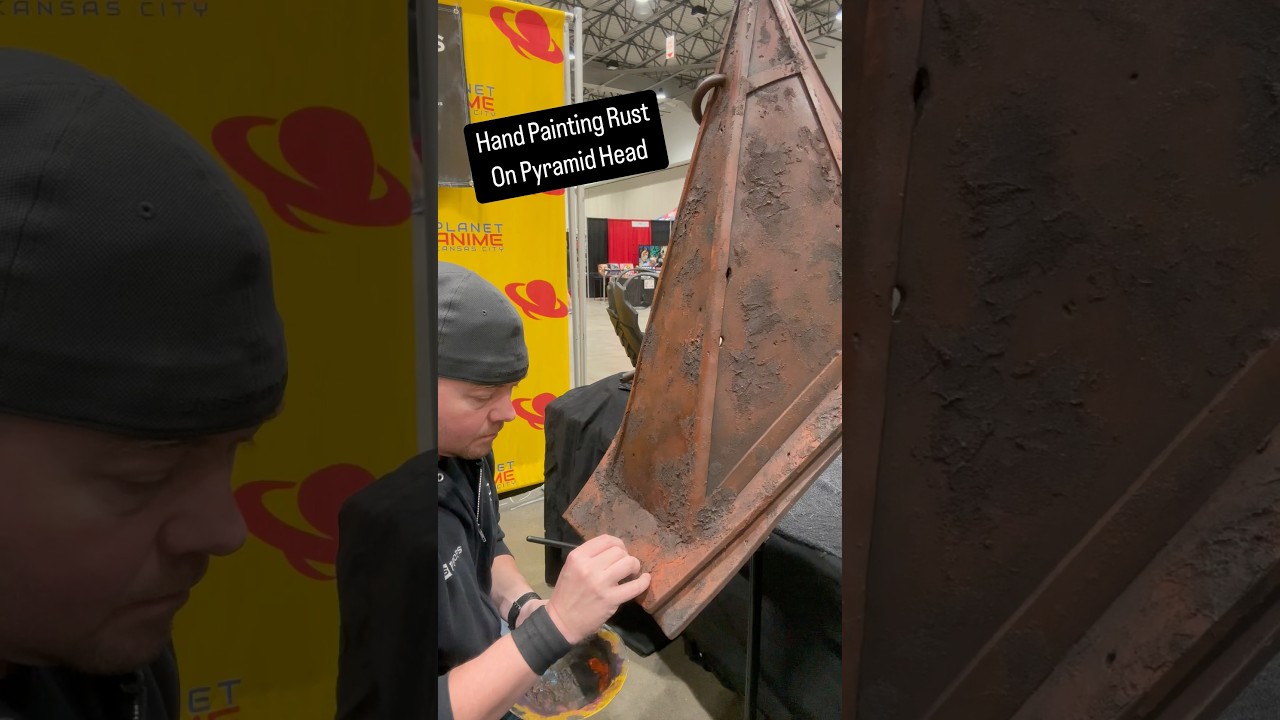
Painting Pyramid Head Day 2 #pyramidheadcosplay #pyramidheadhelmet
0:20
Costume TutorialsIntermediate

Painting Pyramid Head Day 2 #pyramidheadcosplay #pyramidheadhelmet

This short follow-up video captures day two of hand-painting a Pyramid Head helmet with a convincing rusty finish, filmed on-location while the creator was appearing as a cosplay guest at Planet Comicon Kansas City. The clip serves as a teaser for a full rust-painting tutorial available elsewhere on the SKS Props channel. The focus is on the weathering and aging process that gives the iconic Silent Hill 2 helmet its worn, menacing look.

SKS Props· 16,787 views
Painting Pyramid Head #pyramidheadcosplay #pyramidheadhelmet #silenthill2
0:18
Costume TutorialsIntermediate

Painting Pyramid Head #pyramidheadcosplay #pyramidheadhelmet #silenthill2

This short clip captures the creator hand-painting a rust effect onto a Pyramid Head helmet while attending Planet Comicon Kansas City as a cosplay guest. The video offers a behind-the-scenes peek at the weathering process for this iconic Silent Hill 2 costume piece. A full rust painting tutorial is available separately on the creator's channel.

SKS Props· 12,951 views
We made a real FOXY Animatronic! (FNAF)
21:05
DIY AnimatronicsAdvanced

We made a real FOXY Animatronic! (FNAF)

Wicked Makers' Jay and Jaimie transform a retail pirate animatronic into a life-size Withered Foxy from Five Nights at Freddy's for their 2024 yard haunt. The build combines a fully fabricated foam endoskeleton with 3D-printed and fabric-covered outer pieces, while the original animatronic's servo-driven face mechanics are completely disassembled and remounted to match Foxy's proportions. Inspired by behind-the-scenes photos from the FNAF 2 film production, the creators aim for screen-accurate character detail at a DIY level. Foxy joins a growing roster of scratch-built FNAF animatronics on the channel.

Wicked Makers· 5,389,528 views
How to Make Cosplay Shin Armor - Free Templates - Superhero Foam Leg Armor Aliens Colonial Marines
12:49
Costume TutorialsBeginner

How to Make Cosplay Shin Armor - Free Templates - Superhero Foam Leg Armor Aliens Colonial Marines

SKS Props walks through the full construction of Colonial Marines shin armor from the Aliens franchise using EVA foam and free downloadable PDF templates. The build covers cutting and heat-shaping foam panels, bonding and detailing, sealing with Plasti Dip, painting, weathering, and attaching a functional strap-and-buckle harness. Although the templates are designed for the USCM look, the creator notes they can be adapted for a wide range of superhero or villain costumes. The tutorial is timed to coincide with renewed interest in the franchise sparked by the Alien Romulus release.

SKS Props· 18,283 views
Dirty Rat Halloween Prop Painting at Distortions Unlimited
8:02
DIY Props

Dirty Rat Halloween Prop Painting at Distortions Unlimited

This behind-the-scenes clip from Distortions Unlimited heads into the paint room to show their Dirty Rat prop being painted and finished. The footage is sped up and set to music, offering a quick overview of the steps that bring the latex creature to life rather than a step-by-step tutorial. It's a glimpse at the professional finishing process behind their commercial Halloween animatronics.

DistortionsUnlimited· 5,891 views
Transforming An Alien Romulus Popcorn Bucket Into A Movie Prop!
9:58
DIY PropsIntermediate

Transforming An Alien Romulus Popcorn Bucket Into A Movie Prop!

The creator takes a commercially available Cinemark Alien Romulus themed popcorn bucket and elevates it into a convincing movie-quality prop using body filler, airbrushing, and metallic finishing techniques. The process covers surface preparation, sculpting or filling with Bondo, sanding smooth, and layering paint effects including dry brushing and Rub n Buff. The result transforms a novelty collectible into something that could pass as a set piece from the Alien franchise itself.

Creative Geekery· 13,015 views
LIVE! Ghostbusters Proton Pack Build!
1:57:56
DIY PropsIntermediate

LIVE! Ghostbusters Proton Pack Build!

A live workshop session focused on building a Ghostbusters-style proton pack prop from scratch. The creator walks through three main stages of the build: electronics work, structural paperwork construction, and surface weathering techniques. At nearly two hours, this is an in-depth, real-time build that lets viewers follow along step by step. It's a great resource for cosplayers or prop enthusiasts tackling a complex movie-replica build.

Creative Geekery· 2,355 views
Make Your Very Own Mad Max Steering Wheel!
16:49
DIY PropsBeginnerlow / household materials

Make Your Very Own Mad Max Steering Wheel!

This tutorial walks viewers through building a replica steering wheel inspired by the Mad Max Furiosa films, using everyday household items. The build is presented as an accessible, step-by-step project covering both construction and weathering to achieve that signature road-warrior aesthetic. The approachable tone makes it suitable for first-time prop makers and cosplayers alike.

Creative Geekery· 8,041 views
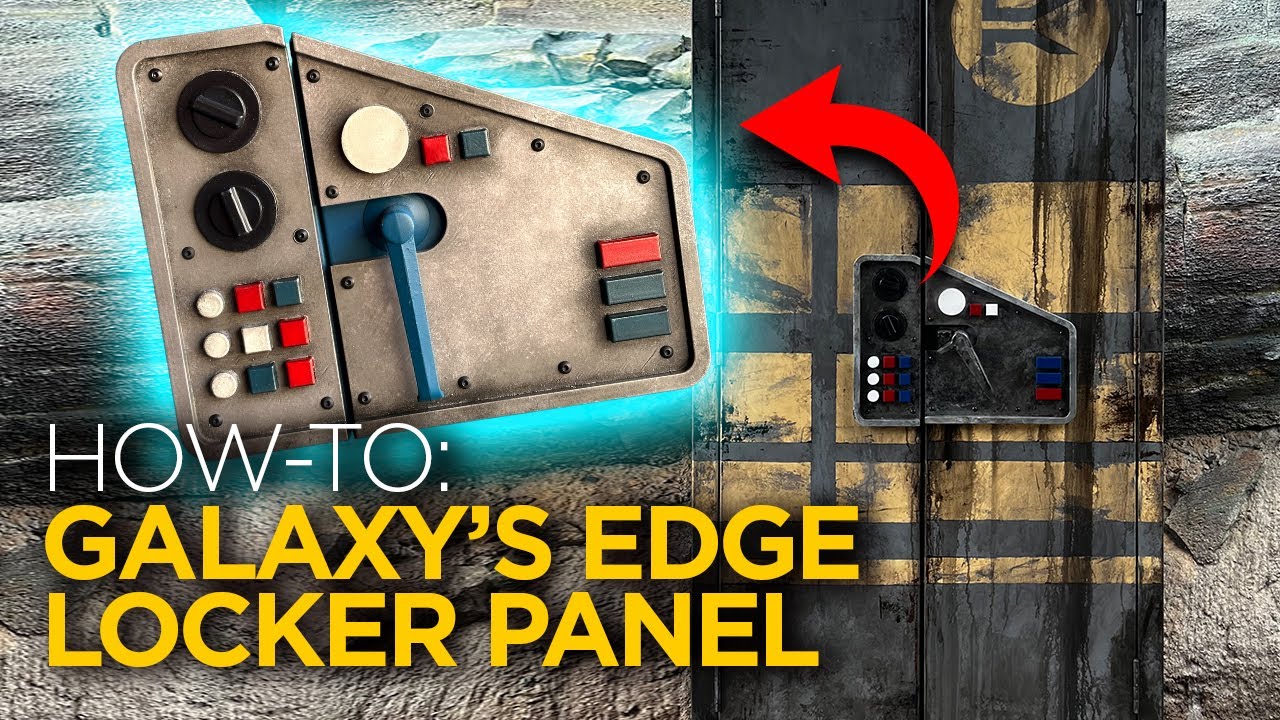
Building a Galaxy's Edge Locker Panel
9:53
DIY PropsIntermediate

Building a Galaxy's Edge Locker Panel

VanOaksProps recreates the control panel from the newly added storage lockers at Star Wars: Galaxy's Edge as a functional prop for a real locker. The build centers on a custom 3D-printed panel that is primed, layered with multiple spray paint colors, and finished with oil paint washes and Rub n Buff to achieve an authentic, weathered sci-fi look. Final assembly uses button-head screws and VHB tape to mount the panel cleanly. The result is a screen-accurate-style replica suitable for Star Wars-themed spaces or Halloween haunt set dressing.

VanOaksProps· 7,994 views
DIY Ghostbuster Ecto Goggles
8:18
DIY PropsIntermediate$20–$60

DIY Ghostbuster Ecto Goggles

VanOaksProps revives a long-shelved project to complete a screen-accurate set of Ghostbusters Ecto Goggles, using a free Thingiverse 3D model as the foundation. The build focuses on hardware assembly — sourcing specific screws, snaps, and olive-colored belting straps — followed by a multi-layer paint and weathering process using acrylics and oil paint washes. The result is a wearable, movie-faithful replica suitable for cosplay or display. This video kicks off a new series dedicated to finishing abandoned prop builds.

VanOaksProps· 8,258 views
UPGRADE Your Ghostbusters Popcorn Bucket
10:03
DIY PropsBeginner$20–$50

UPGRADE Your Ghostbusters Popcorn Bucket

VanOaksProps walks through a paint upgrade process for the Ghostbusters Ghost Trap popcorn bucket available from Regal Cinemas or Spirit Halloween, transforming the stock plastic prop into a convincingly movie-accurate replica. The tutorial relies on a short list of accessible acrylic and spray paints combined with liquid latex masking to achieve a weathered, metallic finish. The result elevates a novelty theater collectible into a display-worthy prop without requiring advanced skills or expensive equipment.

VanOaksProps· 12,742 views
Mastering the Art of Aging: How to Paint a Sign to Look Like Aged Metal
8:04
DIY PropsBeginner$10–$25

Mastering the Art of Aging: How to Paint a Sign to Look Like Aged Metal

VanOaksProps walks through a multi-step painting technique to make a flat sign look convincingly like aged, weathered metal. The process layers spray paints and acrylic colors — including gold tones and teal for a patina effect — along with baby powder and spray adhesive for added texture. The creator frames the skill as a storytelling tool, arguing that small prop details like this elevate the overall quality of a haunt. A giveaway for the finished sign from the video was also featured.

VanOaksProps· 13,343 views