Halloween Universe

The Screening Room

The Halloween Video Library

A curated, searchable archive of the dark craft — DIY props and animatronics, home-haunt walkthroughs, makeup, lighting, fog, and effects. Every film embedded from its creator, organized so you can actually find what you need.

84 videos
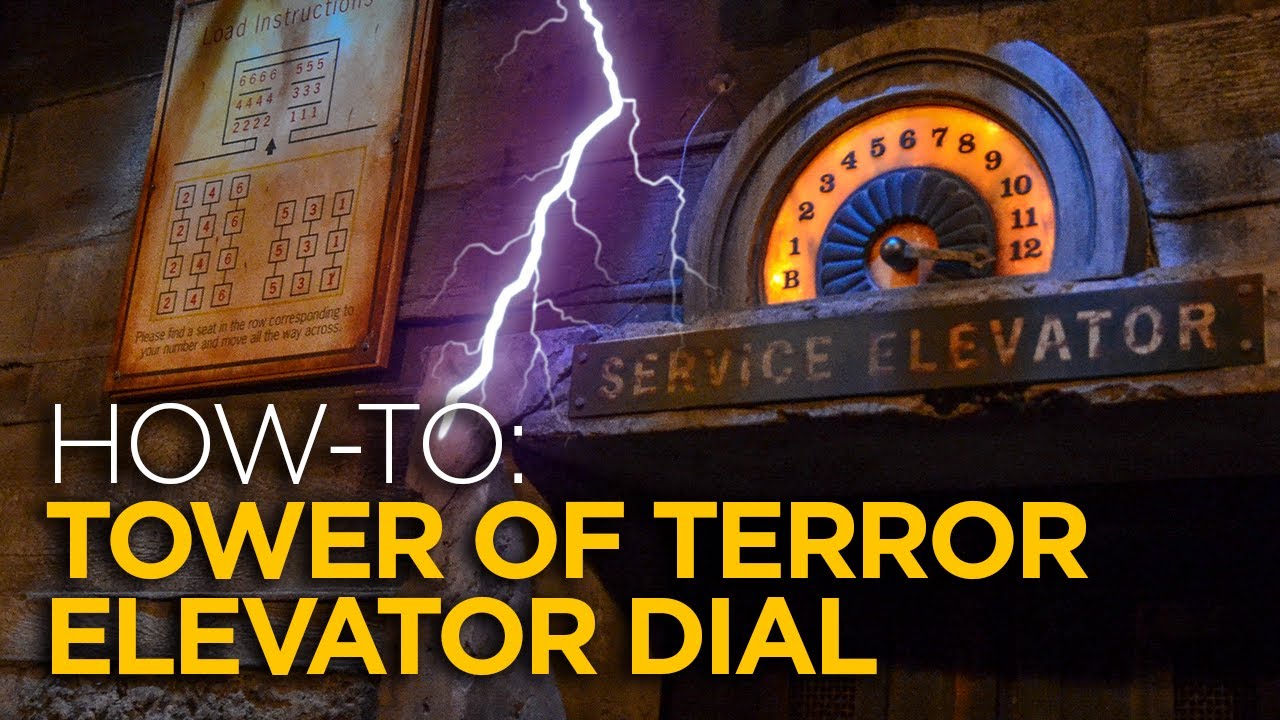
Disneyland/Disneyworld Tower of Terror Elevator Dial Replica | Hollywood Tower Hotel
9:16
DIY PropsIntermediate

Disneyland/Disneyworld Tower of Terror Elevator Dial Replica | Hollywood Tower Hotel

VanOaksProps recreates the iconic service elevator floor-indicator dial from the Tower of Terror attraction as a detailed display replica. The build combines laser-cut MDF and acrylic pieces with a multi-step faux copper patina painting process to achieve the aged, antique look of the original Hollywood Tower Hotel prop. Airbrushing, dry brushing, and Rub n Buff are layered together to convincingly mimic oxidized copper. The finished piece is a faithful collectible tribute to the beloved attraction, particularly for California fans where the original ride no longer exists.

VanOaksProps· 11,932 views
Make ANYTHING look like metal!
6:25
DIY PropsBeginner$10–$30

Make ANYTHING look like metal!

VanOaksProps demonstrates a quick two-step faux metal technique that transforms everyday materials — cardboard, plastic, wood, or virtually anything else — into convincing metal-looking props. The process relies on shellac and graphite powder, applied and buffed to create a realistic metallic sheen. At just six minutes, the tutorial is concise and immediately actionable for prop builders at any skill level. Credit is given to Vaughan Baker for originating the technique.

VanOaksProps· 73,129 views
Following Bust Halloween Prop - Part 2
9:59
DIY PropsIntermediate

Following Bust Halloween Prop - Part 2

Part 2 of VanOaksProps' following bust monument series focuses on the finishing stages: applying paint, faux marble effects, and a Drylok texture base coat before adding craft paint layers via airbrush. LED strip lighting and decorative faux ivy are incorporated to complete the eerie cemetery monument look. The build is sponsored by ChickenProps, whose staring statue mechanisms power the 'following' eye effect. This episode bridges the gap between raw prop construction and a polished, display-ready Halloween centerpiece.

VanOaksProps· 47,064 views
Paint & Weather Your Droids - Star Wars IG88/ Mandalorian IG11
11:20
DIY PropsIntermediate$30–$80

Paint & Weather Your Droids - Star Wars IG88/ Mandalorian IG11

VanOaksProps walks through the full painting and weathering process for two 3D-printed IG-88 droid heads inspired by Star Wars and The Mandalorian. The workflow starts with a gloss black base coat followed by a chrome lacquer layer to achieve that signature metallic droid look. Acrylic paints in rust, orange, and brown tones are then layered on to simulate wear, grime, and battle damage, making the props look authentically aged. The build uses a 3D model sourced from Thingiverse and relies on tools and materials that are largely accessible to hobbyist prop makers.

VanOaksProps· 17,996 views
Painting castle rock
15:32
DIY PropsBeginner

Painting castle rock

Stiltbeast Studios walks through a straightforward painting technique for achieving realistic castle rock wall finishes, using a Castle Grayskull diorama as the demonstration subject. The approach is designed to be accessible and repeatable, delivering convincing stone texture without advanced skill. At 16 minutes, the tutorial moves efficiently through the core steps while keeping the process approachable for hobbyists at most experience levels.

StiltbeastStudios· 10,836 views
SERIES: Haunted Mansion Home Office Part 1 - Faux Wood Ceiling Medallion
6:08
DIY PropsIntermediate

SERIES: Haunted Mansion Home Office Part 1 - Faux Wood Ceiling Medallion

VanOaksProps kicks off a multi-part series transforming a small home office into a Disney Haunted Mansion-inspired space. This first episode focuses on creating a faux wood ceiling medallion to complement a chandelier installation. The creator uses acrylic putty, primer, and layered paint and stain techniques to convincingly mimic aged wood grain on a non-wood surface. It's a budget-conscious decorating approach that delivers a high-impact, themed result.

VanOaksProps· 16,088 views
HOW-TO: Creepy Vines DIY
7:37
DIY PropsBeginnerlow (common/inexpensive materials)

HOW-TO: Creepy Vines DIY

VanOaksProps walks through a beginner-friendly method for building realistic creepy vines using backer rod foam, shop towels, and common craft supplies. The technique is flexible enough to suit jungle dioramas, pumpkin patches, haunted house sets, or escape room builds. Painting steps using spray paint and acrylic layering give the finished vines an organic, weathered look. The whole build relies on affordable, widely available materials making it accessible for most budgets.

VanOaksProps· 57,854 views
Repaint a Toy Mandalorian Blaster Prop
8:46
DIY PropsIntermediate$30–$80

Repaint a Toy Mandalorian Blaster Prop

VanOaksProps walks through a multi-stage repaint of a Rubies toy Mandalorian blaster, transforming it from a flat costume accessory into a screen-accurate-looking prop. The process layers graphite powder, faux wood grain, airbrushed aluminum lacquer, Rub N Buff in two metallic tones, and wax paint weathering to build convincing depth and wear. Each technique is demonstrated in sequence with clear before-and-after context. The result is a display- or cosplay-ready blaster achieved with widely available hobby materials.

VanOaksProps· 42,821 views
DIY Halloween Monument Prop from Foam!
11:01
DIY PropsIntermediate$30–$80

DIY Halloween Monument Prop from Foam!

VanOaksProps demonstrates how to build a cemetery monument prop using a foam dome, a plastic garden urn, and a crow decoy — a creative alternative to standard foam tombstones. The build incorporates carving, shaping, and a multi-step faux bronze painting technique inspired by a published Instructables project. Drylok is used as a hardening base coat before layering acrylic paints to achieve an aged, patinated bronze look. The finished piece adds impressive height and visual variety to a home graveyard display.

VanOaksProps· 72,153 views
How to make Tombstones 💀 DIY Halloween Props
14:54
DIY PropsBeginner$20–$50

How to make Tombstones 💀 DIY Halloween Props

Wicked Makers duo Jaimie and Jay walk through their first attempt at building realistic Halloween tombstones from insulation foam, covering every stage from cutting and shaping to texturing and painting. They use accessible tools and inexpensive materials to achieve a convincing stone look. The finished props are designed for a DIY graveyard yard display and serve as inspiration for haunters of all skill levels.

Wicked Makers· 798,164 views
How to paint faux stone
3:45
DIY PropsBeginner

How to paint faux stone

Allen Hopps of Stiltbeast Studios delivers a fast, beginner-friendly walkthrough on achieving a convincing stone texture with paint. The technique is versatile enough to work on individual props as well as larger set pieces. At just four minutes, it's a compact, actionable lesson designed to get creators building quickly.

StiltbeastStudios· 17,076 views
DIY Fake Tree Stump With Spray Foam
8:11
DIY PropsBeginnerlow (many materials sourced from dollar stores and home improvement stores)

DIY Fake Tree Stump With Spray Foam

VanOaksProps walks through the full process of building a convincing fake tree stump using a 5-gallon bucket as a base form, expanding spray foam for texture, and layered acrylic and spray paints to achieve a realistic wood-and-moss finish. The build relies on inexpensive, widely available materials, making it accessible to beginners. A handy secondary use highlighted in the video is concealing a projector inside the hollow stump, adding functional value to a purely decorative prop.

VanOaksProps· 142,582 views
Easy Fake Brick Wall Using Joint Compound
8:18
DIY PropsBeginnerunder $30

Easy Fake Brick Wall Using Joint Compound

VanOaksProps demonstrates a budget-friendly method for creating a convincing faux brick wall using joint compound and precision masking tape — no large foam panels required. The technique is well-suited for small accent sections within a haunt or set build, making it ideal when only a localized brick effect is needed. Multiple FolkArt acrylic paint colors are layered with sponges and brushes to add depth, age, and realism to the finished surface. The approach doubles as a general home-décor faux-finish technique beyond Halloween use.

VanOaksProps· 109,182 views
Making a Metal Plaque using Tissue Paper!
6:49
DIY PropsBeginner$10–$25

Making a Metal Plaque using Tissue Paper!

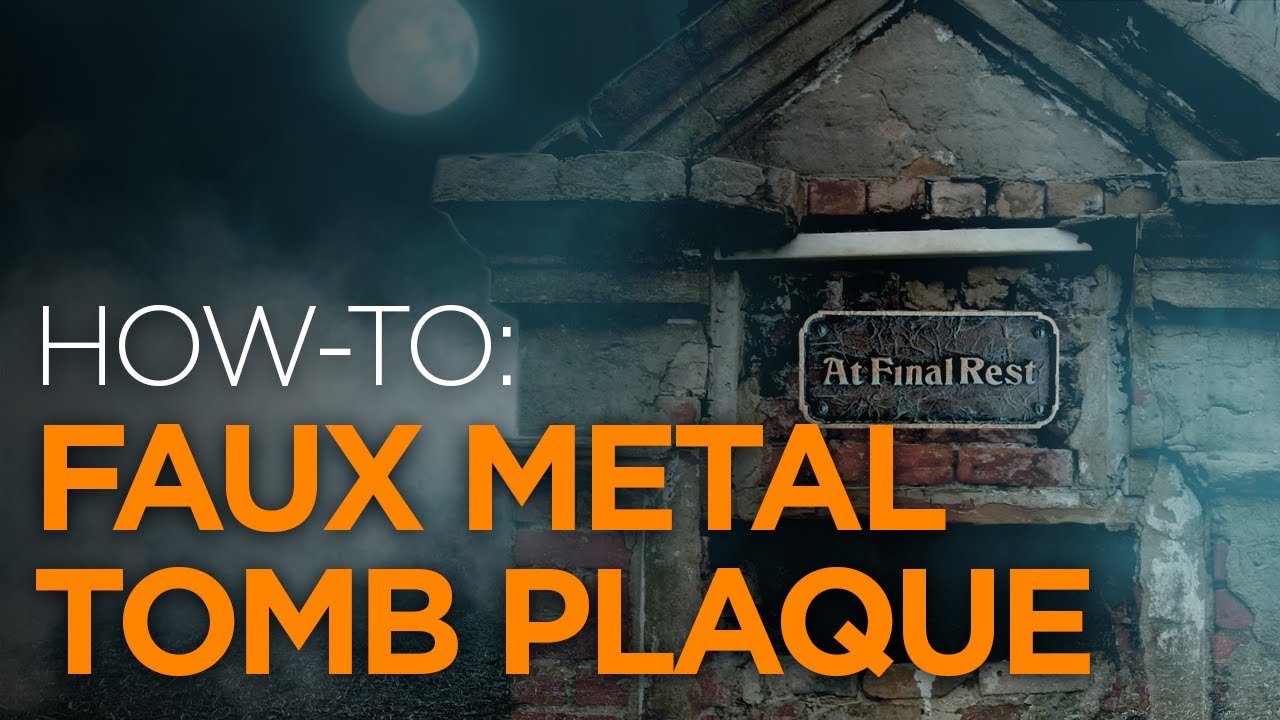
VanOaksProps demonstrates how to transform basic craft-store materials into a convincing faux-metal tomb plaque suitable for coffins, mausoleums, or haunt set dressing. The core technique uses tissue paper and Mod Podge to build an organic surface texture that mimics cast metal, followed by layered acrylic paints to achieve a realistic bronze patina. The creator emphasizes that small, believable details like this elevate a haunt from amateur to near-professional quality. A downloadable 3D model for the plaque design is also provided.

VanOaksProps· 18,712 views
Make PVC Look Like Wood
9:34
DIY PropsBeginner$20–$50

Make PVC Look Like Wood

VanOaksProps walks through a beginner-friendly technique for transforming ordinary PVC pipe into convincing faux wood using a heat gun, Apoxie Sculpt for texture, and layered acrylic paints. The method is versatile enough to produce a witches' broom handle, a cauldron stirring stick, or a Harry Potter-style broomstick. Multiple earth-tone paint colors are blended and dry-brushed to achieve realistic wood grain and aging. A final Mod Podge seal protects the finished piece for display or wear.

VanOaksProps· 60,418 views
Repainting Your Faded Halloween Pumpkins
5:50
DIY PropsBeginner$10–$25

Repainting Your Faded Halloween Pumpkins

VanOaksProps demonstrates how to transform plain, solid-orange craft store foam pumpkins into convincing, character-rich Halloween props using craft paints and wall texture spray. The tutorial walks through layering multiple FolkArt paint colors to add depth and realism, with texture spray providing surface interest that plain foam pumpkins lack. A sealant finish ties everything together for a durable result. The process is quick, affordable, and requires no advanced skills.

VanOaksProps· 16,965 views
Make Your Own Realistic Halloween Tombstones
9:38
DIY PropsIntermediate$20–$60

Make Your Own Realistic Halloween Tombstones

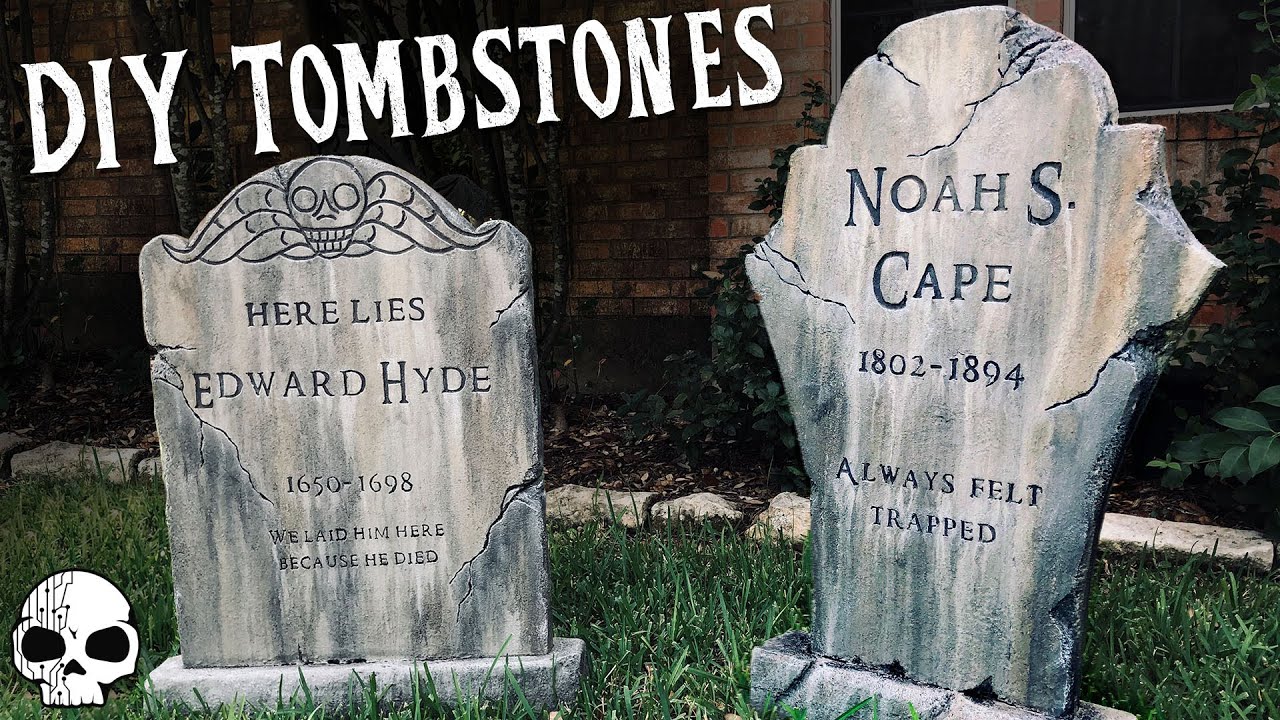
VanOaksProps walks through the full process of building realistic foam tombstones from scratch using materials available at hardware and craft stores. The build covers shaping and carving expanded insulation foam with a Dremel and rasp, adding surface texture with a blow torch, and finishing with a multi-layer paint technique anchored by masonry sealant. The result is a graveyard-worthy prop that far surpasses typical store-bought options. A companion video on finger detail work is also referenced for those wanting to push the realism further.

VanOaksProps· 213,028 views
Rusted Metal Paint Effect using Hairspray & Coffee Grounds
12:34
DIY PropsBeginner$20–$50

Rusted Metal Paint Effect using Hairspray & Coffee Grounds

This tutorial from VanOaksProps covers two distinct techniques for achieving a convincing rusted, aged-metal paint finish on props and set pieces. The first method uses hairspray as a resist layer to create realistic chipped and peeling paint, while the second incorporates coffee grounds to build up a grungy, corroded surface texture. Both approaches rely on accessible, low-cost materials and are well-suited to haunted house scenic painting or cosplay prop finishing. Note that the creator issued a correction: any mention of 'burnt umber' in the video is intended to mean 'raw sienna.'

VanOaksProps· 216,388 views
Creepy Halloween Crypt from Foam!
10:46
DIY PropsIntermediate$30–$80

Creepy Halloween Crypt from Foam!

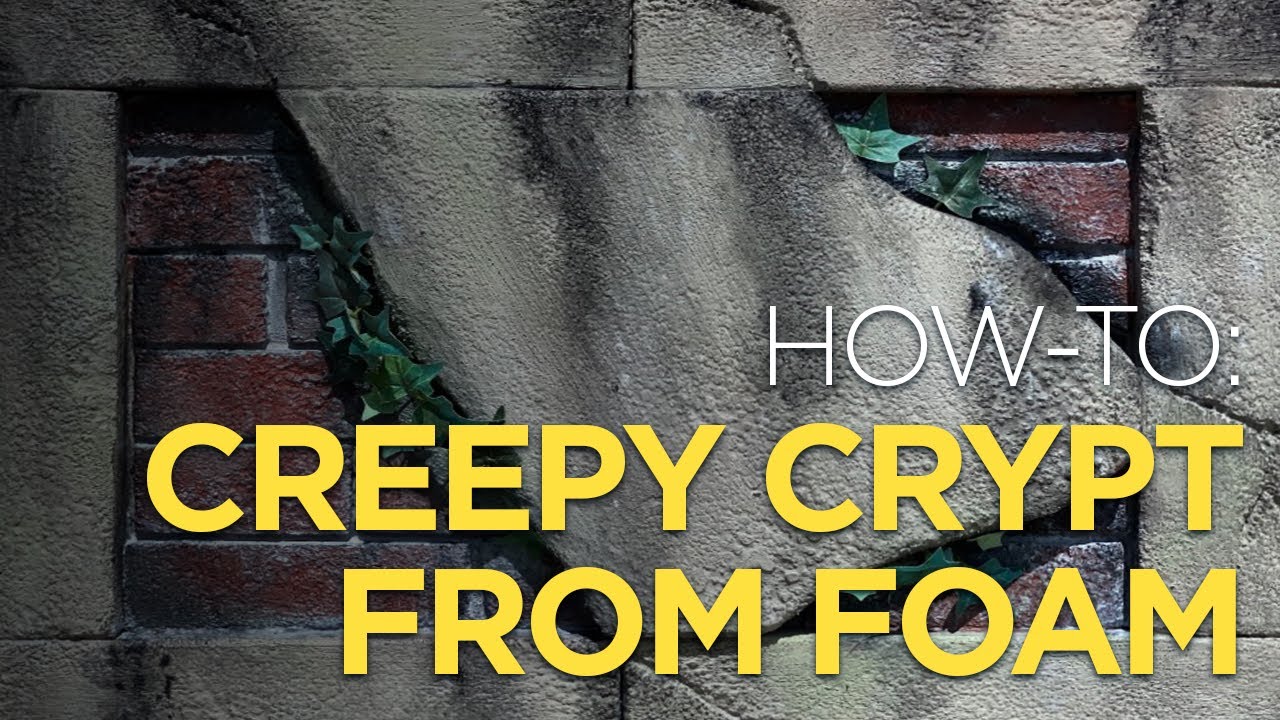
VanOaksProps walks viewers through building a foam crypt or mausoleum from scratch using common XPS foam and basic hand tools, making it accessible for home haunters of most skill levels. The build covers cutting and shaping foam to mimic stone and brick architecture, then sealing and painting it with layered acrylic washes to achieve a convincingly aged, mossy, weathered finish. The result is a dramatic cemetery centerpiece that goes well beyond a standard tombstone display.

VanOaksProps· 63,599 views
DIY Halloween Props - Clock from Nightmare Before Christmas
11:06
DIY PropsBeginner$15–$40

DIY Halloween Props - Clock from Nightmare Before Christmas

Wicked Makers' Jay and Jaimie build a replica of the Halloween Countdown Clock from The Nightmare Before Christmas, turning it into an accessible weekend DIY project. The build is designed to work with a range of materials — plywood, cardboard, foam core, or balsa — making it easy to adapt to whatever is on hand. Purchased plans and templates are available to guide the process from cut to finished, painted prop. The result is a decorative piece that doubles as both a Halloween and a Christmas holiday decoration.

Wicked Makers· 161,171 views
How to 3D Print your own Dungeons for DnD!
6:07
OtherBeginner

How to 3D Print your own Dungeons for DnD!

Jaimie and Jay of Wicked Makers walk through their workflow for printing and painting modular dungeon tiles for tabletop RPGs. They rely on free 3D model files from Thingiverse — specifically OpenForge designs — and a standard FDM printer to produce stone-style terrain pieces. A simple three-color acrylic painting method keeps results consistent and repeatable, even across large batches of tiles.

Wicked Makers· 151,669 views
DIY Halloween Props - Mason Jar Hanging Lights (Solar Powered!)
6:37
Lighting TutorialsBeginner~$7 per unit

DIY Halloween Props - Mason Jar Hanging Lights (Solar Powered!)

Wicked Makers hosts Jaimie and Jay walk through building budget-friendly solar-powered Halloween lanterns using mason jars wrapped in dyed creepy cloth styled to resemble Spanish moss. The finished lights carry a swamp or New Orleans vibe that complements graveyard yard haunts perfectly. With a reported materials cost of around $7 each, these lanterns are designed to be durable, weather-friendly, and reusable season after season.

Wicked Makers· 285,335 views
DIY Tombstone Painting & Distressing Tutorial How-To Halloween Prop #halloween #homehaunt #yardhaunt
4:26
DIY PropsBeginner

DIY Tombstone Painting & Distressing Tutorial How-To Halloween Prop #halloween #homehaunt #yardhaunt

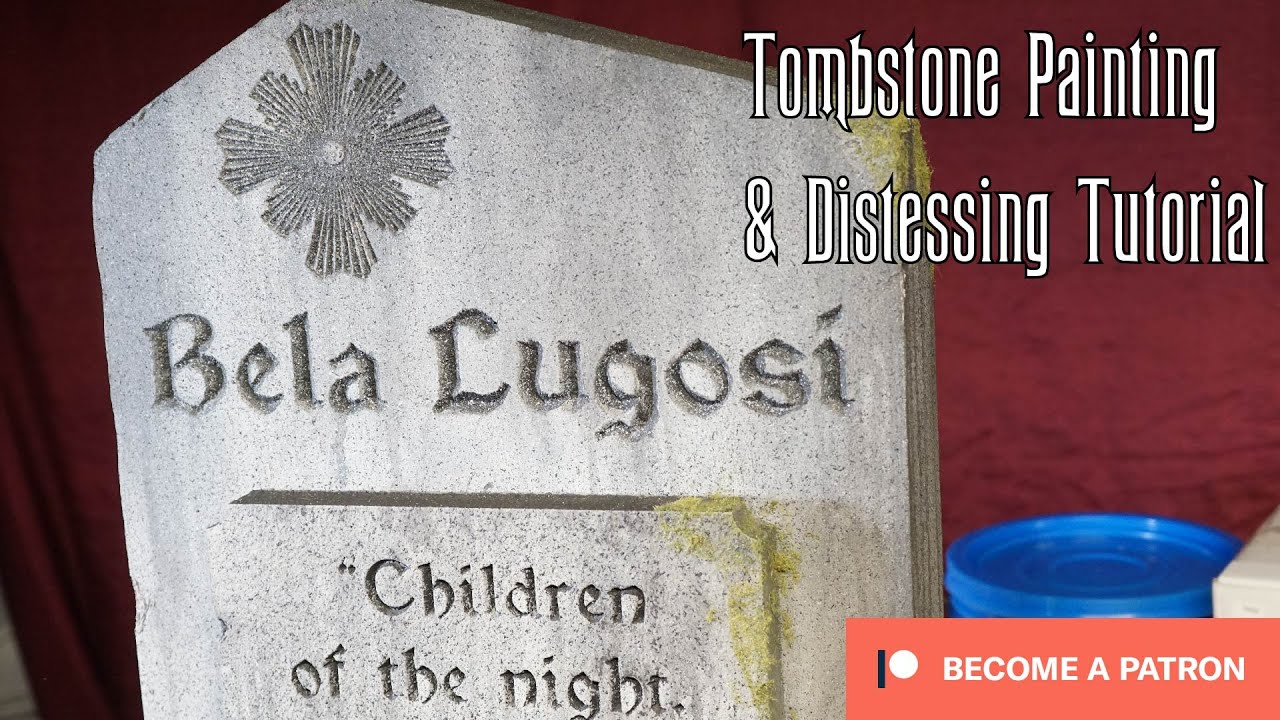
This short tutorial walks through the process of painting and distressing Halloween tombstone props to give them a realistic, aged appearance. The technique centers on using Dry-Lok as a key product in the finishing process. At under five minutes, it's a quick, accessible guide suited for haunters looking to elevate their cemetery displays. The result is a weathered, convincing grave marker that fits seamlessly into yard or home haunt setups.

Hauntcast· 1,445 views
DIY Halloween How-To ANTIQUE BOOK Prop and Decoration Idea
17:23
DIY PropsBeginnerunder $10

DIY Halloween How-To ANTIQUE BOOK Prop and Decoration Idea

This tutorial walks viewers through transforming a cardboard box and embossed wallpaper into a convincing antique book prop using accessible crafting and faux painting techniques. The finished piece is designed to be versatile, fitting seamlessly into haunted house displays, Halloween table settings, yard haunts, or spooky party decor. At roughly 17 minutes, the build is approachable for beginners and requires minimal materials. The aged, mysterious aesthetic pairs naturally with gothic, witchcraft, or Victorian Halloween themes.

HALLOWEEN DIY & HOW-TO Props & Special Effects· 19,839 views