Halloween Universe

The Screening Room

The Halloween Video Library

A curated, searchable archive of the dark craft — DIY props and animatronics, home-haunt walkthroughs, makeup, lighting, fog, and effects. Every film embedded from its creator, organized so you can actually find what you need.

84 videos

This Halloween Bust Follows You With Its Eyes! (DIY Monument Prop)
19:11
DIY PropsIntermediate$30–$80

This Halloween Bust Follows You With Its Eyes! (DIY Monument Prop)

VanOaksProps walks through the construction of a cemetery monument prop featuring a bust with a classic 'following eyes' optical illusion — the face appears to track viewers as they move past it. The build relies primarily on XPS foam, a cardboard tube column, and a bust sourced from a third-party supplier, finished with textured coatings and earth-tone paints to mimic aged stone. Weathering techniques including dry brushing and wash layers give the piece convincing graveyard patina. The result is a striking, customizable centerpiece suited for yard haunts, home haunts, and cemetery scenes.

VanOaksProps· 18,845 views
This Simple Paint Trick Creates INSANELY Realistic Metal
6:34
DIY PropsBeginnerlow (affordable acrylic supplies)

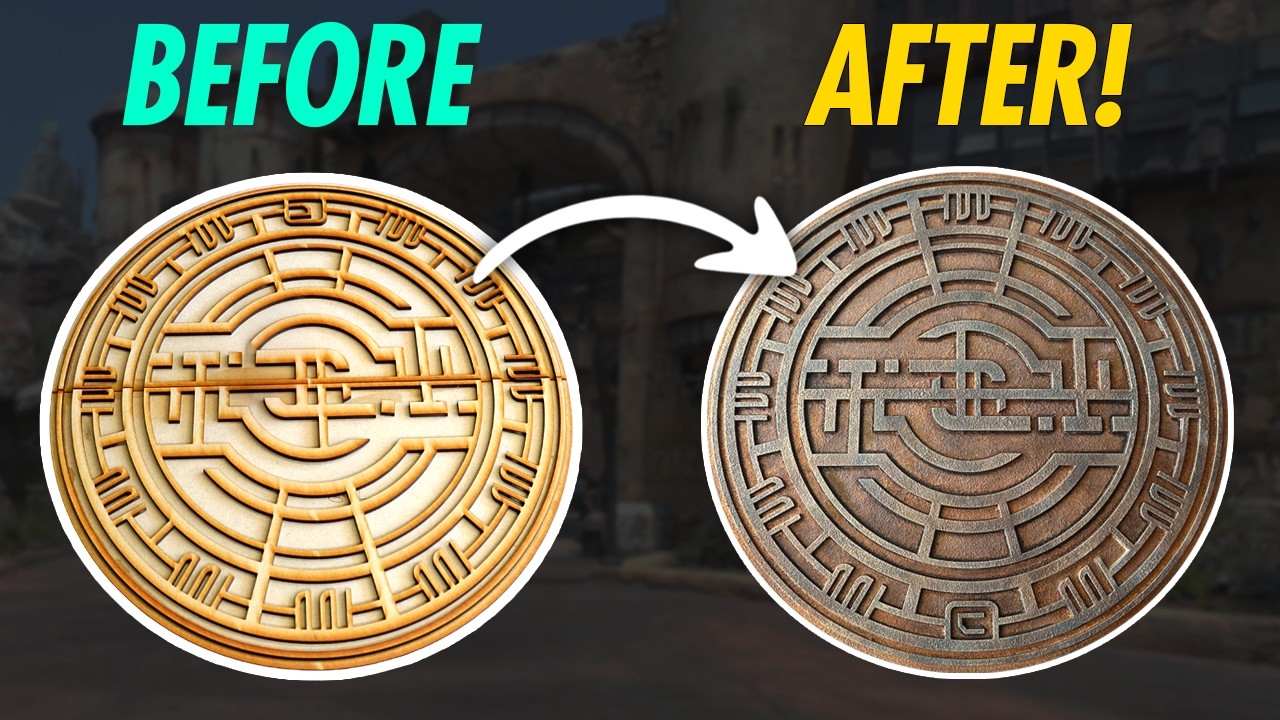
This Simple Paint Trick Creates INSANELY Realistic Metal

VanOaksProps demonstrates a straightforward faux metal painting technique using MDF, modeling paste, and layered acrylic paints to replicate the look of weathered cast iron. Inspired by the industrial sci-fi aesthetic of Galaxy's Edge at Disneyland, the build recreates a themed sewer cover prop. The workflow covers surface texturing, base coating, and applying dark washes to build realistic depth and age. The result is a convincing metallic finish achievable with budget-friendly materials.

VanOaksProps· 6,612 views
Saber Tooth Tiger Cosplay Skull #cosplay #videogamecosplay #evafoam
0:25
DIY PropsIntermediate

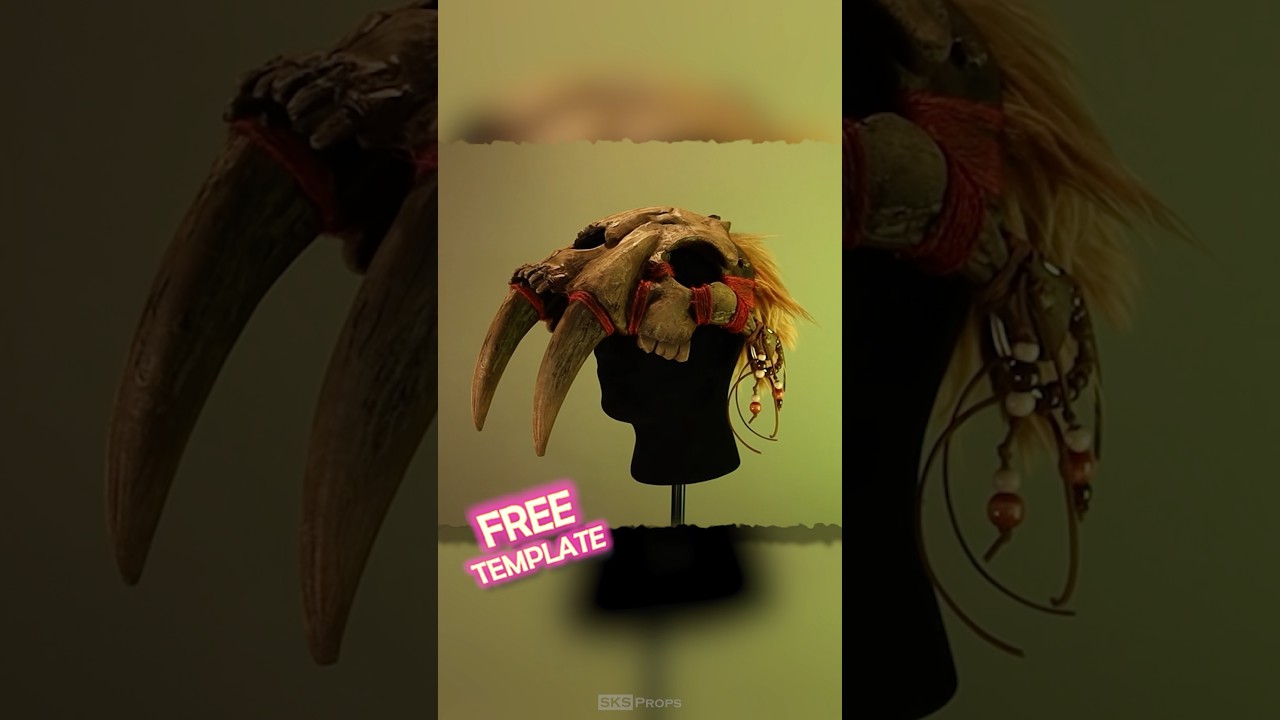
Saber Tooth Tiger Cosplay Skull #cosplay #videogamecosplay #evafoam

This tutorial walks through the full process of building a wearable saber-toothed tiger skull prop from HD foam, covering both construction and painting stages. The creator demonstrates how to weather and age foam using acrylic and metallic paints to achieve a primal, battle-worn aesthetic suited to cosplay or video game-inspired looks. The finished piece is notably lightweight and comfortable for extended wear. Free downloadable PDF templates are available on the creator's website to help viewers replicate the build.

SKS Props· 18,269 views
How to Make a Saber Toothed Tiger Skull out of EVA Foam - Cosplay Helmet or Armor - Free Template
18:23
DIY PropsIntermediate

How to Make a Saber Toothed Tiger Skull out of EVA Foam - Cosplay Helmet or Armor - Free Template

SKS Props walks through the full build and paint process for a wearable saber-toothed tiger skull made from HD foam, complete with a free downloadable PDF template. The tutorial covers shaping and assembling all skull components from foam, then sealing and painting to achieve a convincingly weathered, primal look using acrylics, graphite powder, rust effects, and metallic sprays. Because the finished piece is lightweight and wearable, it works equally well as a cosplay helmet, mask, or Halloween costume centerpiece. Printing instructions for the multi-sheet PDF template are also included.

SKS Props· 9,299 views
How to Make Fallout NCR Cosplay Chest Armor - Free Foam Template - Paint Foam to Look Like Metal
13:52
Costume TutorialsIntermediate

How to Make Fallout NCR Cosplay Chest Armor - Free Foam Template - Paint Foam to Look Like Metal

This tutorial walks through building Fallout NCR chest armor from HD foam using a free downloadable PDF template. The creator covers the full fabrication process from cutting and shaping foam to assembling the chest piece, then dives deep into a multi-step painting and weathering workflow designed to make lightweight foam convincingly resemble battered wasteland metal. Techniques include sealing, base coating, metallic sprays, graphite powder, and rust effects to achieve an authentic worn look.

SKS Props· 12,657 views
I Created The Final Halloween Tombstone Decoration
13:16
DIY PropsIntermediate$30–$70

I Created The Final Halloween Tombstone Decoration

VanOaksProps walks through the complete construction of a final Halloween tombstone, combining insulation foam and MDF to achieve a convincing stone-and-weathered-metal look. The build covers shaping and carving foam details, creating a custom faux metal plaque, and applying a multi-step paint finish that includes a masonry sealer base, hammered copper spray, patina effects, and aging washes. The result is a professional-quality graveyard prop suitable for yard haunts or haunted house displays. A thorough materials list with affiliate links accompanies the tutorial for easy replication.

VanOaksProps· 15,497 views
QUICK Halloween Upgrade with Paint!
8:58
DIY PropsBeginner$10–$30

QUICK Halloween Upgrade with Paint!

This beginner-friendly tutorial from VanOaksProps walks through transforming plain foam columns into weathered, moss-covered cemetery props using simple paint techniques. The creator demonstrates surface preparation, layered paint washes, and sponge blending to achieve a convincing aged-stone appearance. Artificial ferns are attached at the end to sell the overgrown, haunted graveyard aesthetic. The entire process is accessible with inexpensive craft supplies.

VanOaksProps· 8,007 views
How to Repair Old Halloween Pumpkins 🎃
8:37
DIY PropsBeginner$10–$25

How to Repair Old Halloween Pumpkins 🎃

This beginner-friendly tutorial from VanOaksProps walks through restoring faded and cracked foam Halloween pumpkins using everyday craft supplies. The process covers surface prep, sealing cracks with Mod Podge, and repainting with layered acrylic colors using a sea sponge technique. A matte spray sealer is applied at the end to improve durability and weather resistance. The result is a refreshed, display-ready prop at a fraction of the cost of replacement.

VanOaksProps· 10,926 views
6 DIY Stone Wall  Dry Brushing Secrets to Realistic Texture  #diy #halloween #hauntedhouse
0:46
Set DesignBeginner

6 DIY Stone Wall Dry Brushing Secrets to Realistic Texture #diy #halloween #hauntedhouse

Stiltbeast Studios shares six dry brushing secrets for achieving convincingly realistic stone wall textures on haunted house set pieces. The short-form video focuses on paint application techniques that add depth, dimension, and authenticity to DIY scenic walls. These tips are aimed at haunted attraction builders looking to elevate the visual quality of their stone surfaces quickly.

StiltbeastStudios· 2,147 views
5 Easy Ways to Make Halloween Props Look Real
5:30
DIY PropsBeginnerlow (budget-friendly materials)

5 Easy Ways to Make Halloween Props Look Real

This short tutorial walks viewers through five accessible weathering techniques that can transform store-bought or thrift-store Halloween props into convincingly aged, realistic pieces. The methods range from simple paint washes and dry brushing to metallic chipping with chrome pens and Rub 'n Buff, plus sanding and Fuller's earth application. All five approaches are designed to be low-cost and beginner-friendly, making them suitable for haunters, cosplayers, and home decorators alike. The video emphasizes broad applicability across masks, foam props, weapons, and costumes.

Creative Geekery· 2,140 views
How to Make a Vintage Sign
9:05
DIY PropsBeginner$20–$50

How to Make a Vintage Sign

VanOaksProps walks through building a weathered vintage-style 'For Sale' sign out of MDF as a narrative prop for a cemetery yard haunt. The build covers sealing, stenciling with a vinyl cutter, hand-painting lettering, and applying distressing and aging techniques to achieve a convincingly decrepit look. The sign doubles as a tongue-in-cheek story element marking the haunt's final season at its current home. The paint tricks demonstrated are transferable to a wide range of Halloween prop projects.

VanOaksProps· 7,935 views
Build the Ultimate Halloween Cemetery: My 10 Favorite Detail Projects
52:56
Yard HauntsBeginner

Build the Ultimate Halloween Cemetery: My 10 Favorite Detail Projects

VanOaksProps compiles ten of his favorite detail-oriented prop projects specifically chosen to elevate a DIY Halloween cemetery display. The compilation spans a wide range of builds — from PVC fencing and weathered tombstones to faux cast-iron locks, distressed signage, and atmospheric cobwebs — with each segment linking back to a full standalone tutorial. The focus throughout is on affordable, achievable techniques that add realism and cinematic atmosphere to a yard graveyard scene.

VanOaksProps· 72,585 views
How to Paint EVA Foam to Look Like Metal - Oblivion Knight Cosplay Chest Armor Tutorial Part 3
10:49
Costume TutorialsBeginner

How to Paint EVA Foam to Look Like Metal - Oblivion Knight Cosplay Chest Armor Tutorial Part 3

This tutorial — Part 3 of a multi-part series — focuses on texturing and painting EVA foam chest armor inspired by the knight designs of The Elder Scrolls: Oblivion. The creator walks through surface preparation using texture mediums and sealers, then demonstrates layered acrylic painting and graphite powder buffing techniques to achieve a convincing metallic finish. Free PDF templates for the armor are available on the creator's website. The video is pitched at beginners but contains enough detail to benefit intermediate builders as well.

SKS Props· 26,623 views
Part 18 DIY Graveyard Bust   DIY Body Art  Easy Acrylic Paint & Dry Brushing Secrets!  #sculpture
0:33
DIY PropsBeginner

Part 18 DIY Graveyard Bust DIY Body Art Easy Acrylic Paint & Dry Brushing Secrets! #sculpture

This short installment in StiltbeastStudios' ongoing graveyard bust series focuses on applying body art and acrylic paint to a DIY sculpture. The episode highlights dry brushing as a key technique for achieving realistic, aged stone or weathered surface effects. As part 18 of a larger build series, it offers a focused, bite-sized look at the painting and finishing stage of prop creation.

StiltbeastStudios· 1,598 views
Death Star Droid Build
10:30
DIY PropsAdvanced

Death Star Droid Build

VanOaksProps walks through a full-scale RA-7 Death Star Droid head build using the Bambu Lab H2D 3D printer, covering the entire workflow from print optimization to a screen-accurate finished prop. The video dives deep into surface finishing, including multi-stage sanding, priming, and a layered painting process using both a spray gun and airbrush. Advanced weathering techniques — including a hairspray chipping method and umber washes — give the final piece a convincing worn-metal appearance. The build serves as an end-to-end masterclass for prop makers and cosplayers working with large-format 3D-printed pieces.

VanOaksProps· 6,598 views
How to Make a Trench Crusade Cosplay Helmet - Free Foam Templates New Antioch Lieutenant Sallet
11:32
Costume TutorialsIntermediate

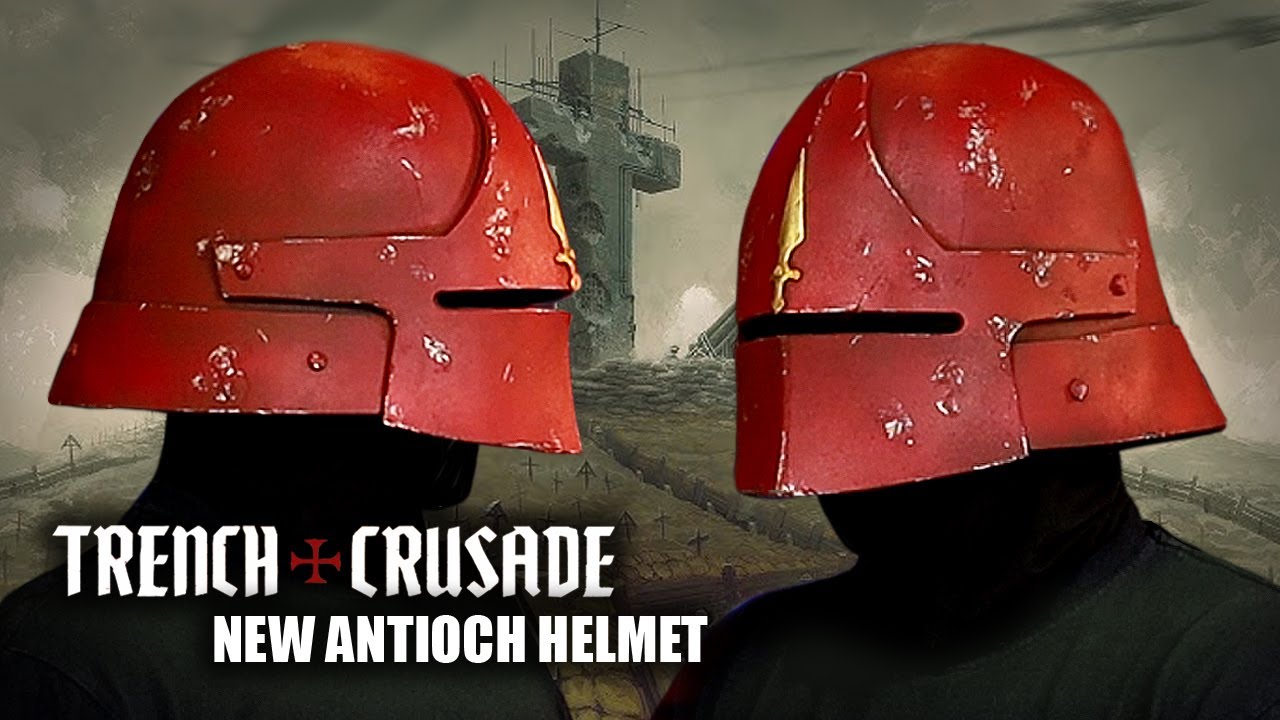
How to Make a Trench Crusade Cosplay Helmet - Free Foam Templates New Antioch Lieutenant Sallet

SKS Props walks viewers through constructing a Trench Crusade New Antioch Sallet helmet entirely from lightweight EVA foam, using freely available templates from the creator's website. The build covers cutting, heat-forming, and gluing foam pieces into a wearable helmet shell, followed by sealing and a multi-stage acrylic paint process to achieve a grimdark, battle-worn finish. Gilding and texture medium add convincing metallic depth to the completed piece.

SKS Props· 11,448 views
Easy & Realistic Fake Brick Walls From Foam!
11:00
DIY PropsBeginner$20–$60 depending on project scale

Easy & Realistic Fake Brick Walls From Foam!

This tutorial by VanOaksProps walks through the full process of creating convincing fake brick walls from XPS foam, covering every stage from measuring and cutting to texturing and painting. The creator demonstrates how to use a hot wire table and surform rasp to shape individual bricks, then applies heat to mimic aged surface texture. A multi-step paint process using several earth-tone acrylics over a masonry sealer base coat produces a hyper-realistic, lightweight brick panel suitable for haunts, sets, or home displays.

VanOaksProps· 59,420 views
Metal Paint Effects with Supplies You Already Have!
10:51
DIY PropsBeginner$10–$40

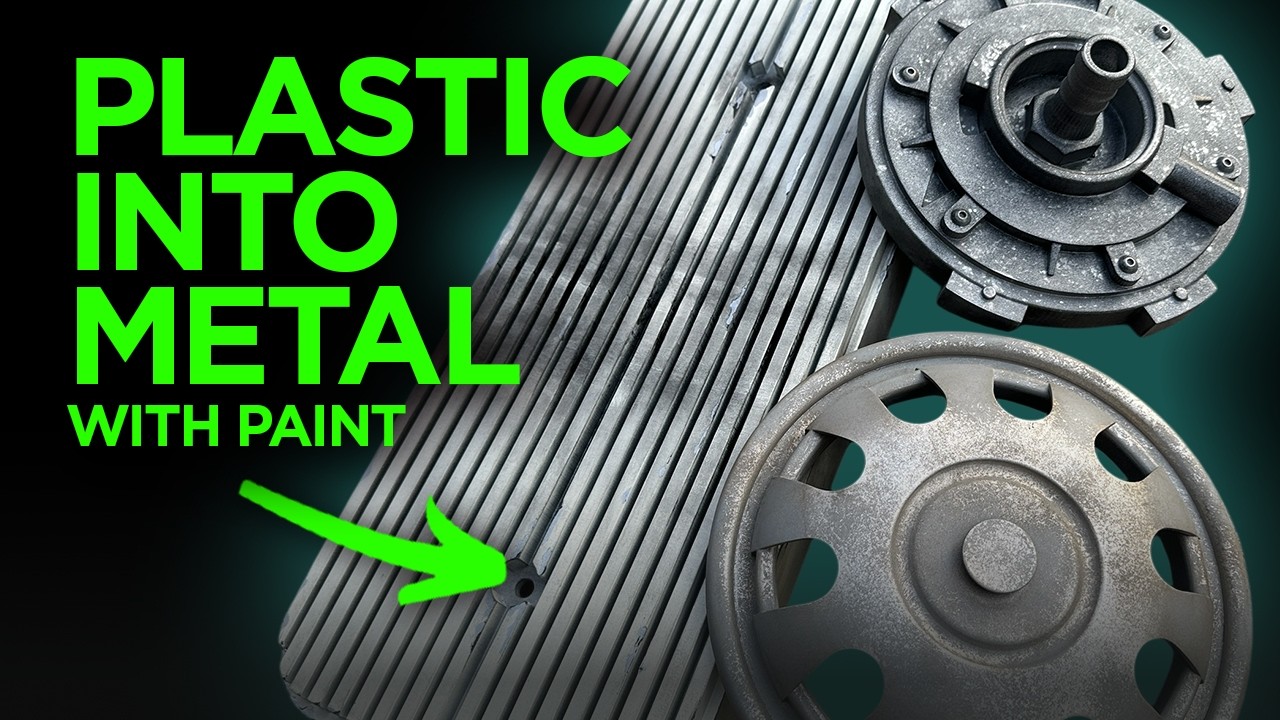
Metal Paint Effects with Supplies You Already Have!

VanOaksProps demonstrates three accessible weathering techniques that transform plain plastic or 3D-printed pieces into convincingly aged, battle-worn metal props. The methods — liquid latex chipping, salt weathering, and a hairspray masking technique for sun-bleached finishes — rely on common household or low-cost supplies rather than specialized equipment. Each approach is shown with layered paint steps that build realistic depth and character. The tutorial is equally applicable to sci-fi builds, armor, and general scenic prop work.

VanOaksProps· 9,045 views
Recreating a Galaxy’s Edge Sign with EVA Foam – Step-by-Step Prop Build
10:52
DIY PropsIntermediate

Recreating a Galaxy’s Edge Sign with EVA Foam – Step-by-Step Prop Build

VanOaksProps walks through a full build of a Galaxy's Edge-inspired marketplace sign using EVA foam, modeling paste, and a custom Illustrator template available as a free download. The tutorial covers every stage from cutting and shaping foam layers to painting, weathering, and finishing with Rub n Buff and airbrush decay effects for a convincingly battle-worn Batuu aesthetic. Techniques transfer readily to cosplay accessories, themed room displays, or haunt set dressing. The approachable material list and step-by-step pacing make this accessible to intermediate foam crafters.

VanOaksProps· 6,509 views
Haunted Mansion Prop from CHEAP Craft Store Finds!
13:09
DIY PropsIntermediate$30–$60

Haunted Mansion Prop from CHEAP Craft Store Finds!

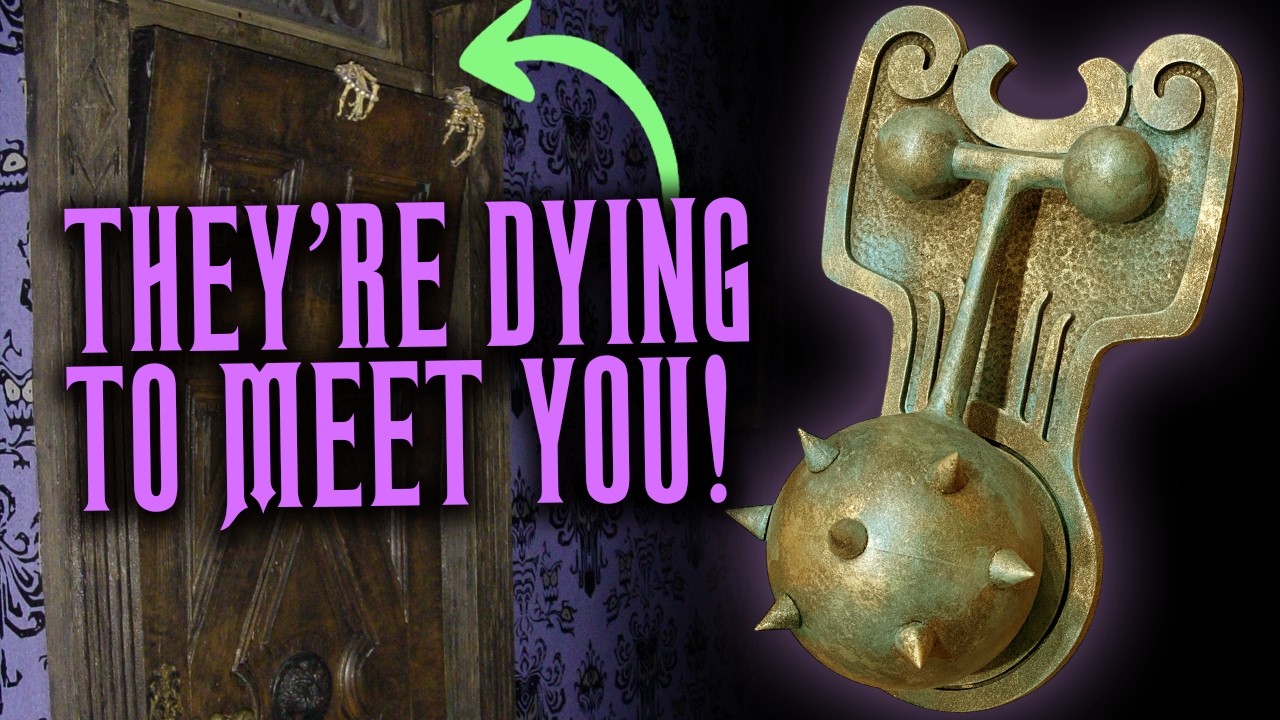
VanOaksProps walks viewers through a step-by-step build of the iconic door knockers from Disneyland's Haunted Mansion Corridor of Doors, using inexpensive craft store and online finds. The build combines plastic ornaments, wooden beads, and a dowel as a base, with resin casting and Dremel work adding detail. A layered paint and finishing process — including automotive primer, spray paint, and Rub n Buff — sells the aged, ornate look of the original prop. A free downloadable PDF template is provided to help replicate accurate shapes.

VanOaksProps· 11,949 views
Star Wars Wall Panels: Creating Epic Decor from Old Electronics!
10:48
DIY PropsBeginnerlow / budget-friendly (uses salvaged materials)

Star Wars Wall Panels: Creating Epic Decor from Old Electronics!

VanOaksProps walks viewers through building Star Wars-inspired wall panels by repurposing discarded electronics and tech parts into sci-fi greeble-style décor. The project is framed as accessible and low-cost, leaning on creative assemblage rather than specialized skills. A series of spray paints — including matte black, granite grey, rust primer, and silver acrylic — are used to unify the salvaged components into a cohesive, cinematic aesthetic. The finished panels suit a home haunt, themed room, gaming space, or event set dressing.

VanOaksProps· 9,333 views
How to Carve a Foam Pumpkin Tutorial DnD Beholder - EVA Foam Clay - Monster Eyes Halloween Decor DIY
22:58
DIY PropsIntermediate

How to Carve a Foam Pumpkin Tutorial DnD Beholder - EVA Foam Clay - Monster Eyes Halloween Decor DIY

SKS Props walks through the full fabrication process for turning a standard craft foam pumpkin into a detailed Dungeons & Dragons Beholder creature. The build layers EVA foam and foam clay over the carved base to add dimensional tentacle eyes and organic textures, then finishes with Liquitex acrylics and FX paints for a convincing monster look. A standout technique involves crafting glowing monster eyes from clear Christmas bulbs wrapped in foam clay. The finished piece works equally well as Halloween décor, a haunt prop, or a D&D game-room display.

SKS Props· 19,384 views
Transforming An Alien Romulus Popcorn Bucket Into A Movie Prop!
9:58
DIY PropsIntermediate

Transforming An Alien Romulus Popcorn Bucket Into A Movie Prop!

The creator takes a commercially available Cinemark Alien Romulus themed popcorn bucket and elevates it into a convincing movie-quality prop using body filler, airbrushing, and metallic finishing techniques. The process covers surface preparation, sculpting or filling with Bondo, sanding smooth, and layering paint effects including dry brushing and Rub n Buff. The result transforms a novelty collectible into something that could pass as a set piece from the Alien franchise itself.

Creative Geekery· 13,015 views
DIY ULTRA Realistic Halloween Tombstones!
10:50
DIY PropsIntermediate$20–$60

DIY ULTRA Realistic Halloween Tombstones!

VanOaks Props walks through a complete process for building ultra-realistic foam tombstones that convincingly mimic aged stone. The tutorial covers shaping, carving fine details, texturing with caulk, and a multi-step painting workflow using acrylic washes and a masonry sealer to achieve an authentic weathered-granite look. Techniques like flame treatment and dry brushing add depth and surface realism that elevate these props well beyond typical foam graveyard pieces.

VanOaksProps· 85,031 views