
DIY Pressure Pot for Resin Casting from Harbor Freight Pressure Paint Bucket
Embedded from YouTube. This video belongs to its creator; Halloween Universe indexes it as a discovery resource.View original ↗
What this video covers
This tutorial from Monster Tutorials walks through converting an affordable Harbor Freight pressure paint bucket into a functional resin casting pressure pot using a handful of brass plumbing fittings and quick-connect air components. The build is designed to eliminate bubbles in clear resin pours — a common challenge for prop and jewelry makers. The video demonstrates how to assemble and adapt the lid fittings so the bucket can be pressurized with a standard air compressor. Alumilite Clear Slow Resin is shown as the casting material of choice for the finished setup.
Key takeaways
- ◆A standard Harbor Freight pressure paint bucket can be converted into a casting pressure pot with minimal fittings
- ◆The key modification involves replacing or adapting the lid hardware with brass fittings and a quick-connect air valve
- ◆Pressurizing resin during cure eliminates air bubbles for crystal-clear castings
- ◆Alumilite Clear Slow Resin is the recommended resin for this setup
- ◆The build is a cost-effective alternative to purpose-built commercial pressure pots
Who this is for
Prop makers, haunters, and hobbyists who want an affordable DIY pressure pot for bubble-free resin casting without buying expensive dedicated equipment.
Materials mentioned
- • Harbor Freight pressure paint bucket
- • brass cross fitting
- • 3/8" cap
- • 1/4" valve
- • 1/4" male-to-male adapter
- • 1/4" male quick connect
- • Alumilite Clear Slow Resin
⚠ Safety notes
Working with pressurized vessels carries risk of injury; ensure all fittings are rated for intended pressure and never exceed the vessel's maximum PSI rating. Resin fumes can be hazardous — work in a well-ventilated area.
Explore related
More like this
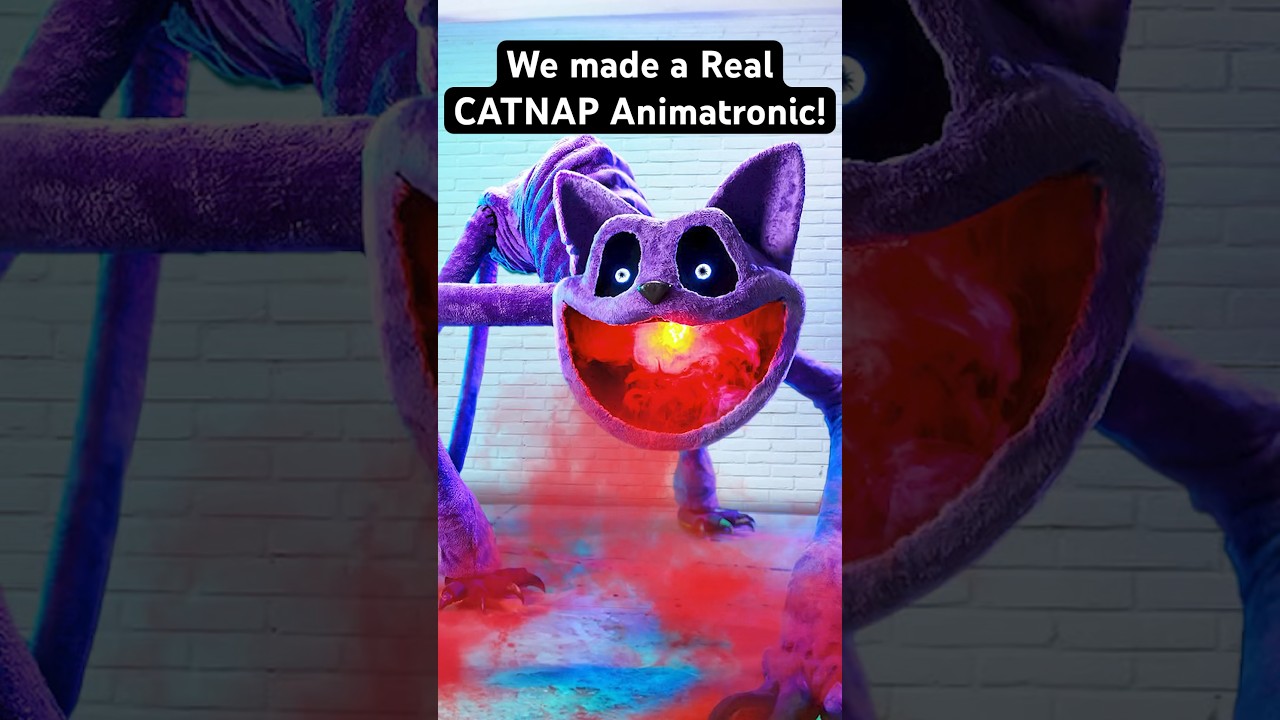
REAL CatNap Animatronic! #catnap #poppyplaytime #shorts
Wicked Makers' Jaimie and Jay build a fully functioning CatNap animatronic from scratch, bringing the popular Poppy Playtime horror-game character to life. The short-form video showcases the impressive finished result of their fabrication work. It's a quick but striking look at what dedicated prop builders can achieve with recognizable pop-culture source material.

Real YARNABY Animatronic! 🧶😱 #poppyplaytime
Wicked Makers' Jay and Jaimie construct a full animatronic version of Yarnaby from the horror game Poppy Playtime, built from steel and driven by pneumatics. The build goes beyond aesthetics — the team stress-tests the animatronic's jaw mechanism using a ballistic gel arm to see whether it could realistically bite through a limb. The video blends behind-the-scenes fabrication footage with chaotic prop-testing in classic Wicked Makers style. It sits alongside their broader catalog of mascot-horror animatronics inspired by FNAF, Poppy Playtime, and similar franchises.

Make Halloween Store Skeletons Way Better! 💀 #shorts
Wicked Makers' Jay and Jaimie demonstrate how to transform a basic store-bought Halloween skeleton into a far more impressive and creepy display piece. The short teases a full-length tutorial focused on giving the skeleton a pirate or drunken drinking character. The upgrade elevates a generic prop into a themed centerpiece without starting from scratch.
Ratings & reviews
No ratings yet — be the first to say whether this one delivered.
Sign in to rate this video and tell others if it helped.