
How to Build a Jedi Comlink (Qui-Gon Jinn & Obi-Wan Kenobi)
by VanOaksProps
Embedded from YouTube. This video belongs to its creator; Halloween Universe indexes it as a discovery resource.View original ↗
What this video covers
VanOaksProps walks through a detailed, screen-accurate build of the Jedi Comlink seen in the hands of Qui-Gon Jinn and Obi-Wan Kenobi across two Star Wars prequel films. The foundation is a vintage Gillette Sensor Excel razor — the same found object used by the original prop department — enhanced with custom 3D-printed parts, laser-cut acrylic, and hard-to-find specialty hardware like Coughtrie screws and aerospace pins. The tutorial concludes with a full weathering sequence using primer, spray paint, and oil washes to achieve a convincingly worn, screen-matched finish. It's a masterclass in blending digital fabrication with traditional kit-bashing for obsessive prop accuracy.
Key takeaways
- ◆The prop's base is a Gillette Sensor Excel razor, a real found object used by the original Star Wars prop department
- ◆Rare greeblies — including Coughtrie bulkhead screws and Matrix aerospace pins — are key to achieving screen accuracy
- ◆Custom 3D-printed parts and laser-cut acrylic fill the gaps where found objects fall short
- ◆A layered weathering process (primer, matte black, aluminum dry-brush, oil wash) sells the final aged look
- ◆Substitute parts and affiliate-linked alternatives are provided, making the build more accessible
Who this is for
Star Wars prop enthusiasts, cosplayers building Qui-Gon Jinn or Obi-Wan Kenobi costumes, and makers interested in screen-accurate replica techniques combining 3D printing and kit-bashing.
Tools mentioned
- • 3D printer
- • laser cutter
Materials mentioned
- • Gillette Sensor Excel razor
- • substitute Domon Dolly razor
- • M3 acorn head nuts (stainless steel)
- • Matrix Pins model M39029/5-115
- • Coughtrie bulkhead screws
- • tab key lock washer
- • D nut plates
- • double end soldering lugs
- • CA glue
- • CA glue accelerator
- • 5-minute epoxy
- • Apoxie Sculpt
- • UPol Expert Sandable Primer
- • matte black spray paint
- • Tamiya Flat Aluminum model paint
- • Lamp Black oil paint
- • laser-cut acrylic
⚠ Safety notes
Use CA glue and epoxy in a well-ventilated area; CA accelerator fumes can be irritating. Follow manufacturer guidelines when sanding primer.
Explore related
More like this
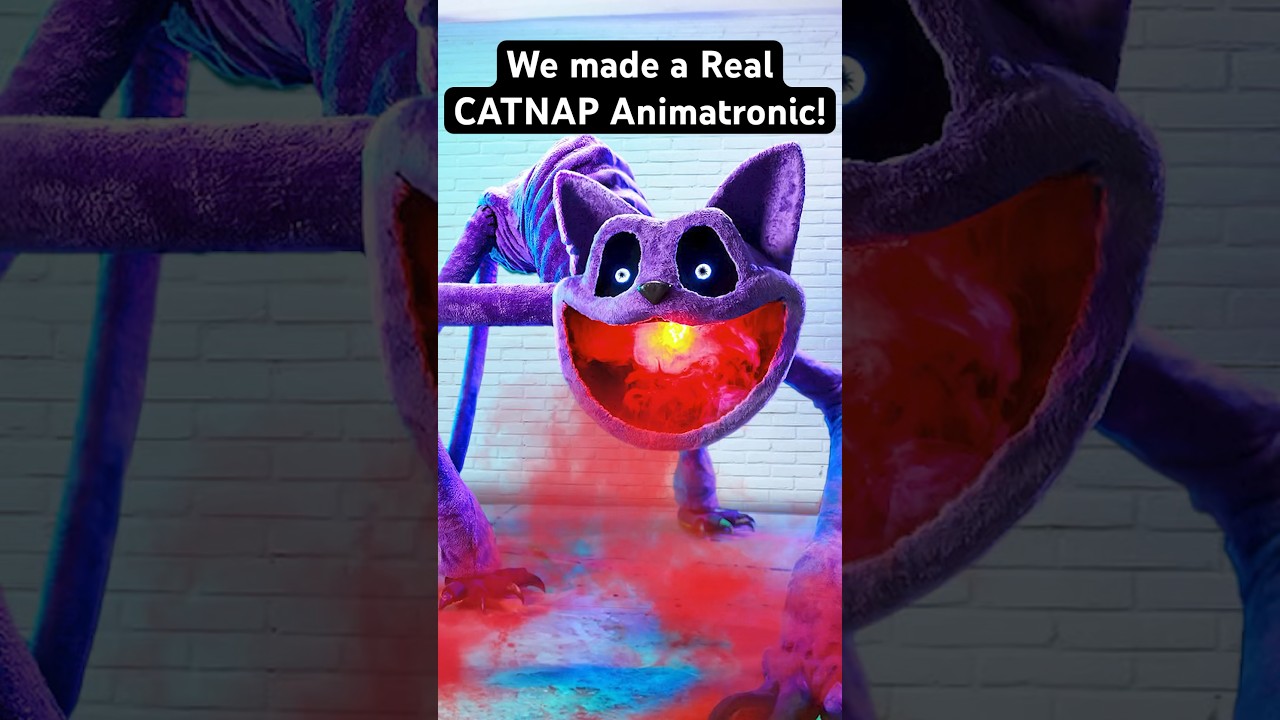
REAL CatNap Animatronic! #catnap #poppyplaytime #shorts
Wicked Makers' Jaimie and Jay build a fully functioning CatNap animatronic from scratch, bringing the popular Poppy Playtime horror-game character to life. The short-form video showcases the impressive finished result of their fabrication work. It's a quick but striking look at what dedicated prop builders can achieve with recognizable pop-culture source material.

Real YARNABY Animatronic! 🧶😱 #poppyplaytime
Wicked Makers' Jay and Jaimie construct a full animatronic version of Yarnaby from the horror game Poppy Playtime, built from steel and driven by pneumatics. The build goes beyond aesthetics — the team stress-tests the animatronic's jaw mechanism using a ballistic gel arm to see whether it could realistically bite through a limb. The video blends behind-the-scenes fabrication footage with chaotic prop-testing in classic Wicked Makers style. It sits alongside their broader catalog of mascot-horror animatronics inspired by FNAF, Poppy Playtime, and similar franchises.

Make Halloween Store Skeletons Way Better! 💀 #shorts
Wicked Makers' Jay and Jaimie demonstrate how to transform a basic store-bought Halloween skeleton into a far more impressive and creepy display piece. The short teases a full-length tutorial focused on giving the skeleton a pirate or drunken drinking character. The upgrade elevates a generic prop into a themed centerpiece without starting from scratch.
Ratings & reviews
No ratings yet — be the first to say whether this one delivered.
Sign in to rate this video and tell others if it helped.