
How To Make the Bespin Comlink Prop - Star Wars The Empire Strikes Back
by VanOaksProps
Embedded from YouTube. This video belongs to its creator; Halloween Universe indexes it as a discovery resource.View original ↗
What this video covers
VanOaksProps digs into the obscure origins of Lando Calrissian's Bespin comlink from The Empire Strikes Back, tracing it to a real 1945 vintage electrical switch before recreating it as a highly screen-accurate SLA resin 3D print. The build draws on reference imagery and Replica Prop Forum research to nail the prop's distinctive shape and fine surface details. The tutorial walks through the full workflow: print cleanup, sandable primer, screen-matched paint colors, metallic finishes, vinyl detail work, and final assembly.
Key takeaways
- ◆The original filming prop was based on a 1945 General Control Company electrical switch, a discovery sourced from community prop research
- ◆An SLA resin 3D model (available for purchase from the creator) is used to replicate the prop's unique geometry and fine detail
- ◆Specific spray paints — a beige and a silver mica — are called out for achieving a screen-accurate finish
- ◆Vinyl cutting and transfer tape are used to add precise colored detail elements
- ◆The build combines research, digital modeling, and physical finishing techniques suitable for intermediate prop makers
Who this is for
Star Wars fans, cosplayers, and prop builders who want to create a screen-accurate replica of Lando's Bespin comlink using 3D printing and accessible finishing materials.
Tools mentioned
- • X-Acto knife
- • carpet tape
Materials mentioned
- • resin 3D printed parts
- • CA glue
- • wire mesh
- • Oracal 651 red vinyl
- • Oracal transfer tape
- • U-Pol Expert Sandable Primer
- • Montana Gold Sahara Beige spray paint
- • Duplicolor Toyota Classic Silver Mica spray paint
⚠ Safety notes
SLA resin prints require proper handling; use gloves and work in a ventilated area when sanding, priming, and spray painting.
Explore related
More like this
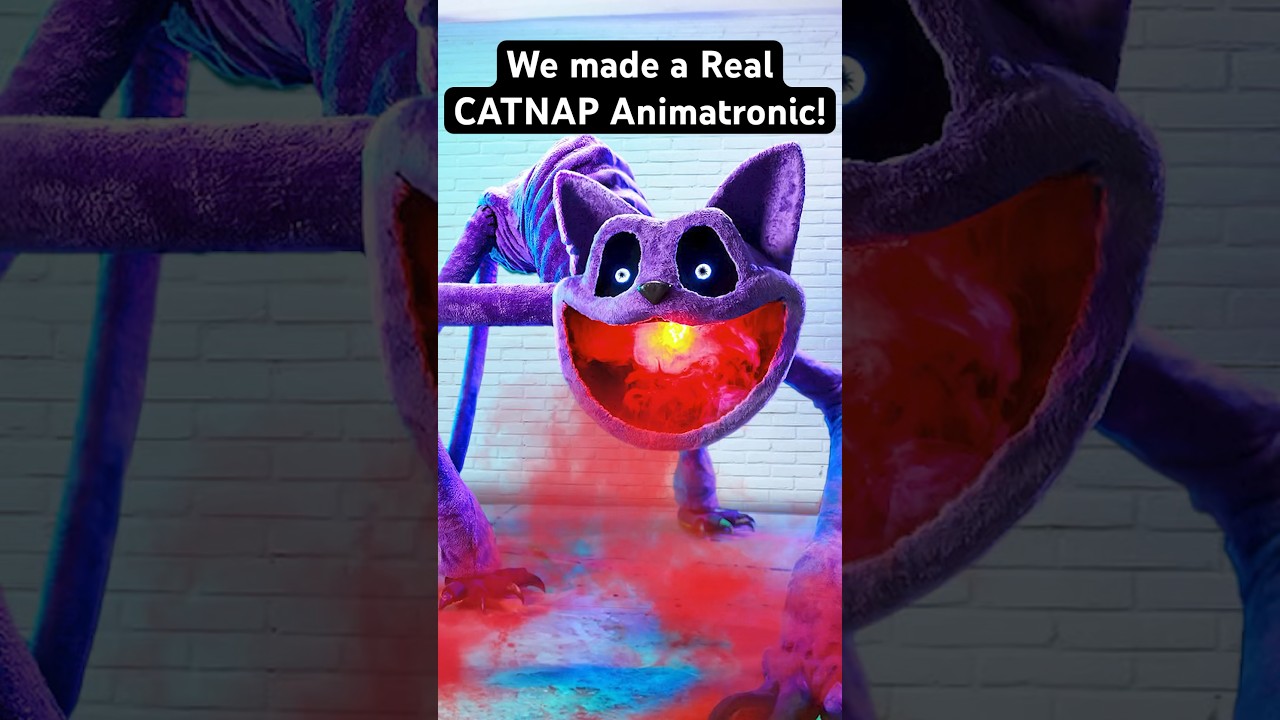
REAL CatNap Animatronic! #catnap #poppyplaytime #shorts
Wicked Makers' Jaimie and Jay build a fully functioning CatNap animatronic from scratch, bringing the popular Poppy Playtime horror-game character to life. The short-form video showcases the impressive finished result of their fabrication work. It's a quick but striking look at what dedicated prop builders can achieve with recognizable pop-culture source material.

Real YARNABY Animatronic! 🧶😱 #poppyplaytime
Wicked Makers' Jay and Jaimie construct a full animatronic version of Yarnaby from the horror game Poppy Playtime, built from steel and driven by pneumatics. The build goes beyond aesthetics — the team stress-tests the animatronic's jaw mechanism using a ballistic gel arm to see whether it could realistically bite through a limb. The video blends behind-the-scenes fabrication footage with chaotic prop-testing in classic Wicked Makers style. It sits alongside their broader catalog of mascot-horror animatronics inspired by FNAF, Poppy Playtime, and similar franchises.

Make Halloween Store Skeletons Way Better! 💀 #shorts
Wicked Makers' Jay and Jaimie demonstrate how to transform a basic store-bought Halloween skeleton into a far more impressive and creepy display piece. The short teases a full-length tutorial focused on giving the skeleton a pirate or drunken drinking character. The upgrade elevates a generic prop into a themed centerpiece without starting from scratch.
Ratings & reviews
No ratings yet — be the first to say whether this one delivered.
Sign in to rate this video and tell others if it helped.