Video Tag
Every video tagged “3D printing” in the library — a focused slice of the Halloween archive.
104 videos
Creator Matt Daniels of Creative Geekery builds a DIY version of the iconic Jurassic Park Barbasol cryo can for roughly $20 in materials, relying on 3D printing, custom fitting, and a metallic paint finish to bring the prop to life. The build process covers design challenges and finishing techniques before culminating in a direct side-by-side comparison against a high-end $400 Paragon FX replica. Free labels and build notes are available on the creator's website for anyone who wants to follow along. The video ultimately helps viewers decide whether a budget DIY approach can satisfyingly stand in for a premium collector's replica.
This video showcases early progress on a fully handcrafted modular terrain board for the tabletop skirmish game Trench Crusade, alongside newly printed miniatures. The creator builds terrain pieces primarily from insulation foam, applying texture through heat, foil, and wire brushes to achieve a gritty WWI aesthetic. Playing surfaces are reinforced with a silicone, sand, and ballast mixture for durability. A detailed tutorial for the full process is planned for the creator's secondary hobby channel.
This marathon compilation from VanOaksProps brings together seven Disney Haunted Mansion-inspired DIY projects in a single 47-minute video, ranging from a gate sign repaint and hand-painted queue statue to a working blast-up ghost and a full-size 3D printed door built for Neil Patrick Harris. The video also breaks down how the iconic changing portrait illusion works, making it both a practical build guide and an educational deep-dive into classic dark-ride effects. Projects span a range of complexity, offering something useful for casual decorators and serious prop builders alike. The Haunted Mansion Home Office series segments add context for creators looking to theme an entire room.
VanOaks Props walks beginners through the fundamentals of 3D modeling, specifically how to use a photograph as a reference or source to create a 3D model. The tutorial is oriented as a conceptual overview, helping newcomers understand how 3D models are constructed before diving into more complex techniques. While Halloween prop-making is the broader context of the channel, the skills taught here are applicable to any prop or costume project.
Wicked Makers' Jay and Jaimie build a decorative Arduino-powered humidity and temperature monitor housed in a handcrafted walnut dovetail enclosure topped with a 3D-printed skull logo. The project combines beginner-friendly electronics — an Arduino Uno, DHT22 sensor, NeoPixel ring, and small LCD display — with intermediate woodworking and 3D printing skills. LED lighting through a frosted acrylic diffuser gives the finished piece a striking shop-display aesthetic. Code and schematics are available on the Arduino Project Hub.
VanOaksProps walks through a full build of an Andor Season 2-inspired Star Wars holoprojector prop, combining vintage part sourcing and modification with 3D printing, laser cutting, and practical electronics. The build integrates an ESP32 microcontroller, Neopixel lighting, and a hologram fan to achieve an in-universe screen-accurate effect. Weathering is accomplished through airbrushing, oil paint washes, liquid latex, and Rub n Buff, giving the finished piece an authentic, battle-worn look. Downloadable files are available for creators who want to replicate the project.
Creator Matt Daniels of Creative Geekery takes on a full garage build of a Jurassic World-inspired raptor, combining foam carving, foam clay sculpting, and 3D-printed animatronics into a single epic documentary-style video compiled from five original episodes. The build covers the complete journey from raw materials to a finished, detailed dinosaur prop — including a custom raptor containment unit. Honest behind-the-scenes footage captures the real trial-and-error process rather than a polished step-by-step tutorial. Free build resources are offered on the creator's website for those who want to attempt their own version.
SKS Props documents a work-in-progress build of a Fallout NCR Ranger helmet, 3D printed in grey PLA on a Bambu H2S using a file sourced from Galactic Armory. The helmet is part of a broader Fallout cosplay project that also includes EVA foam combat armor pieces. The channel offers free PDF chest armor templates on their website for viewers who want to build along.
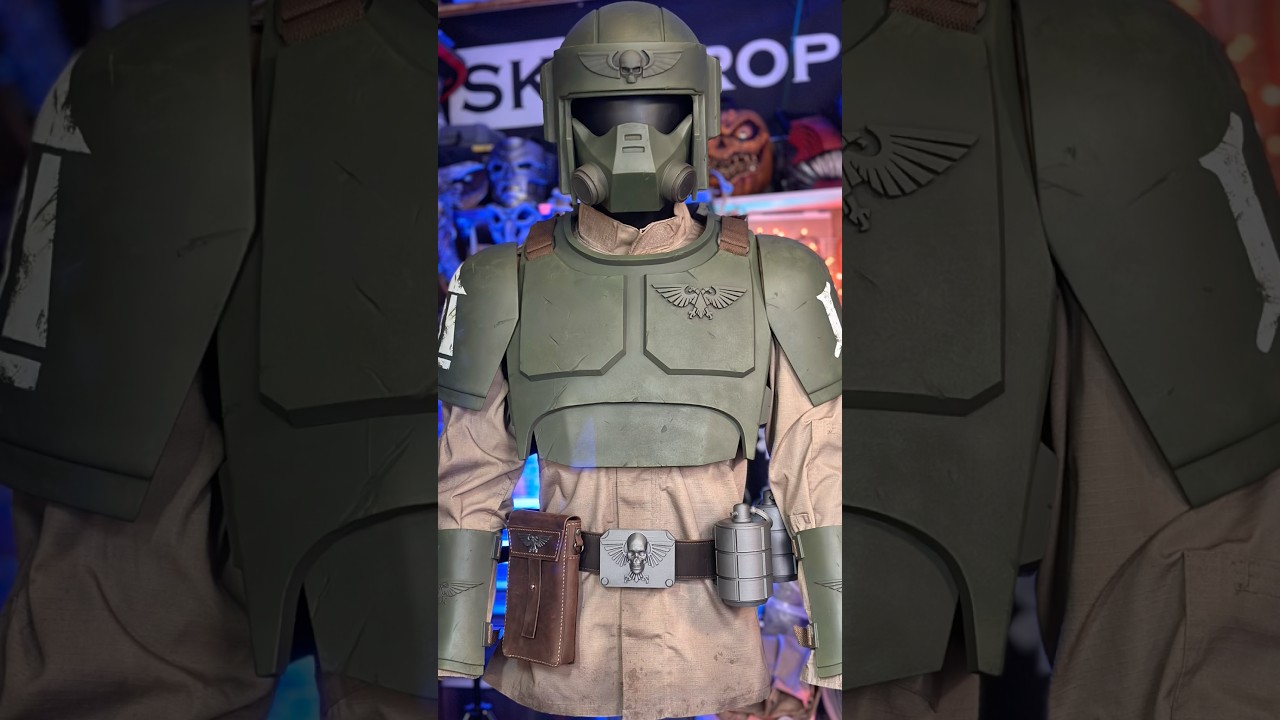
This installment in SKS Props' ongoing Warhammer 40K Cadian armor build series focuses on strapping the shoulder and forearm armor pieces and beginning the weathering process on the soft goods. The creator combines Dirty Down sprays with Liquitex heavy body acrylics to achieve a battle-worn, grimdark aesthetic. The series is designed to help viewers build a complete Cadian Imperial Guard cosplay in time for a group appearance at Dragon Con. Free foam templates and STL files for 3D-printed components are available via links in the description.
This short-form video showcases the rapid transformation of raw 3D printed plastic into a screen-accurate Jurassic Park cryo can prop. The build is presented as a fast time-lapse, giving viewers a quick look at the finishing process without deep tutorial detail. The channel focuses on full movie-inspired prop builds for fans of the franchise.
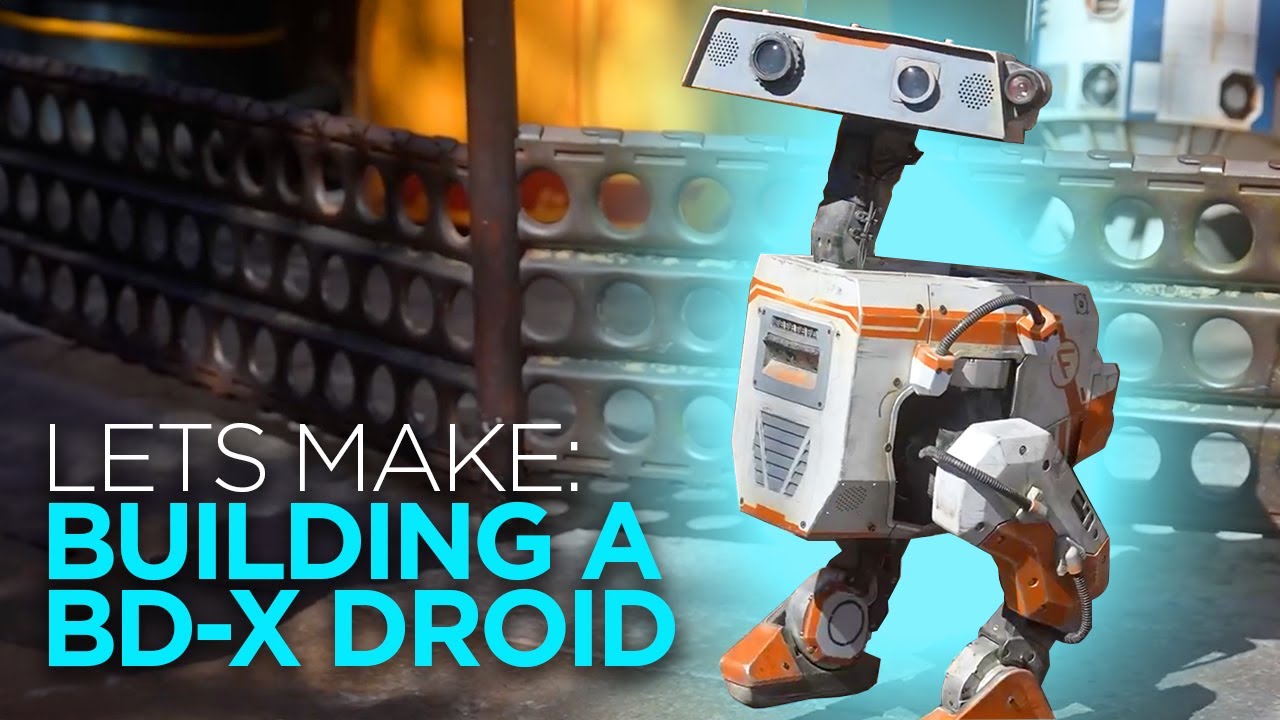
VanOaksProps kicks off a multi-part series building a replica BD-X droid inspired by the real Disney-engineered characters seen in Star Wars: Galaxy's Edge. The build relies on community-designed 3D model files and 3D printing services to recreate the droid's distinctive design. Part 1 establishes the project scope, introduces the source files, and begins the assembly and finishing process using hardware, adhesives, and spray paints.
VanOaksProps walks through a detailed scratch-build recreation of the 2-1B medical droid head from The Empire Strikes Back, combining a scaled 3D-printed model with a real vintage microphone shell as its foundation. The build integrates custom greeblies, metal strip details, and coaxial connector hardware to achieve a convincing screen-inspired look. Finishing techniques include acetone vapor smoothing, layered metallic spray paints, acrylic weathering washes, and a simple LED circuit for glowing eyes. The result is a showpiece prop that balances accuracy with creative problem-solving.
VanOaksProps walks through the construction of a cemetery monument prop featuring a bust with a classic 'following eyes' optical illusion — the face appears to track viewers as they move past it. The build relies primarily on XPS foam, a cardboard tube column, and a bust sourced from a third-party supplier, finished with textured coatings and earth-tone paints to mimic aged stone. Weathering techniques including dry brushing and wash layers give the piece convincing graveyard patina. The result is a striking, customizable centerpiece suited for yard haunts, home haunts, and cemetery scenes.
VanOaks Props compiles six of his favorite Star Wars helmet and droid prop builds into a single hour-long marathon video. Projects span a wide range of characters — from bounty hunters and protocol droids to desert warriors — each constructed using 3D printing, paint, and hands-on prop-making techniques inspired by the original films. The video highlights weathering, lighting effects, and creative problem-solving throughout each build. Links to the individual source videos and associated files are provided in the description.
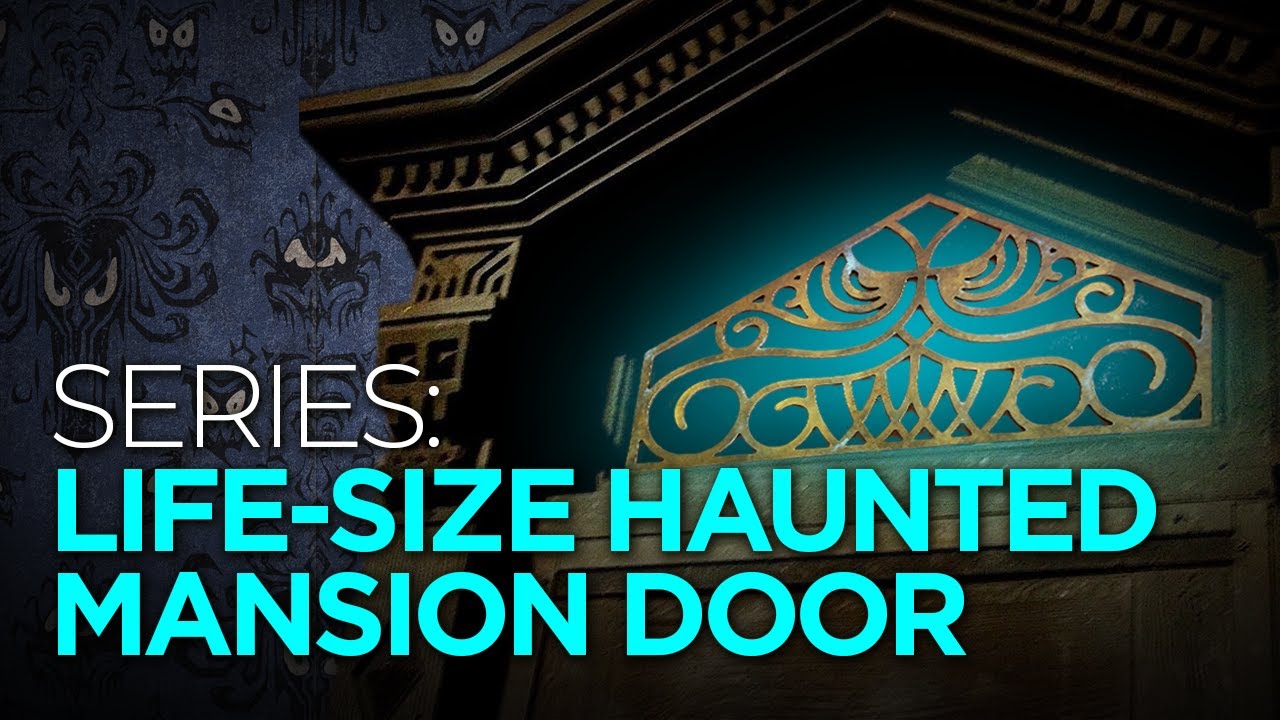
VanOaksProps tackles Part 1 of an ambitious life-size 3D-printed Haunted Mansion door build, commissioned for Neil Patrick Harris. This episode focuses specifically on faux metallic painting techniques designed to achieve a refined, subtly aged finish rather than the heavily weathered look typically featured on the channel. The creator walks through a layered acrylic and spray-paint process using bronze, gold, patina, and black tones to convincingly mimic aged metal. It's a practical deep-dive into a more nuanced approach to prop finishing.
VanOaksProps walks through a full scratch build of the Gatekeeper Droid from Star Wars: Skeleton Crew (also seen in Return of the Jedi), using a combination of 3D-printed parts, PVC pipe, and everyday hardware-store materials. The eye dome is a repurposed clear Christmas ornament housing a NeoPixel ring driven by a custom-edited Arduino Nano sketch. Finishing involves layered spray paints and Fuller's Earth weathering to nail the worn, galactic aesthetic. Free templates and code files are linked in the description to help builders replicate the project.
This short tutorial walks through an accessible, hardware-store-friendly workflow for smoothing and prepping 3D printed parts before paint. The creator demonstrates how to minimize spot putty use by combining strategic sanding across multiple grits with a sandable filler primer. The techniques are demonstrated on a Star Wars droid dome build, making the process tangible and visually clear. All materials are widely available and budget-friendly.
VanOaksProps transforms a plain IKEA Kallax shelving unit into a Star Wars-themed display case worthy of a serious collector. The build combines 3D-printed greebles (detailed surface components), acrylic panels, and integrated LED lighting to give the piece a high-end, sci-fi aesthetic. Spray primer and grey enamel paint unify the finish, while custom wiring ties the lighting together neatly. The creator shares free 3D greeble files on Thingiverse so viewers can replicate the look.
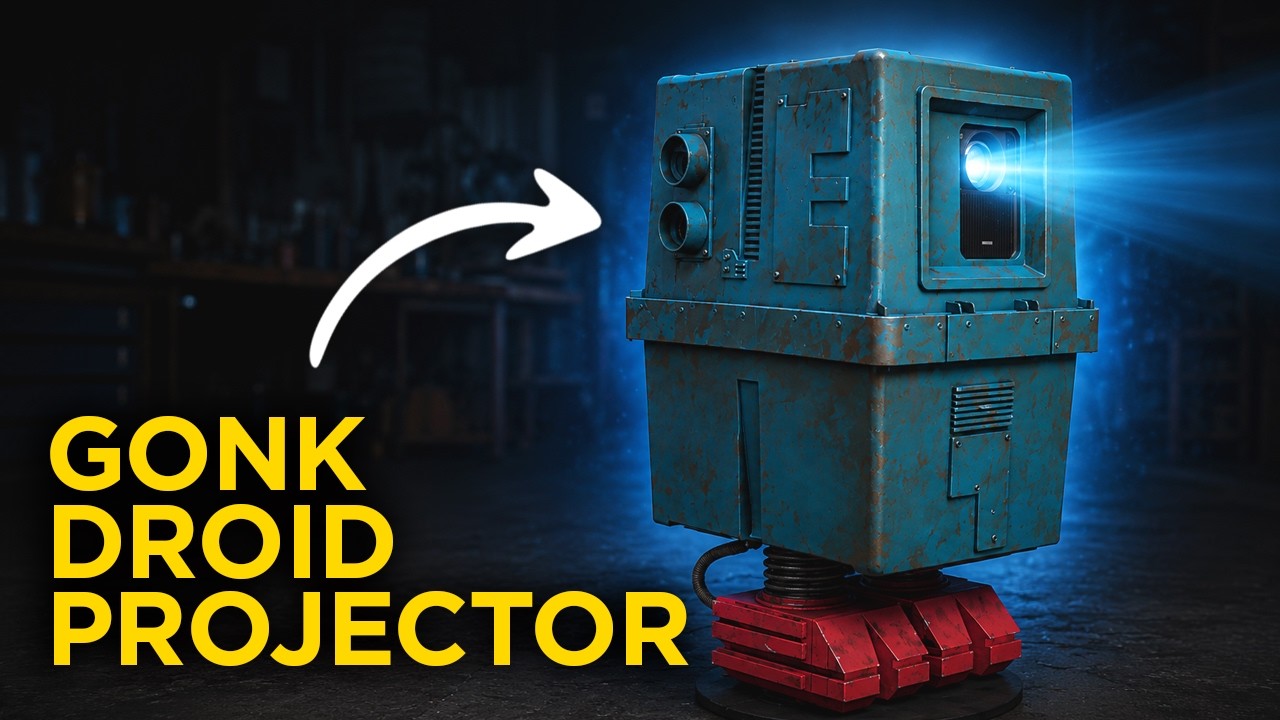
VanOaksProps presents a full-length, single-video build of a functional full-size Gonk Droid prop that doubles as a working projector. The build combines everyday materials like storage bins and plumbing parts with 3D printed components, then brings the droid to life through careful painting and weathering techniques. Originally released as a two-part series in 2022, this marathon edition walks through every stage — design, fabrication, electronics integration, and finishing — in one continuous watch.
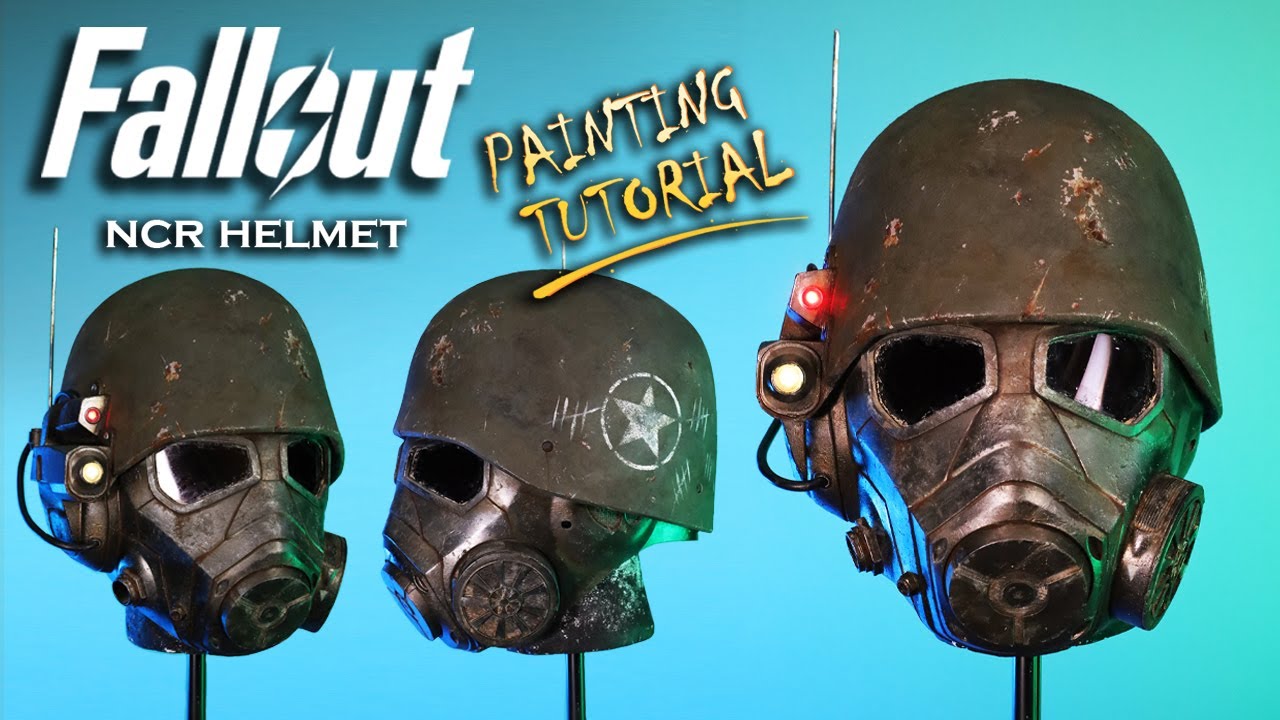
SKS Props walks through the full painting and finishing process for a 3D-printed Fallout NCR Ranger helmet, transforming a raw print into a battle-worn wasteland prop. The tutorial covers base coating, layered weathering with rust effects and metallic powders, and the addition of practical details including LED lights, a metal antenna, resin-cast accessories, and tinted lenses. Techniques are clearly demonstrated and applicable to both printed and fabricated helmet builds. Free chest-armor PDF templates are also offered via the creator's website for viewers wanting to extend the build.
VanOaksProps upgrades an existing haunt lantern by integrating an Arduino Nano and a Neopixel LED ring to create dynamic, programmable lighting effects. The build includes a 3D-printed controller box and custom Arduino code, both available as free downloads. Frost effect paint is applied to diffuse and soften the LED output for a more atmospheric look. The result is a polished, convincing lantern prop suited for haunted environments.
VanOaks Props continues a high-profile commission build — a life-size 3D-printed Haunted Mansion door destined for Neil Patrick Harris — by tackling the challenging task of bonding large-format printed parts together. The episode focuses on comparing and applying multiple adhesive types, including fast-set epoxy, plastic welder, Weld-on 16, and CA glue, to achieve strong, seamless joins. A candid build mistake is also documented, making this a realistic look at the problem-solving required in large-scale prop fabrication.
VanOaksProps revives a Haunted Mansion-inspired window prop and levels it up by adding a realistic lightning effect powered by an ESP32 microcontroller and a NeoPixel LED strip. Rather than writing Arduino code from scratch, the creator uses the AI platform Deepseek to generate the lightning sketch, making the process accessible even to those with no coding experience. A 3D-printed project box houses the electronics cleanly, and the finished effect is designed to mount easily to the existing prop.
Part 2 of VanOaksProps' BD-X droid build focuses on painting and final assembly of a 3D-printed replica inspired by Galaxy's Edge. The creator walks through a multi-step paint process using MTN 94 spray paints to achieve the droid's signature color scheme, then assembles the printed components using screws, CA glue, and wire loom. The 3D model files are a community-designed work in progress available through MrBaddeley Printed Droids on Patreon. The video is sponsored by JLC3DP, which supplied printed parts for the build.