Video Tag
Every video tagged “VanOaksProps” in the library — a focused slice of the Halloween archive.
100 videos
VanOaks Props kicks off a multi-part build series turning a sponsor-provided Jireno Cube4 portable projector into a functional, movie-playing Gonk droid replica. The creator uses a 3D rendering by James Mason as a visual reference and repurposes off-the-shelf storage bins to form the droid's iconic boxy body. This first episode focuses on the concept and early construction groundwork. The project blends Star Wars fandom with practical outdoor movie-night functionality.
VanOaksProps walks through the build process for a motorized rocking tombstone prop suitable for yard haunts and Halloween displays. The project uses a low-RPM motor — with options ranging from a synchronous motor to a higher-torque wiper motor — to create a realistic, continuously rocking grave marker. The tutorial focuses on keeping the mechanism accessible for home haunters while delivering an eye-catching animated effect.
VanOaksProps pulls back the curtain on how a home haunt's lighting and audio systems are wired together, sharing footage originally exclusive to Patreon supporters. The video offers a practical look at the behind-the-scenes infrastructure that makes a haunt run smoothly. It's a rare glimpse into the organizational and technical side of haunt production that often goes undocumented.
VanOaksProps walks through building a mesmerizing wilting flower Halloween prop that slowly droops and recovers using a low-RPM synchronous motor. The mechanism relies on a cam-and-follower system, magnets, and closet door rollers to produce smooth, eerie movement. Downloadable 3D print files are available through the creator's Etsy shop, making replication straightforward for builders with access to a printer.
VanOaksProps builds a replica blast-up ghost prop inspired by the classic Disneyland Haunted Mansion attraction, adding it to an ongoing Haunted Mansion-themed home office collection. The build relies on accessible craft materials, acrylic paints, and airbrushing to achieve the signature look of the iconic ride prop. It sits between larger room builds as a satisfying, focused side project. The finished piece is intended as a display collectible that deepens the immersive theming of the space.
VanOaksProps walks through building a compact, weatherproof rocking prop mechanism designed to survive outdoor conditions like rain and snow. The core of the build is a synchronous motor housed inside an electrical gang box, which protects the electronics from the elements. A flat aluminum bracket and a hinge translate the motor's rotation into a back-and-forth rocking motion suitable for chairs, figures, or other lightweight to medium-weight props.
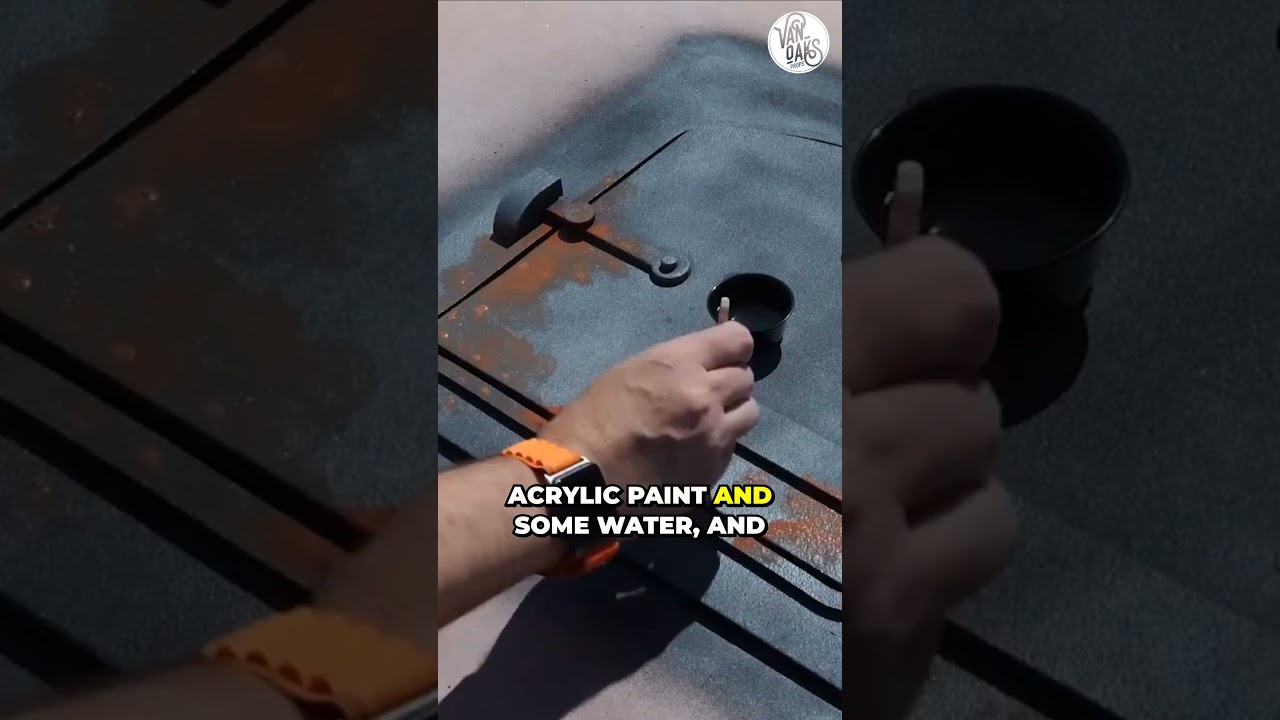
VanOaks Props demonstrates a quick technique for achieving a convincing aged metal finish using rubberized spray paint. The one-minute clip focuses on the finishing process, making it accessible for prop builders of any skill level. The method is applicable to Halloween props as well as cosplay and replica builds such as Star Wars pieces.
VanOaksProps upgrades an existing haunt lantern by integrating an Arduino Nano and a Neopixel LED ring to create dynamic, programmable lighting effects. The build includes a 3D-printed controller box and custom Arduino code, both available as free downloads. Frost effect paint is applied to diffuse and soften the LED output for a more atmospheric look. The result is a polished, convincing lantern prop suited for haunted environments.
VanOaksProps walks through a multi-step painting technique to make a flat sign look convincingly like aged, weathered metal. The process layers spray paints and acrylic colors — including gold tones and teal for a patina effect — along with baby powder and spray adhesive for added texture. The creator frames the skill as a storytelling tool, arguing that small prop details like this elevate the overall quality of a haunt. A giveaway for the finished sign from the video was also featured.
Part 3 of VanOaksProps' ongoing Halloween crypt build focuses on crafting realistic fake brick panels from foam and attaching them to pre-built wall flats. The episode then walks through applying a brush-on hard coat — Flexbond tile mortar — to protect the finished surfaces for repeated seasonal use. Together these steps transform flat panels into durable, convincing crypt walls. The compact runtime keeps instruction tight and practical.
VanOaksProps demonstrates a fast, beginner-friendly technique for achieving a convincing faux granite finish, applied here to create a Halloween grave marker. The method layers multiple FolkArt acrylic colors using spray bottles and a mesh strainer to mimic the speckled texture of real stone. A vinyl stencil cut on a Silhouette Cameo adds crisp lettering or imagery, and a Mod Podge Gloss topcoat ties the finish together. The result is an inexpensive, eye-catching cemetery prop that can be completed in well under an hour.
VanOaksProps runs down a personal top-10 list of essential supplies suited to both first-time and seasoned haunters. The selections span cutting and shaping tools, painting and finishing aids, and general workshop staples that show up repeatedly in prop-building projects. Each pick reflects the creator's hands-on experience rather than a generic consensus list. The compact five-minute format makes it a quick, practical reference for stocking a haunt workshop.
VanOaksProps revives a Haunted Mansion-inspired window prop and levels it up by adding a realistic lightning effect powered by an ESP32 microcontroller and a NeoPixel LED strip. Rather than writing Arduino code from scratch, the creator uses the AI platform Deepseek to generate the lightning sketch, making the process accessible even to those with no coding experience. A 3D-printed project box houses the electronics cleanly, and the finished effect is designed to mount easily to the existing prop.
In this second installment of VanOaksProps' family crypt build series, the focus shifts to constructing wall flats — the foundational structural panels used to create convincing haunt environments. The tutorial walks through the process of framing and assembling flat wall sections using a pneumatic stapler, wood glue, and a palm router with a flush trim bit. This is a practical, repeatable technique drawn from theatrical set construction and adapted for home haunt use.
Part 2 of VanOaksProps' BD-X droid build focuses on painting and final assembly of a 3D-printed replica inspired by Galaxy's Edge. The creator walks through a multi-step paint process using MTN 94 spray paints to achieve the droid's signature color scheme, then assembles the printed components using screws, CA glue, and wire loom. The 3D model files are a community-designed work in progress available through MrBaddeley Printed Droids on Patreon. The video is sponsored by JLC3DP, which supplied printed parts for the build.
VanOaksProps walks through a faux bronze patina painting technique inspired by the iconic Tower of Terror sign. Using a small selection of FolkArt acrylic paints, waxes, and an airbrush, the tutorial demonstrates how to achieve a convincingly aged, weather-worn metal look on any prop surface. The method is approachable for beginners and adaptable beyond the specific Disney replica to any project requiring a realistic bronze or verdigris finish. A sealing step with clear coat and wax ensures the finished effect is durable and display-ready.
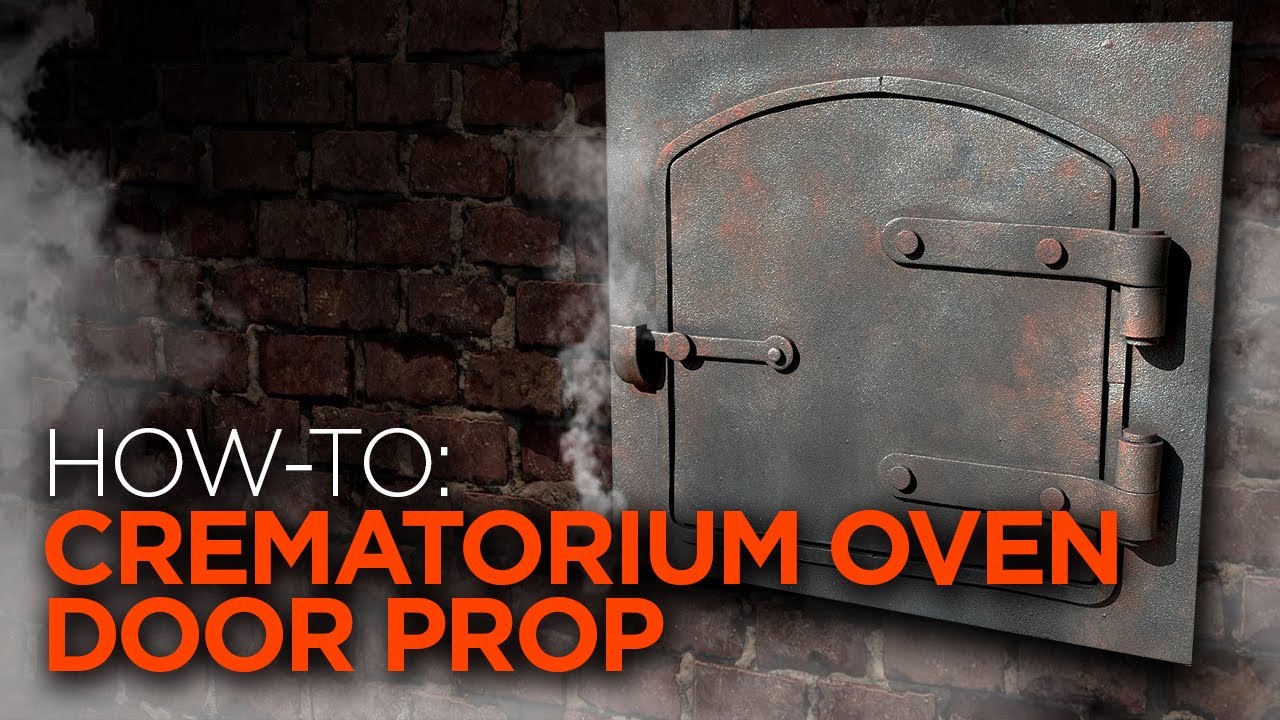
VanOaksProps walks through the construction of a convincing fake crematorium oven door using wood, EVA craft foam, and a layered paint approach. The build is designed to be quick and accessible while delivering a genuinely unsettling set-dressing piece for a Halloween haunt. A multi-step painting process — including rubberized undercoating, matte black, metallic aluminum, and acrylic washes — gives the prop its gritty, industrial realism. Starbond CA glue (provided by the sponsor) is used throughout to bond foam components securely.
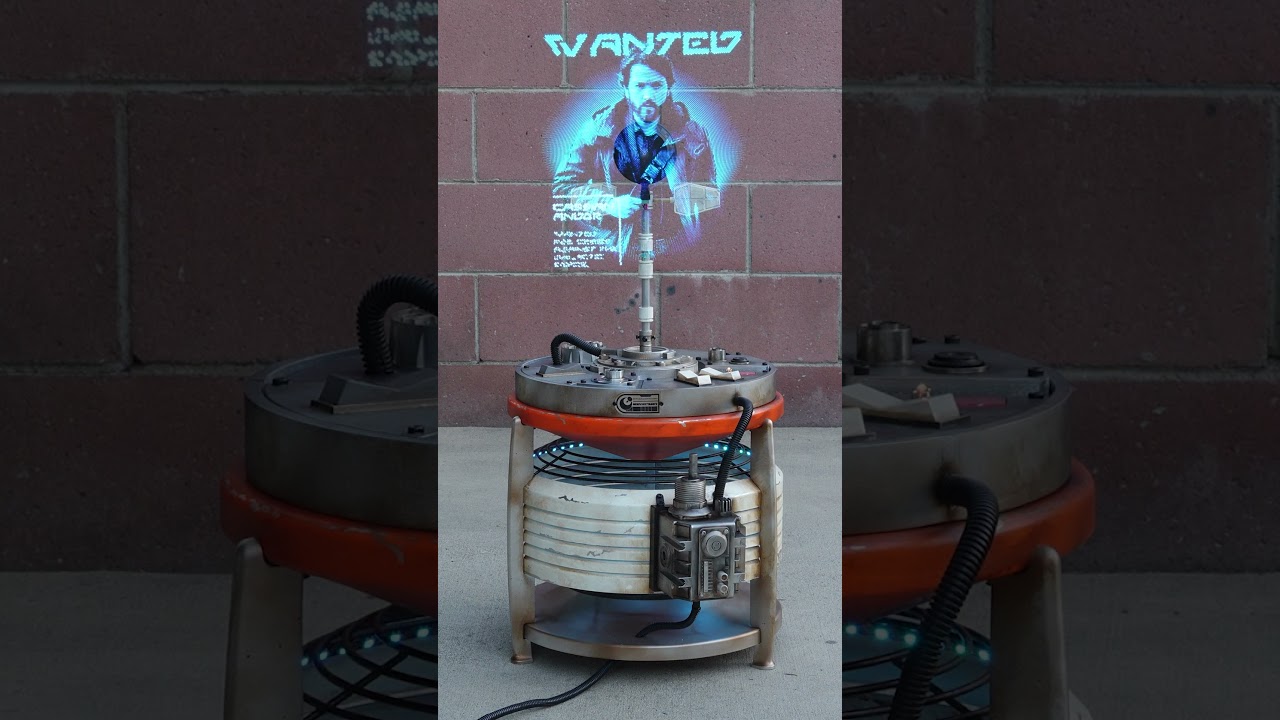
VanOaksProps builds a DIY HoloProjector inspired by the aesthetic of Andor Season 2, combining 3D printing, laser cutting, and weathering techniques to create a screen-accurate sci-fi prop replica. The video appears to be a showcase or teaser, with the full step-by-step tutorial linked separately. The build incorporates electronics to achieve an authentic holographic display effect. It sits at the intersection of cosplay prop-making and Halloween/haunt set dressing for sci-fi themed spaces.
VanOaksProps demonstrates a budget-friendly technique for achieving a convincing metallic gold finish, crediting prop maker Gordon Tarpley as the method's originator. The process uses an aerosol metallic basecoat combined with liquid food coloring to dial in a warm gold tone, finished with acrylic varnish for durability. The technique is demonstrated on a 3D-printed C-3PO hand prop, making it highly relevant for sci-fi cosplay and replica builds. The result punches well above its price point compared to off-the-shelf gold paints.
VanOaksProps walks through the process of prepping and painting a 3D-printed replica of the iconic Copper Bones skeleton key from The Goonies. The build is framed as a relaxed afternoon project, focusing primarily on surface finishing and a layered acrylic painting technique to achieve an aged, metallic patina look. A free STL model is referenced for those who want to print their own base piece. Credit is given to another creator whose technique inspired the painting approach.
VanOaksProps explores using the Creality CR-Scan Otter 3D scanner to digitize pieces from a personal Haunted Mansion prop collection. The video demonstrates how the scanner captures physical objects for potential reproduction or archival purposes. This is a sponsored/product-furnished review framed around a Halloween prop-making workflow.
VanOaksProps explores a creative low-cost rust finish by applying sawdust as a texture medium over 3D-printed mine cart wheels made for a real haunted attraction. The technique layers a brush-on epoxy to bind the sawdust, followed by multiple acrylic paint colors to mimic oxidized metal convincingly. The result is a gritty, organic-looking rust effect achievable with readily available craft supplies. This crossover project between a home prop builder and a professional haunt offers practical, real-world validation of the method.
VanOaksProps takes on Luke Skywalker's electrobinoculars from The Empire Strikes Back, building a screen-accurate replica from a 3D-printed model with LED accents, detailed paintwork, and weathering. As a bonus, a custom fabric-lined flight case inspired by Disney's Galaxy's Edge is also constructed to house the finished prop. This entry in the creator's casual 'Let's Make' series focuses on personal passion builds rather than step-by-step instruction. The result is a polished Star Wars replica that bridges DIY prop-making and theme-park fandom.
VanOaksProps walks through a casual, build-along episode of crafting a Star Wars-inspired fusion furnace/generator prop by combining a 3D-printed shell with an off-the-shelf smart LED lamp. The build is credited to a fellow maker whose lamp-hack concept inspired the project. Painting and weathering techniques give the finished piece a worn, screen-adjacent look suitable for display in any Star Wars fan space.