Video Tag
Every video tagged “weathering” in the library — a focused slice of the Halloween archive.
94 videos
Allen Hopps of Stiltbeast Studios walks through multiple hands-on techniques for distressing and aging fabric costumes, using a Tombs of the Blind Dead-inspired piece as the working example. The video covers a range of weathering methods to achieve a convincingly decayed, aged look on costume fabric. Both heat tools and color sprays appear to be among the techniques demonstrated. This is a practical, project-based tutorial ideal for costume builders looking to push their finish work to the next level.
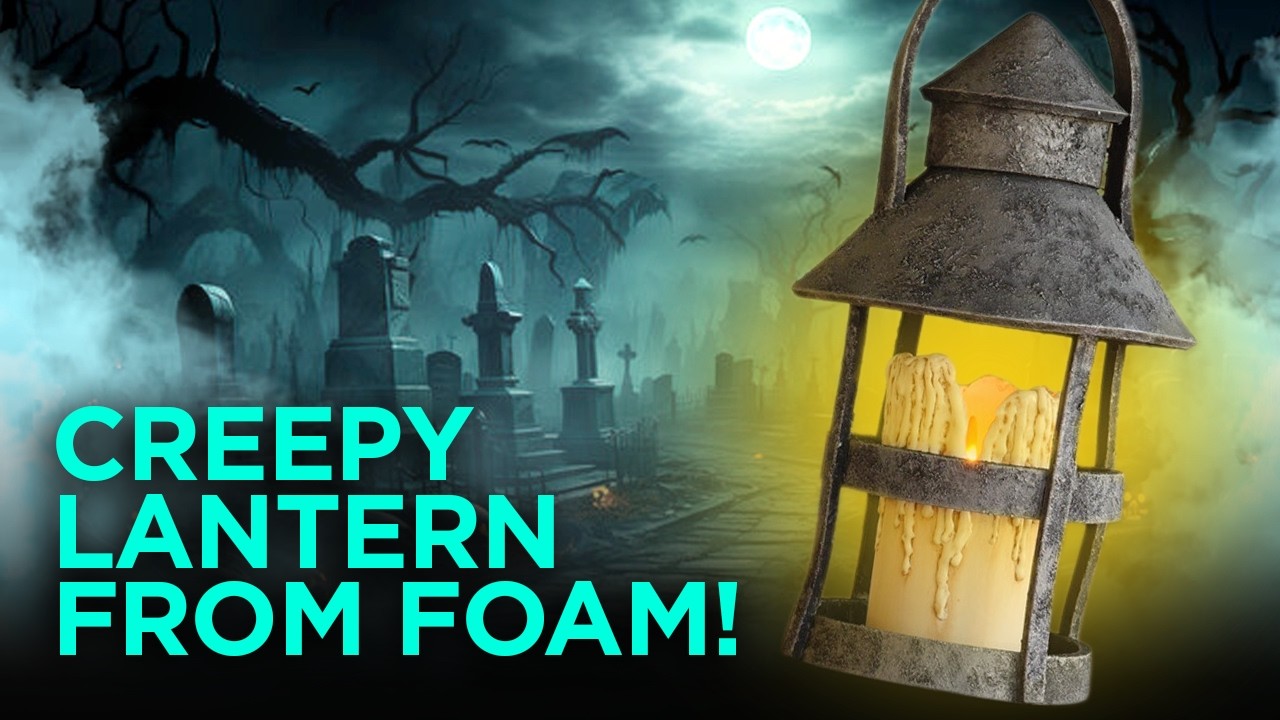
VanOaksProps walks through a step-by-step foam build for a medieval-style lantern suited to Halloween displays, cosplay, or LARP. The tutorial covers core EVA foam techniques including shaping, beveling, and contact cement assembly, then finishes with an aged metal texture using acrylic modeling paste. A free downloadable pattern is provided so viewers can follow along at home. The finished prop works equally well as a haunt accent piece or a wearable costume accessory.
VanOaksProps walks through a detailed customization of the Home Depot Holiday Stormtrooper animatronic, transforming it into a screen-inspired display piece. The build covers armor weathering with airbrushing, chipping, and paint techniques, then adds authenticity through sourced military surplus accessories inspired by Lucasfilm concept art. A motion-activated MP3 player is wired in to deliver custom audio, elevating the piece from a retail decoration to a gallery-worthy prop. The creator also provides downloadable sound files to help viewers replicate the audio upgrade.
This quick tutorial from VanOaks Props shows how to upcycle a plastic maple syrup bottle into a convincing pirate rum prop using EVA foam detailing and layered paint techniques. The build relies on common, inexpensive supplies and is completed in roughly six minutes of instruction. Weathering with multiple acrylic tones and a final clear coat gives the finished piece an aged, authentic look. It's a great low-cost accent piece for pirate-themed haunts, costumes, or Halloween displays.
SKS Props walks through the full build process for a spider-themed Halloween pumpkin prop using a craft foam pumpkin as the base. The tutorial covers constructing wire legs, adding sculpted details with HD EVA foam and foam clay, and texturing the piece with twine fur and Liquitex acrylic weathering. A standout finishing touch is the use of glass half domes to create convincingly reflective spider eyes. The finished prop suits both personal home décor and community haunt displays.
This installment in an ongoing Warhammer 40K Cadian armor build series focuses on adding weathering and battle damage to EVA foam armor pieces. The creator uses a combination of Dirty Down sprays and Liquitex heavy body acrylics to achieve a grimy, battle-worn finish. Strap work for the shoulder and forearm sections is also completed, and soft goods receive their first pass of grime. The full series is aimed at a group build culminating in a Dragon Con group appearance.
VanOaksProps walks through the complete construction of a final Halloween tombstone, combining insulation foam and MDF to achieve a convincing stone-and-weathered-metal look. The build covers shaping and carving foam details, creating a custom faux metal plaque, and applying a multi-step paint finish that includes a masonry sealer base, hammered copper spray, patina effects, and aging washes. The result is a professional-quality graveyard prop suitable for yard haunts or haunted house displays. A thorough materials list with affiliate links accompanies the tutorial for easy replication.
VanOaksProps presents a full-length, single-video build of a functional full-size Gonk Droid prop that doubles as a working projector. The build combines everyday materials like storage bins and plumbing parts with 3D printed components, then brings the droid to life through careful painting and weathering techniques. Originally released as a two-part series in 2022, this marathon edition walks through every stage — design, fabrication, electronics integration, and finishing — in one continuous watch.
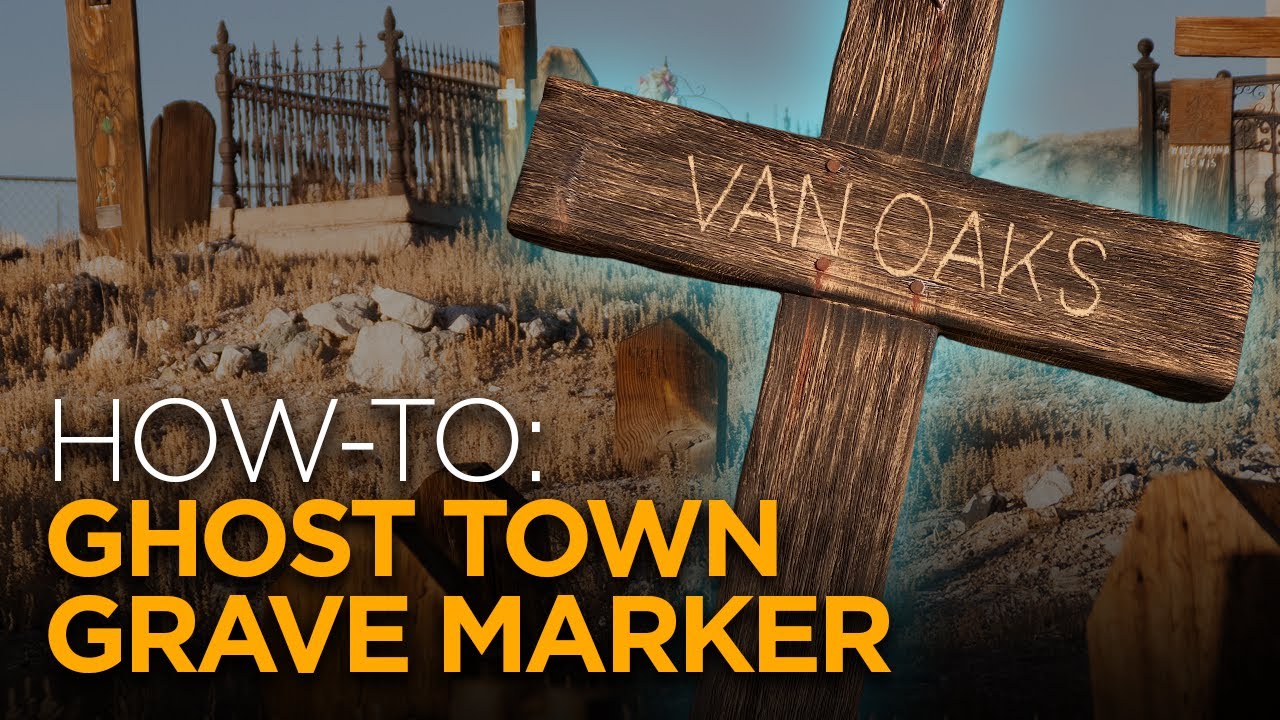
VanOaksProps walks through how to turn a standard 2x4 into a convincingly aged, sun-bleached wooden cross grave marker suited for ghost town or wild west themed haunts. The build relies on a wire wheel, torch, and craft paint to achieve a weathered, distressed look without expensive materials. The result is a low-cost prop that reads well in cemetery or frontier-style display settings.
This fourth and final installment of VanOaksProps' Halloween crypt build series covers the finishing stages of the prop, including painting, brick mortar texturing, and weathering to achieve a realistic stone appearance. The episode's standout addition is the integration of the AAXA HP3 projector to cast a special projection effect onto or within the crypt structure. The video was produced in partnership with AAXA Technologies, who supplied the projector at no cost to the creator.
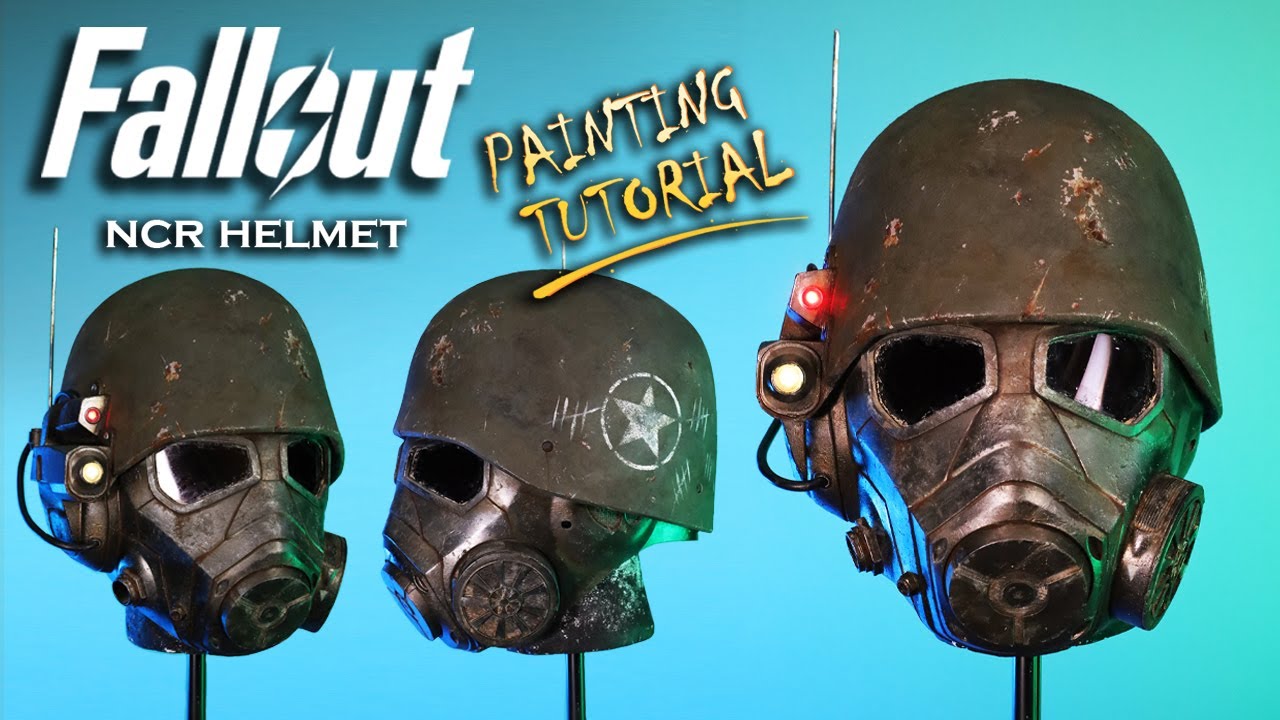
SKS Props walks through the full painting and finishing process for a 3D-printed Fallout NCR Ranger helmet, transforming a raw print into a battle-worn wasteland prop. The tutorial covers base coating, layered weathering with rust effects and metallic powders, and the addition of practical details including LED lights, a metal antenna, resin-cast accessories, and tinted lenses. Techniques are clearly demonstrated and applicable to both printed and fabricated helmet builds. Free chest-armor PDF templates are also offered via the creator's website for viewers wanting to extend the build.
VanOaksProps walks through building a Star Wars-inspired data panel as a personal display piece, centered around a 10-inch digital photo frame that plays looping video content. The build layers laser-cut panels, EVA foam details, split loom and drain hose greeblies, and LEDs to achieve an authentic sci-fi control panel aesthetic. Airbrushing and oil paint weathering give the finished piece a battle-worn, screen-accurate look. SVG and 3D files for the panel design are available through the creator's Etsy shop.
VanOaks Props demonstrates a quick technique for achieving a convincing aged metal finish using rubberized spray paint. The one-minute clip focuses on the finishing process, making it accessible for prop builders of any skill level. The method is applicable to Halloween props as well as cosplay and replica builds such as Star Wars pieces.
VanOaksProps walks through a multi-step painting technique to make a flat sign look convincingly like aged, weathered metal. The process layers spray paints and acrylic colors — including gold tones and teal for a patina effect — along with baby powder and spray adhesive for added texture. The creator frames the skill as a storytelling tool, arguing that small prop details like this elevate the overall quality of a haunt. A giveaway for the finished sign from the video was also featured.
The creator takes a commercially available Cinemark Alien Romulus themed popcorn bucket and elevates it into a convincing movie-quality prop using body filler, airbrushing, and metallic finishing techniques. The process covers surface preparation, sculpting or filling with Bondo, sanding smooth, and layering paint effects including dry brushing and Rub n Buff. The result transforms a novelty collectible into something that could pass as a set piece from the Alien franchise itself.
VanOaksProps walks through a paint upgrade process for the Ghostbusters Ghost Trap popcorn bucket available from Regal Cinemas or Spirit Halloween, transforming the stock plastic prop into a convincingly movie-accurate replica. The tutorial relies on a short list of accessible acrylic and spray paints combined with liquid latex masking to achieve a weathered, metallic finish. The result elevates a novelty theater collectible into a display-worthy prop without requiring advanced skills or expensive equipment.
VanOaksProps walks through a faux bronze patina painting technique inspired by the iconic Tower of Terror sign. Using a small selection of FolkArt acrylic paints, waxes, and an airbrush, the tutorial demonstrates how to achieve a convincingly aged, weather-worn metal look on any prop surface. The method is approachable for beginners and adaptable beyond the specific Disney replica to any project requiring a realistic bronze or verdigris finish. A sealing step with clear coat and wax ensures the finished effect is durable and display-ready.
This tutorial walks through building Fallout NCR chest armor from HD foam using a free downloadable PDF template. The creator covers the full fabrication process from cutting and shaping foam to assembling the chest piece, then dives deep into a multi-step painting and weathering workflow designed to make lightweight foam convincingly resemble battered wasteland metal. Techniques include sealing, base coating, metallic sprays, graphite powder, and rust effects to achieve an authentic worn look.
VanOaksProps builds a pair of Star Wars-themed cargo crates to complement a dedicated prop display case, inspired by a visit to Star Wars Celebration Anaheim. The crates are shaped using an Inventables X-Carve CNC router, then finished with layered spray paints, wax paint, and weathering techniques to achieve a battle-worn, screen-accurate look. Liquid latex and steel wool add tactile texture before the final paint stages, giving the props convincing depth and age.
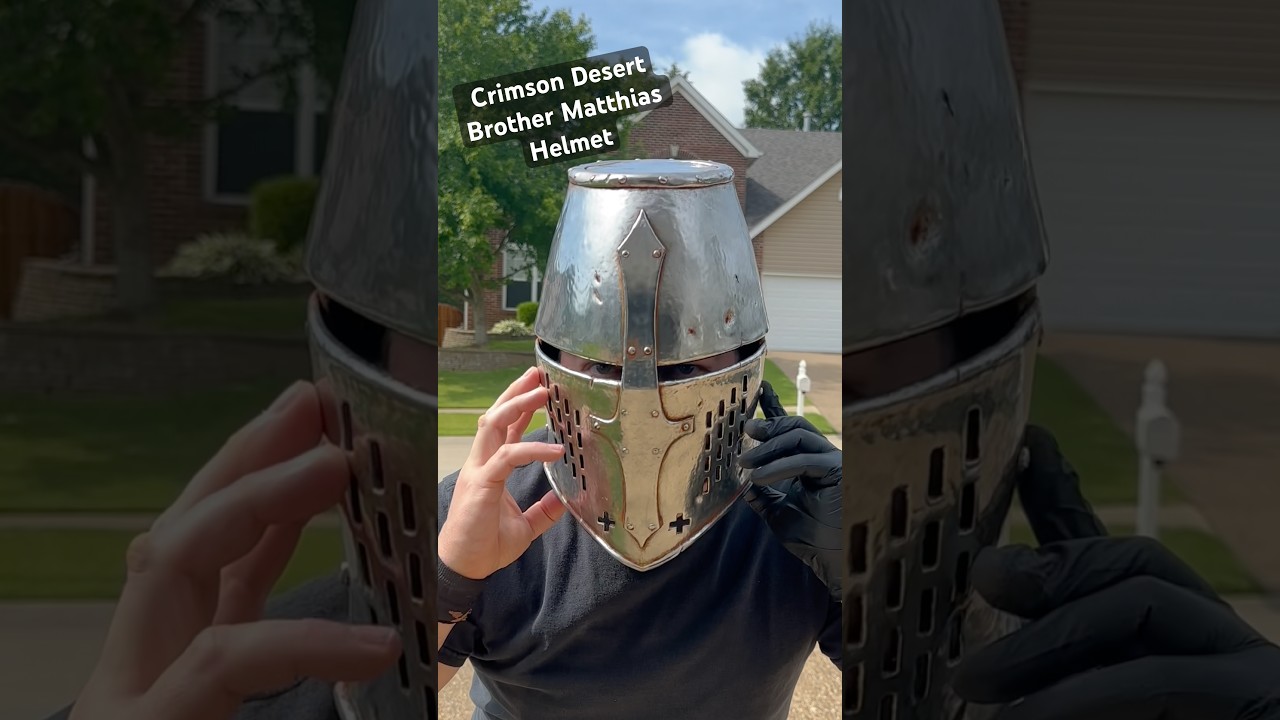
The creator models and 3D prints a replica of Brother Matthias' helmet from the video game Crimson Desert, sculpted in Nomad and printed on a Bambu Lab H2S. The finished print is treated with chrome paint from Alsa and a rust weathering product from Dirty Down to achieve a battle-worn metal look. Wet sanding is used as part of the surface finishing process to remove scratches before painting.
VanOaksProps walks through a detailed, screen-accurate build of the Jedi Comlink seen in the hands of Qui-Gon Jinn and Obi-Wan Kenobi across two Star Wars prequel films. The foundation is a vintage Gillette Sensor Excel razor — the same found object used by the original prop department — enhanced with custom 3D-printed parts, laser-cut acrylic, and hard-to-find specialty hardware like Coughtrie screws and aerospace pins. The tutorial concludes with a full weathering sequence using primer, spray paint, and oil washes to achieve a convincingly worn, screen-matched finish. It's a masterclass in blending digital fabrication with traditional kit-bashing for obsessive prop accuracy.
VanOaksProps demonstrates a simple toothpaste-masking method to create a convincing multi-layer chipped paint effect on props and costumes. Using toothpaste as a resist between paint layers, the technique simulates years of wear and repainting without complex tools. The tutorial is demonstrated on a Star Wars E-11 blaster build inspired by Andor and Rogue One. Finishing touches with antique wax deepen the battle-worn look.
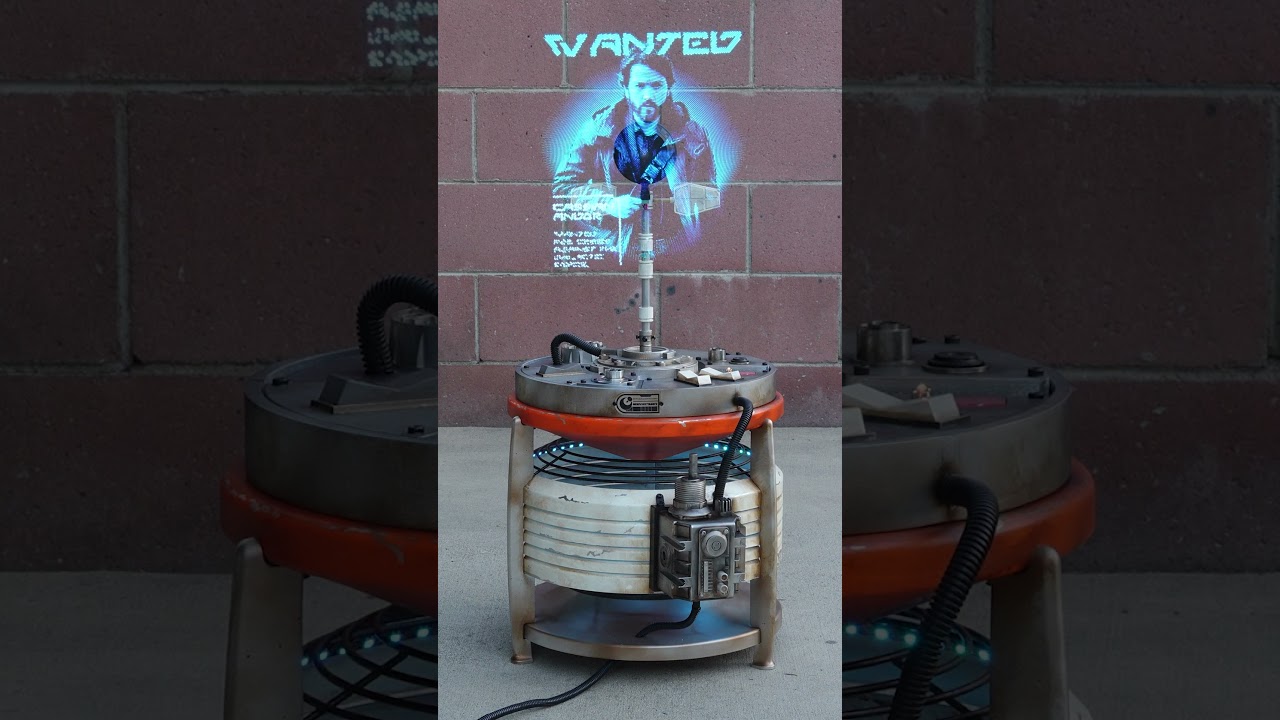
VanOaksProps builds a DIY HoloProjector inspired by the aesthetic of Andor Season 2, combining 3D printing, laser cutting, and weathering techniques to create a screen-accurate sci-fi prop replica. The video appears to be a showcase or teaser, with the full step-by-step tutorial linked separately. The build incorporates electronics to achieve an authentic holographic display effect. It sits at the intersection of cosplay prop-making and Halloween/haunt set dressing for sci-fi themed spaces.
VanOaks Props demonstrates two distinct weathering techniques for haunt walls without relying solely on spray bottles. The tutorial covers both airbrushing and sponge painting approaches, showing how each method produces a different aged or distressed surface style. Both methods use earth-tone and muted paint colors to create convincing decay and grime effects on haunted attraction flats.