Halloween Universe

The Screening Room

The Halloween Video Library

A curated, searchable archive of the dark craft — DIY props and animatronics, home-haunt walkthroughs, makeup, lighting, fog, and effects. Every film embedded from its creator, organized so you can actually find what you need.

84 videos
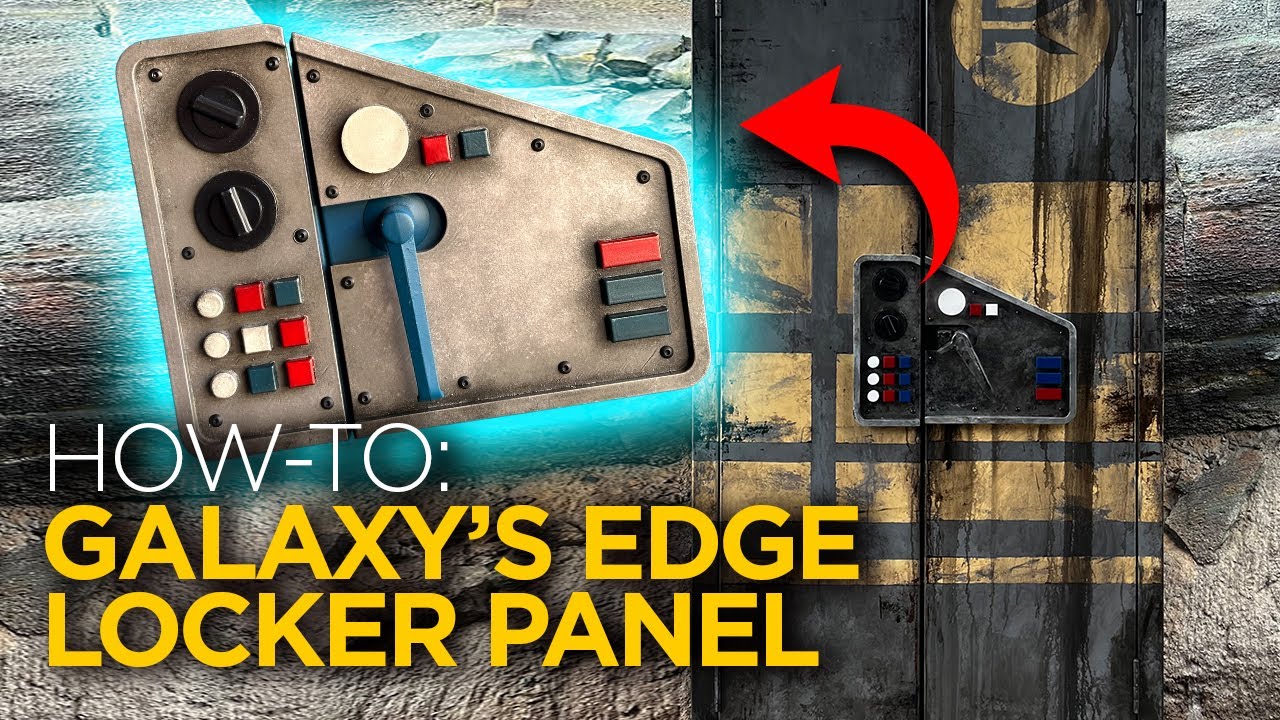
Building a Galaxy's Edge Locker Panel
9:53
DIY PropsIntermediate

Building a Galaxy's Edge Locker Panel

VanOaksProps recreates the control panel from the newly added storage lockers at Star Wars: Galaxy's Edge as a functional prop for a real locker. The build centers on a custom 3D-printed panel that is primed, layered with multiple spray paint colors, and finished with oil paint washes and Rub n Buff to achieve an authentic, weathered sci-fi look. Final assembly uses button-head screws and VHB tape to mount the panel cleanly. The result is a screen-accurate-style replica suitable for Star Wars-themed spaces or Halloween haunt set dressing.

VanOaksProps· 7,994 views
Mastering the Art of Aging: How to Paint a Sign to Look Like Aged Metal
8:04
DIY PropsBeginner$10–$25

Mastering the Art of Aging: How to Paint a Sign to Look Like Aged Metal

VanOaksProps walks through a multi-step painting technique to make a flat sign look convincingly like aged, weathered metal. The process layers spray paints and acrylic colors — including gold tones and teal for a patina effect — along with baby powder and spray adhesive for added texture. The creator frames the skill as a storytelling tool, arguing that small prop details like this elevate the overall quality of a haunt. A giveaway for the finished sign from the video was also featured.

VanOaksProps· 13,343 views
Make Your Props Look Like Concrete - Painting a Haunted Mansion Queue Line Statue
7:33
DIY PropsBeginner$20–$40

Make Your Props Look Like Concrete - Painting a Haunted Mansion Queue Line Statue

VanOaksProps walks through a straightforward faux-concrete painting technique inspired by the queue-line statues found at Disney's Haunted Mansion attraction. The method combines modeling paste for surface texture with layered grey spray paints and acrylic highlights to convincingly replicate the look of aged, textured cement. The tutorial is accessible to beginners and requires only a handful of inexpensive materials. The resulting finish works on a wide variety of Halloween props and set pieces.

VanOaksProps· 16,365 views
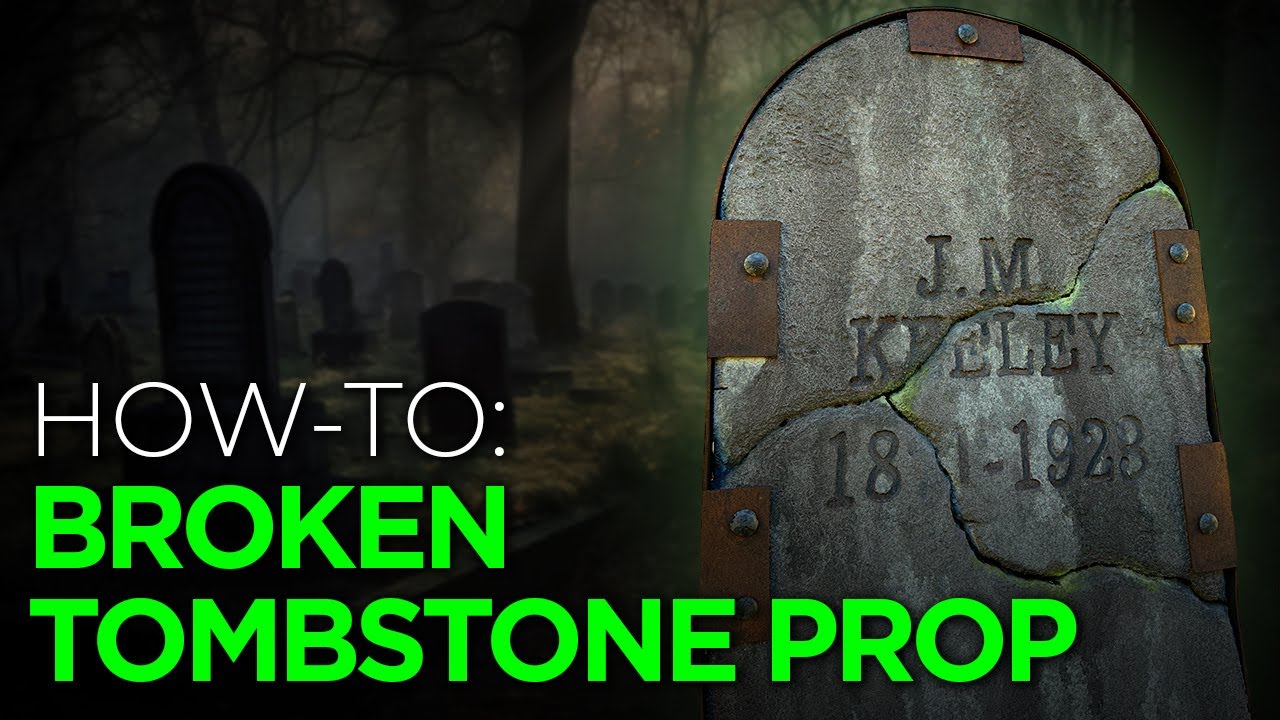
DIY Broken Tombstone Prop for #halloween
10:14
DIY PropsIntermediate$10–$30

DIY Broken Tombstone Prop for #halloween

VanOaks Props walks through building a realistic broken tombstone prop inspired by a real-life stabilized cracked gravestone. The design features simulated metal repair bands and tabs that give the piece a uniquely aged and structurally distressed look — a standout detail for any cemetery display. XPS foam is carved, textured, coated in mortar mix, and painted to achieve a convincing weathered stone finish.

VanOaksProps· 20,336 views
DIY Pirate Treasure Chest Prop
8:04
DIY PropsBeginner$10–$30

DIY Pirate Treasure Chest Prop

VanOaks Props steps outside his usual cemetery style to build a pirate-themed treasure chest entirely from foam and hot glue. The build uses XPS insulation foam for the main structure and EVA craft foam for surface detail, finished with layered acrylic paints to achieve a weathered wood-and-metal look. It's a budget-friendly, beginner-accessible project suited for pirate haunts or Halloween parties. Note: the creator issued a correction that the plank color used is burnt sienna, not raw sienna as stated in the voiceover.

VanOaksProps· 34,723 views
Making the Goonies Copper Bones Prop Replica
6:35
DIY PropsBeginnerunder $20

Making the Goonies Copper Bones Prop Replica

VanOaksProps walks through the process of prepping and painting a 3D-printed replica of the iconic Copper Bones skeleton key from The Goonies. The build is framed as a relaxed afternoon project, focusing primarily on surface finishing and a layered acrylic painting technique to achieve an aged, metallic patina look. A free STL model is referenced for those who want to print their own base piece. Credit is given to another creator whose technique inspired the painting approach.

VanOaksProps· 10,733 views
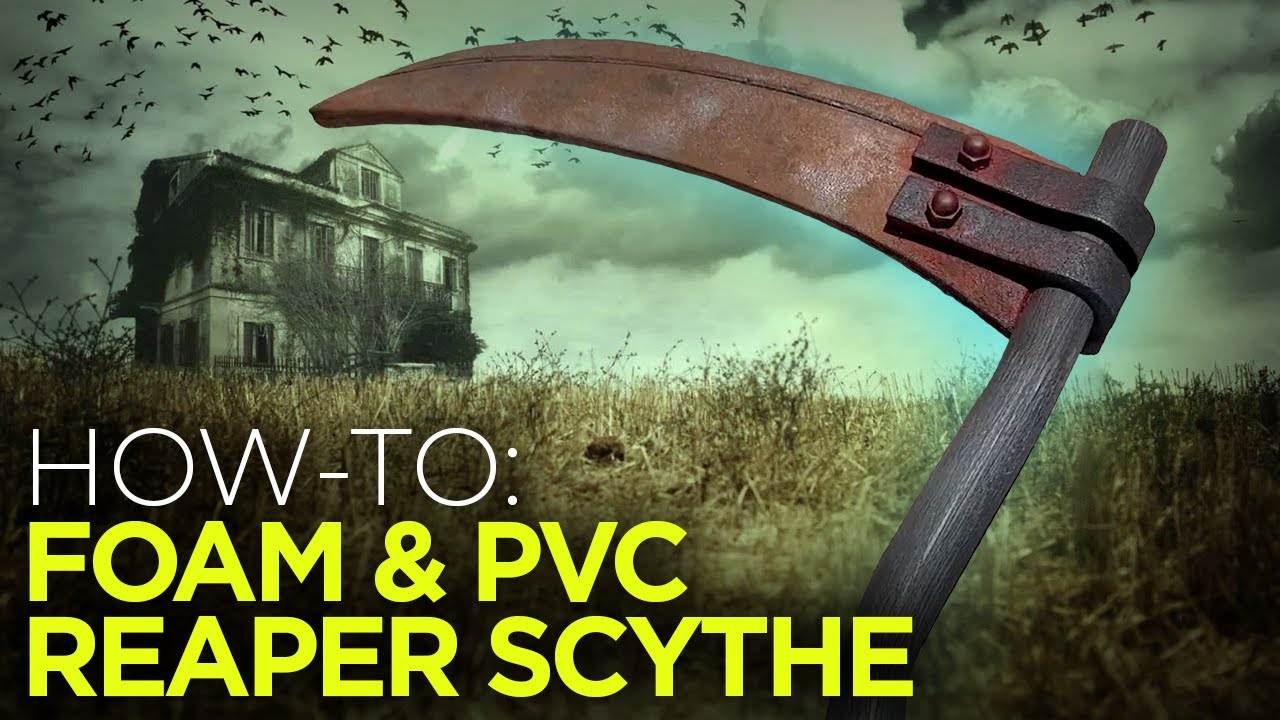
Building a Prop Scythe with Foam, PVC, and Hot Glue!
10:24
DIY PropsBeginner$20–$50

Building a Prop Scythe with Foam, PVC, and Hot Glue!

VanOaksProps walks through building a Grim Reaper scythe using readily available materials — EVA foam floor mats, PVC pipe, and hot glue — making this an accessible project for beginners and cosplayers alike. The blade is shaped from foam with a heat gun, mounted to a PVC handle, and finished with a Plasti-Dip base coat followed by layered acrylic paints for a realistic, weathered look. The build is designed to be completable in a few hours with minimal tools. Surebonder sponsored the video by providing their Cosplay Stik hot glue and glue gun.

VanOaksProps· 30,560 views
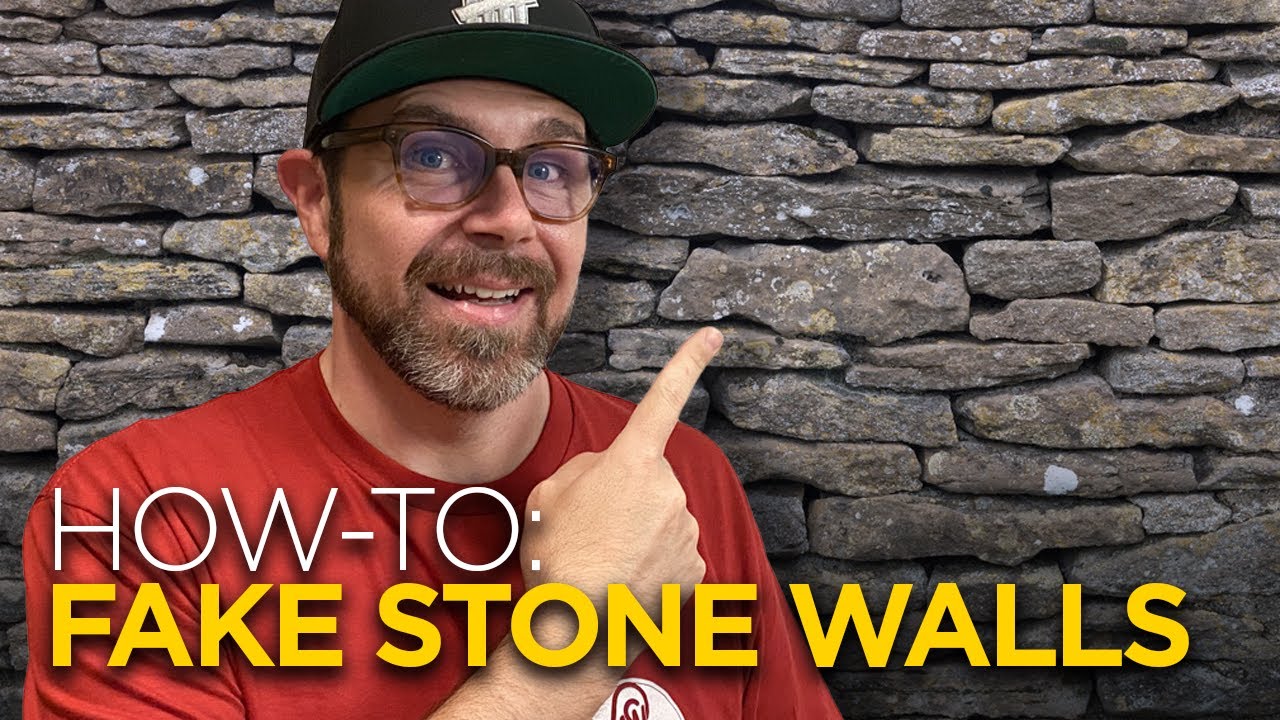
Easy & Realistic Fake Stone Walls from Foam 2!
8:04
DIY PropsBeginner$20–$60

Easy & Realistic Fake Stone Walls from Foam 2!

VanOaksProps walks through a beginner-friendly process for creating convincing fake stone walls using inexpensive XPS or EPS foam. The build relies on hot wire cutting and rasp texturing to achieve a natural stone shape, followed by a tile mortar coating that adds durability and surface detail. A layered acrylic painting sequence — moving from a base beige through burnt umber shadows to green moss accents — brings the finished panels to life. The result is a lightweight, low-cost wall section suitable for haunts, sets, or yard displays.

VanOaksProps· 130,025 views
EASY Smoldering Log Effect using a Foam Pool Noodle!
4:23
DIY PropsBeginner$5–$15

EASY Smoldering Log Effect using a Foam Pool Noodle!

This short tutorial from VanOaksProps demonstrates how to build a convincing smoldering log effect using an inexpensive foam pool noodle as the base. The noodle is textured and painted with black and grey acrylics to mimic charred, dying embers, then lit from within using a white LED strip. Most materials can be sourced affordably at a dollar store, making this an accessible build for any skill level.

VanOaksProps· 83,133 views
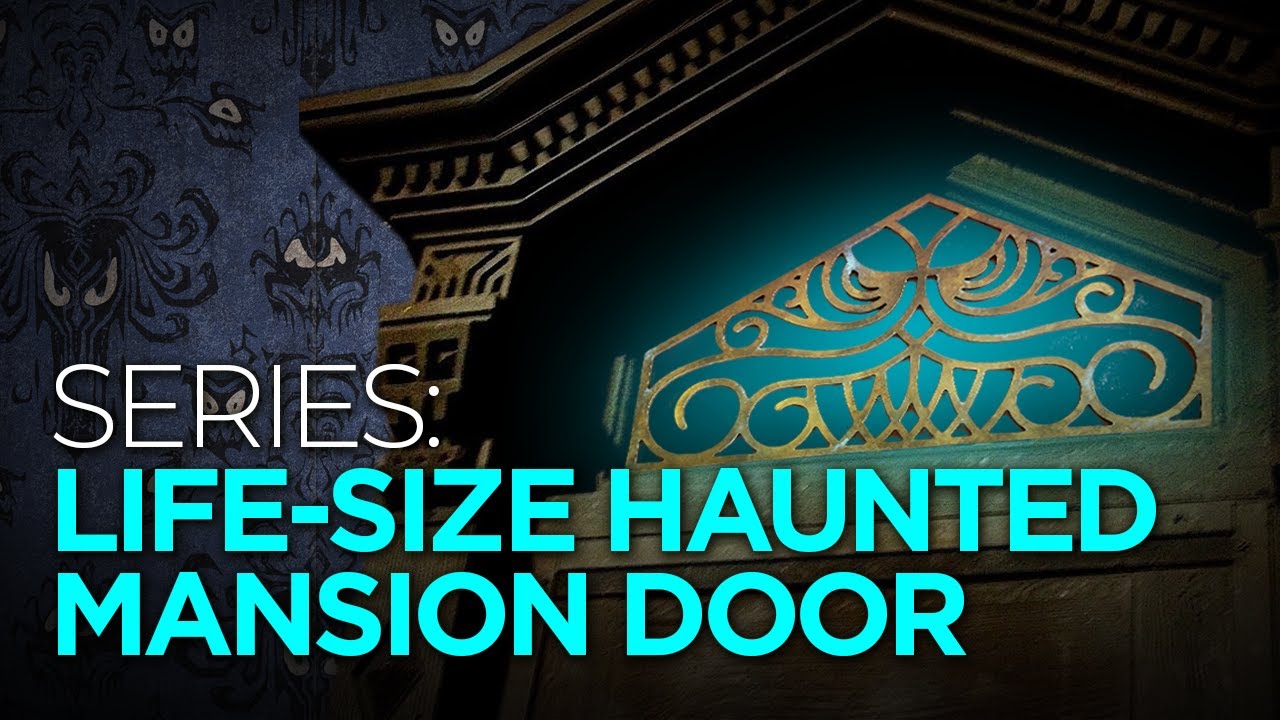
I 3D Printed a LIFE SIZE Haunted Mansion Door for Neil Patrick Harris - PART 1
6:43
DIY PropsIntermediate

I 3D Printed a LIFE SIZE Haunted Mansion Door for Neil Patrick Harris - PART 1

VanOaksProps tackles Part 1 of an ambitious life-size 3D-printed Haunted Mansion door build, commissioned for Neil Patrick Harris. This episode focuses specifically on faux metallic painting techniques designed to achieve a refined, subtly aged finish rather than the heavily weathered look typically featured on the channel. The creator walks through a layered acrylic and spray-paint process using bronze, gold, patina, and black tones to convincingly mimic aged metal. It's a practical deep-dive into a more nuanced approach to prop finishing.

VanOaksProps· 16,757 views
Making a Sign from Galaxy's Edge
6:16
DIY PropsBeginner$20–$50

Making a Sign from Galaxy's Edge

VanOaksProps recreates a sign spotted at Galaxy's Edge/Black Spire Outpost in Disneyland, replicating its weathered, alien-world aesthetic using layered spray paints, acrylic detailing, and powder-based distressing techniques. The build leans heavily on aging effects — including Fuller's Earth, baby powder, and hairspray — to sell the worn, battle-worn look of Batuu signage. Star Wars-accurate fonts sourced from a free aurebesh font resource help nail the authenticity. The finished piece is a compact, screen-faithful prop replica achievable in an afternoon.

VanOaksProps· 6,201 views
DIY Halloween Grave Marker Prop
5:40
DIY PropsBeginnerunder $20

DIY Halloween Grave Marker Prop

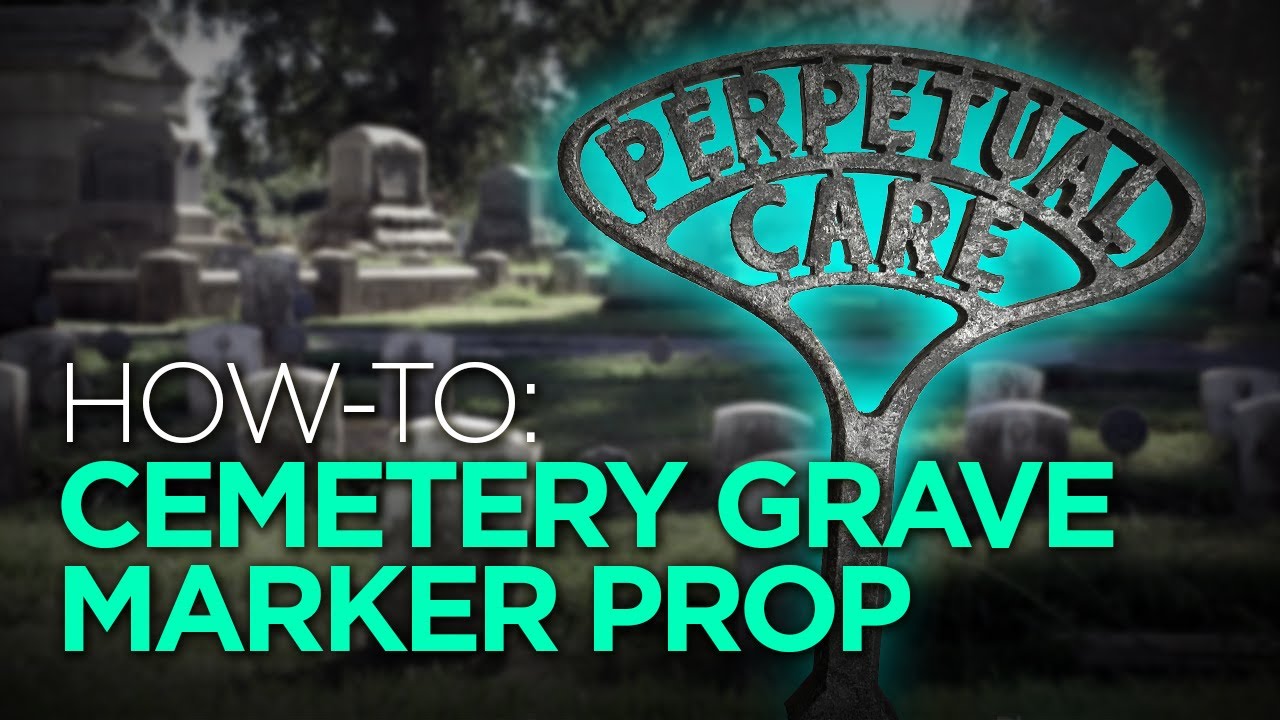
VanOaksProps shares a quick, beginner-friendly technique for making a 3D-printed cemetery grave marker look like authentic aged cast iron using common craft paints and household items. Inspired by real perpetual care markers found in historic New England cemeteries, the finished prop adds a convincing, historically grounded detail to any Halloween graveyard display. The core painting method — layering chalk paint, aluminum acrylic, and black acrylic — is versatile enough to apply to cosplay pieces, scale models, and other prop-building projects beyond Halloween.

VanOaksProps· 6,815 views
This Spirit Halloween Animatronic Makeover is CRAZY!
16:06
DIY PropsIntermediate

This Spirit Halloween Animatronic Makeover is CRAZY!

Wicked Makers' Jay and Jaimie transform Spirit Halloween's 2022 Lord Raven animatronic into an elaborate dark sorcerer character with a fully custom costume and large lightweight foam feather wings. The build draws inspiration from Stiltbeast Studios' DIY feather wing technique and layers handmade accessories, creepy cloth, and painted details over the stock prop. The video covers both a brief unboxing review of Lord Raven's out-of-the-box features — flapping arms, moving head, glowing red eyes, and spoken dialogue — and the complete step-by-step makeover process. The finished prop is presented as a standout piece suitable for home haunts, yard displays, or haunted house environments.

Wicked Makers· 829,220 views
DIY Pirate Rum Prop
6:00
DIY PropsBeginner$10–$25

DIY Pirate Rum Prop

This quick tutorial from VanOaks Props shows how to upcycle a plastic maple syrup bottle into a convincing pirate rum prop using EVA foam detailing and layered paint techniques. The build relies on common, inexpensive supplies and is completed in roughly six minutes of instruction. Weathering with multiple acrylic tones and a final clear coat gives the finished piece an aged, authentic look. It's a great low-cost accent piece for pirate-themed haunts, costumes, or Halloween displays.

VanOaksProps· 15,744 views
Hot Glue Candelabra Prop
8:12
DIY PropsBeginner$20–$50

Hot Glue Candelabra Prop

VanOaksProps walks through the construction of a gothic candelabra prop built primarily from PVC pipe fittings, with hot glue serving as both a structural adhesive and a creative texturing agent to disguise the underlying framework. The real challenge — and the heart of the build — was finding an elegant way to conceal the pipe joints and make the piece read as a convincing ornate candelabra. Silicone molds, a Leviton lamp holder for functional candle sockets, and a multi-step paint finish using rubberized undercoat, Rub n Buff, and acrylic patina bring the prop to a polished, aged-metal look. The video is sponsored by Surebonder, whose tools are featured throughout the build.

VanOaksProps· 26,703 views
Fake Pumpkins Don't Have to Look Cheap
6:48
DIY PropsBeginner$10–$25

Fake Pumpkins Don't Have to Look Cheap

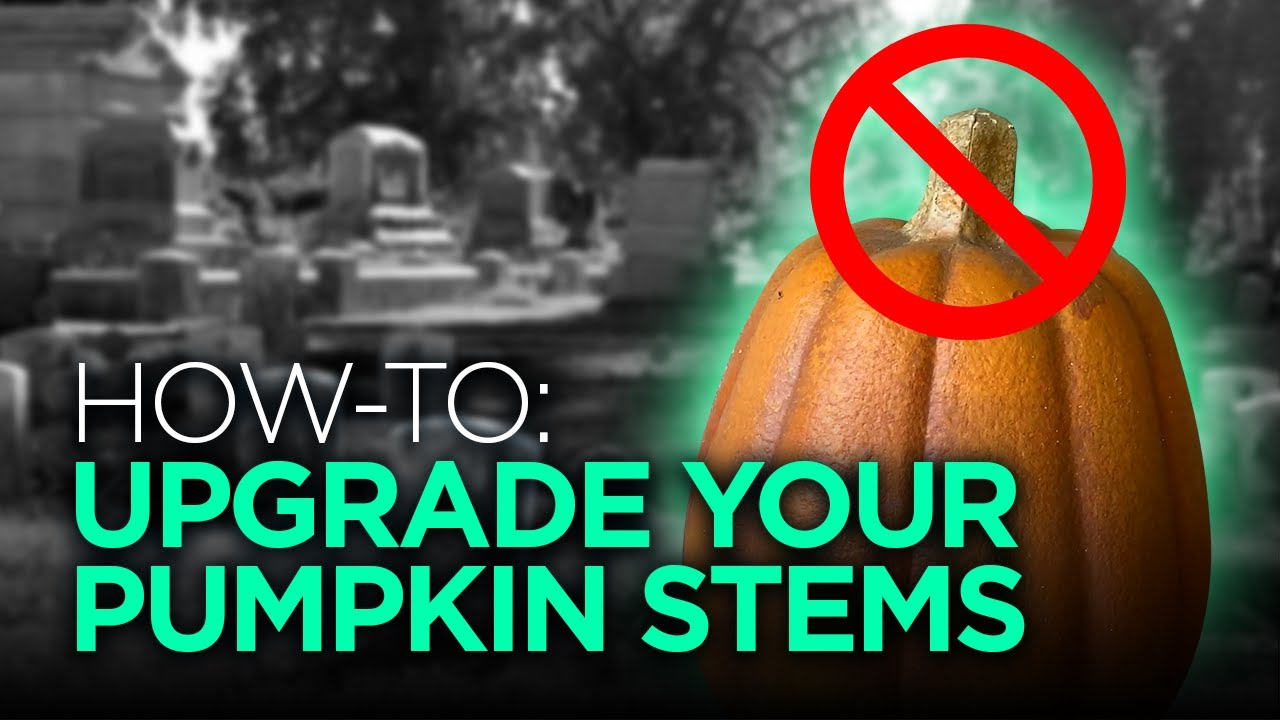
VanOaksProps tackles one of the most common complaints about artificial pumpkins — their unconvincing, characterless stems — with a fast, low-cost upgrade technique. Using wire, aluminum foil, and Apoxie Sculpt epoxy putty, the creator builds up a realistic organic stem shape from scratch. A layered acrylic paint finish in earthy tones completes the transformation, making budget foam pumpkins look genuinely hand-carved. The whole process is approachable for beginners and requires only basic materials.

VanOaksProps· 15,270 views
Fake Rust with Sawdust
7:38
DIY PropsBeginner$10–$30

Fake Rust with Sawdust

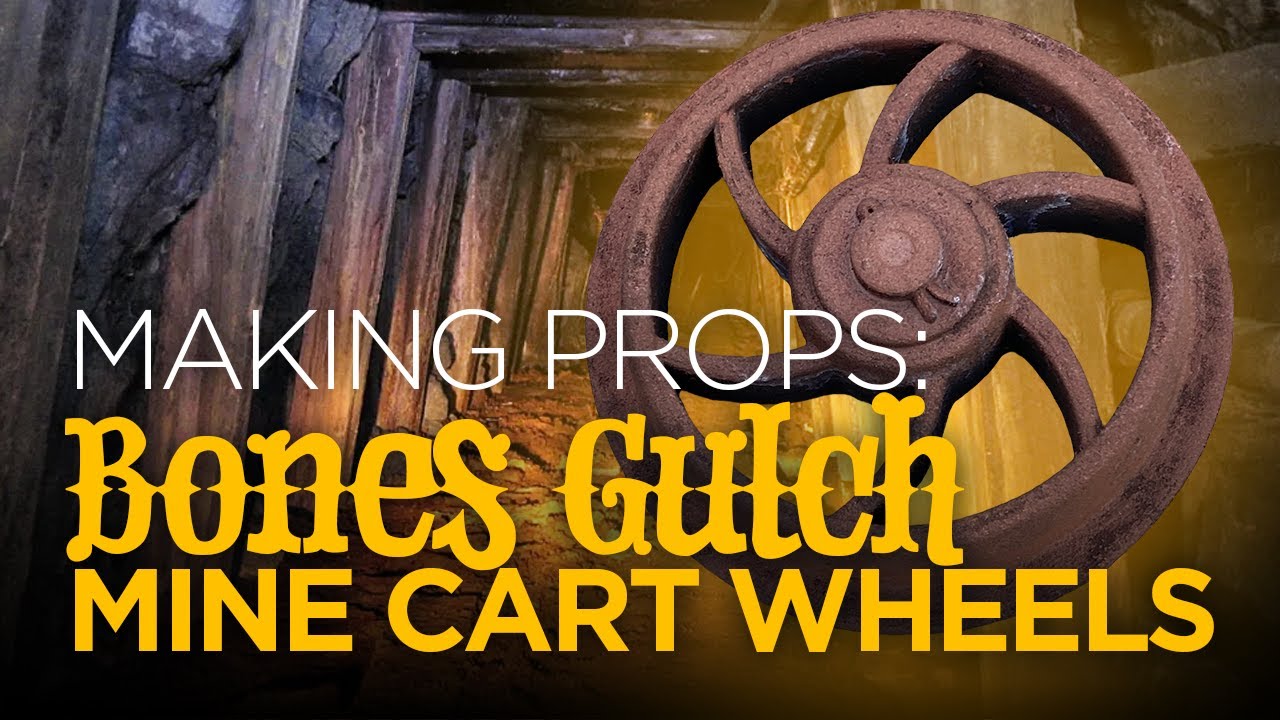
VanOaksProps explores a creative low-cost rust finish by applying sawdust as a texture medium over 3D-printed mine cart wheels made for a real haunted attraction. The technique layers a brush-on epoxy to bind the sawdust, followed by multiple acrylic paint colors to mimic oxidized metal convincingly. The result is a gritty, organic-looking rust effect achievable with readily available craft supplies. This crossover project between a home prop builder and a professional haunt offers practical, real-world validation of the method.

VanOaksProps· 10,198 views
PROP LAB: Building Star Wars Cargo Crates
8:19
DIY PropsIntermediate$30–$80

PROP LAB: Building Star Wars Cargo Crates

VanOaksProps builds a pair of Star Wars-themed cargo crates to complement a dedicated prop display case, inspired by a visit to Star Wars Celebration Anaheim. The crates are shaped using an Inventables X-Carve CNC router, then finished with layered spray paints, wax paint, and weathering techniques to achieve a battle-worn, screen-accurate look. Liquid latex and steel wool add tactile texture before the final paint stages, giving the props convincing depth and age.

VanOaksProps· 12,510 views
Ghost Town Grave Marker / Wooden Cross for Halloween
6:42
DIY PropsBeginnerunder $20

Ghost Town Grave Marker / Wooden Cross for Halloween

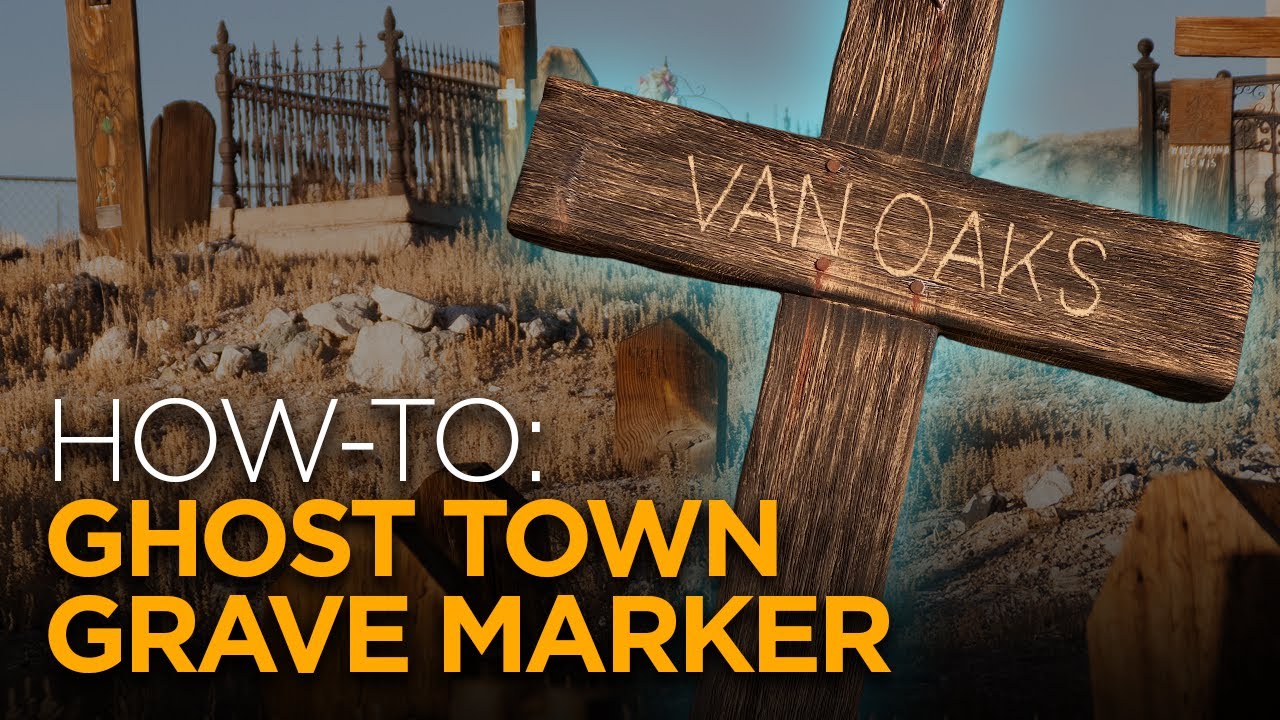
VanOaksProps walks through how to turn a standard 2x4 into a convincingly aged, sun-bleached wooden cross grave marker suited for ghost town or wild west themed haunts. The build relies on a wire wheel, torch, and craft paint to achieve a weathered, distressed look without expensive materials. The result is a low-cost prop that reads well in cemetery or frontier-style display settings.

VanOaksProps· 14,383 views
LET'S MAKE: #StarWars Fusion Furnace/Fusion Generator - Smart Lamp Hack!
9:09
DIY PropsIntermediate$30–$80 (estimated based on lamp, filament, paints)

LET'S MAKE: #StarWars Fusion Furnace/Fusion Generator - Smart Lamp Hack!

VanOaksProps walks through a casual, build-along episode of crafting a Star Wars-inspired fusion furnace/generator prop by combining a 3D-printed shell with an off-the-shelf smart LED lamp. The build is credited to a fellow maker whose lamp-hack concept inspired the project. Painting and weathering techniques give the finished piece a worn, screen-adjacent look suitable for display in any Star Wars fan space.

VanOaksProps· 9,406 views
How to make a Realistic Peeling Paint Effect
7:12
Set DesignBeginner$20–$40

How to make a Realistic Peeling Paint Effect

VanOaksProps demonstrates a quick, low-cost technique for creating convincingly aged, peeling paint on haunted house walls. The method combines orange peel texture spray and liquid latex to build up layers that peel away realistically. Acrylic paints in earthy tones add depth and a grimy, neglected look. The result is a theatrical faux finish achievable with minimal supplies and little experience.

VanOaksProps· 24,460 views
Chipped Paint Effect for Props & Costumes | #andor
7:32
DIY PropsBeginner$20–$50

Chipped Paint Effect for Props & Costumes | #andor

VanOaksProps demonstrates a simple toothpaste-masking method to create a convincing multi-layer chipped paint effect on props and costumes. Using toothpaste as a resist between paint layers, the technique simulates years of wear and repainting without complex tools. The tutorial is demonstrated on a Star Wars E-11 blaster build inspired by Andor and Rogue One. Finishing touches with antique wax deepen the battle-worn look.

VanOaksProps· 11,275 views
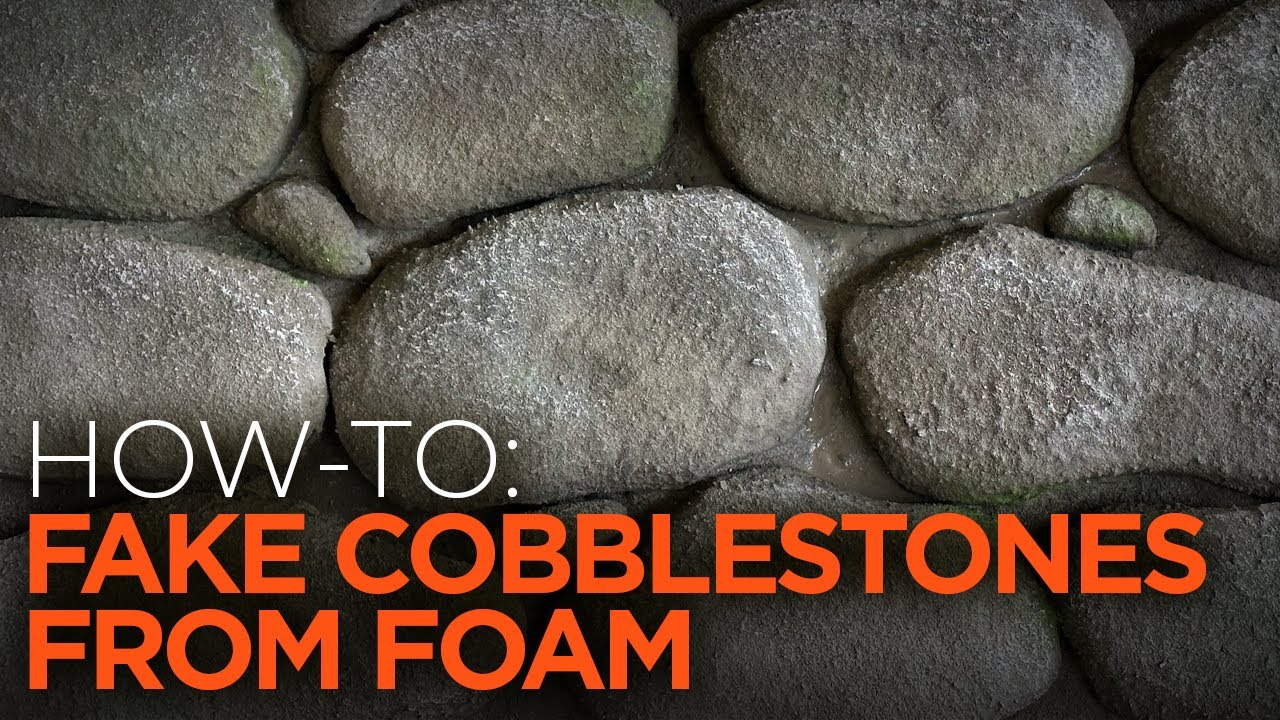
Easy & Realistic Faux Stone Walls with Foam!
7:30
DIY PropsBeginner$20–$50

Easy & Realistic Faux Stone Walls with Foam!

VanOaksProps walks through a beginner-friendly method for creating convincing faux stone panels from foam using minimal tools. The process covers shaping and texturing foam with a box cutter, wire brush, and propane torch, then sealing and painting with Drylok and layered acrylic washes. The finished panels are well-suited for haunted house facades, fireplace surrounds, or any set piece requiring a stone aesthetic.

VanOaksProps· 504,162 views
Tower of Terror Sign Replica - Bronze Patina Paint Technique
8:01
DIY PropsBeginner$20–$50

Tower of Terror Sign Replica - Bronze Patina Paint Technique

VanOaksProps walks through a faux bronze patina painting technique inspired by the iconic Tower of Terror sign. Using a small selection of FolkArt acrylic paints, waxes, and an airbrush, the tutorial demonstrates how to achieve a convincingly aged, weather-worn metal look on any prop surface. The method is approachable for beginners and adaptable beyond the specific Disney replica to any project requiring a realistic bronze or verdigris finish. A sealing step with clear coat and wax ensures the finished effect is durable and display-ready.

VanOaksProps· 12,713 views