Halloween Universe

Video Category

Arduino & Controllers

Every arduino & controllers video worth your time, gathered in one place. Browse builds, tutorials, and showcases — each embedded from its original creator with a quick summary so you can find exactly what you need.

150 videos

Talking Skulls, Sound Activated Halloween Prop Powered by PicoTalk
1:56
DIY AnimatronicsBeginner

Talking Skulls, Sound Activated Halloween Prop Powered by PicoTalk

FrightProps demonstrates their PicoTalk-powered talking skull prop, which animates a skull's mouth and eyes in response to an audio input signal. The setup is designed for simplicity — connect any audio source and powered speakers, and the PicoTalk controller handles the rest automatically. The result is a convincingly lifelike talking skull effect well-suited for haunted house environments.

FrightProps· 24,842 views
Turning A Toy Ghostbusters Trap Into A Realistic Prop: Can I Do It?
11:46
DIY PropsIntermediate

Turning A Toy Ghostbusters Trap Into A Realistic Prop: Can I Do It?

This build video follows the creator's process of upgrading a Spirit Halloween Ghostbusters ghost trap toy into a screen-accurate movie prop replica inspired by Ghostbusters: Afterlife and Frozen Empire. The mod involves disassembling the toy, integrating a servo motor for remote-controlled trap-door action, and reworking the exterior with custom panels and hardware to closely match the on-screen design. Step-by-step guidance covers both the mechanical and cosmetic sides of the conversion. The result aims for a movie-grade finish achievable by dedicated DIY hobbyists.

Creative Geekery· 24,002 views
Building a "FLOATING" Star Wars lightsaber Display
8:34
DIY PropsIntermediate$30–$70

Building a "FLOATING" Star Wars lightsaber Display

VanOaksProps constructs a striking 'floating' lightsaber display unit built around an acrylic tube, a NeoPixel ring, and an Arduino Nano to create a glowing containment-case effect. The build showcases an NSabers Obi-Wan Kenobi replica lightsaber as its centerpiece. The creator also references a free online NeoPixel effect generator to simplify the LED animation coding. The result is a display-quality sci-fi prop piece suitable for collectors and Halloween set designers alike.

VanOaksProps· 23,619 views
PicoBoo F105 (PicoBoo AC) Overview
5:28
Arduino & Controllers

PicoBoo F105 (PicoBoo AC) Overview

This video from FrightProps provides a product overview of the PicoBoo F105, also marketed as the PicoBoo AC, a dedicated Halloween prop controller. The overview covers the unit's scene programming and audio programming capabilities, giving viewers a solid introduction to what the controller can do. It serves as a first-look guide for haunters considering this device for automating props and animatronics.

FrightProps· 22,879 views
FrightProps Reflective Beam Sensor Trigger Overview
7:28
Arduino & Controllers

FrightProps Reflective Beam Sensor Trigger Overview

FrightProps walks through their reflective beam sensor, a retroreflective photoelectric detector designed to trigger prop controllers and audio playback units when a guest crosses its invisible beam. The sensor outputs a contact closure signal, making it compatible with FrightProps controllers as well as third-party systems. It ships pre-wired with a cable, mounting bracket, and reflector hardware, and supports an adjustable sensing range up to 13 feet. A separate power supply is required when used outside of a compatible FrightProps controller setup.

FrightProps· 22,853 views
PROP LAB: Turn Your Battery Powered Props to Plug-in!
4:08
DIY PropsBeginner$10–$30

PROP LAB: Turn Your Battery Powered Props to Plug-in!

VanOaksProps teams up with maker Beejay Oslon to demonstrate how to convert battery-powered Halloween props to run on plug-in 12V DC power. The core of the mod is a step-down voltage regulator circuit that drops 12V supply power down to whatever voltage the original batteries provided. The short, focused tutorial makes this an accessible upgrade for haunters who want to eliminate battery swaps during a display season.

VanOaksProps· 21,002 views
Parking Motor and Picovolt Controller Demonstration
4:51
Arduino & ControllersIntermediate

Parking Motor and Picovolt Controller Demonstration

FrightProps' Scott walks through the updated Picovolt prop controller, highlighting two key improvements: the ability to wire in an external trigger and native support for the parking feature found in FrightProps' dedicated prop motors. The demonstration shows how these features work together to give builders precise, repeatable control over motorized Halloween props. It's a concise, product-focused look at how the Picovolt fits into a typical animatronic build.

FrightProps· 20,659 views
Explosion Simulation
22:50
DIY AnimatronicsIntermediate

Explosion Simulation

Jake Farmer of Stiltbeast Studios walks through building a convincing explosion simulation effect for haunted attractions using electronic components anchored by a Boo Box Flex controller from FrightProps. The build demonstrates how a dedicated prop controller can orchestrate multiple elements to sell a high-impact, high-tech scare. The video highlights the versatility of FrightProps controllers for sequencing complex haunt effects. Jake hints that more FrightProps controller tutorials are planned for future episodes.

StiltbeastStudios· 20,605 views
simple controller
12:06
Arduino & ControllersBeginner

simple controller

Stiltbeast Studios walks through a straightforward, no-frills method for automatically triggering Halloween props using a motion-activated device — no programming or advanced electronics required. The approach is aimed at anyone who wants reliable startle scares without investing in complex control systems. A specific motion-activated flood light from a major home improvement retailer is referenced as the core component. It won't win awards for sophistication, but it gets the job done for basic plug-in prop activation.

StiltbeastStudios· 19,738 views
How to Make a Chess Set Puzzle for an Escape Room
18:40
Arduino & ControllersIntermediate

How to Make a Chess Set Puzzle for an Escape Room

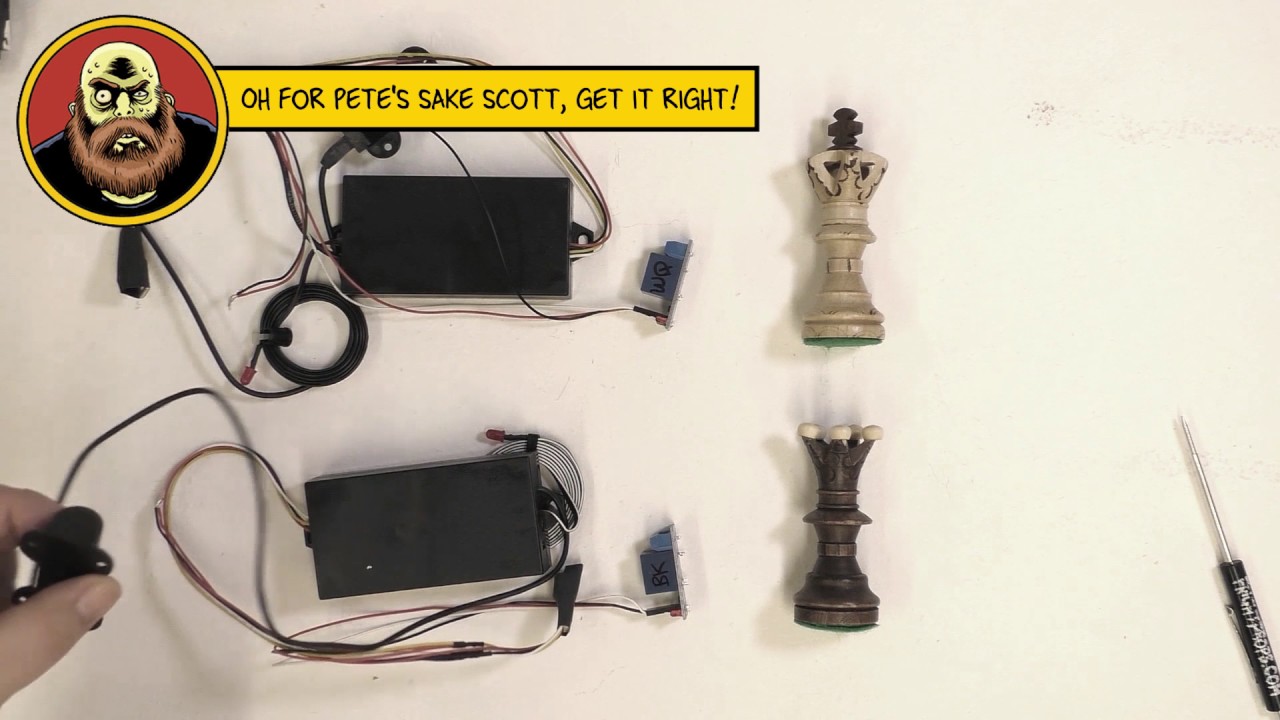
This FrightProps tutorial walks through building an interactive chess board puzzle for an escape room using RFID triggers and an EscapeKeeper controller. Players must place the correct chess pieces on the correct squares to solve the puzzle and trigger a response. The build concept is modular and transferable — the same RFID object-placement logic can be adapted to many other puzzle types beyond chess.

FrightProps· 18,278 views
How to Trigger a Scare Sound and Strobe Light
13:20
Arduino & ControllersBeginner

How to Trigger a Scare Sound and Strobe Light

FrightProps walks through their all-in-one kit designed to synchronize a scare sound with a strobe light or other AC device upon activation. The tutorial emphasizes ease of use and cost-effectiveness, making it accessible for haunters at any experience level. It covers how the trigger system works to fire both audio and lighting simultaneously for a coordinated scare effect.

FrightProps· 17,951 views
Star Wars Skeleton Crew Gatekeeper Droid Build
12:23
DIY PropsIntermediate$30–$80

Star Wars Skeleton Crew Gatekeeper Droid Build

VanOaksProps walks through a full scratch build of the Gatekeeper Droid from Star Wars: Skeleton Crew (also seen in Return of the Jedi), using a combination of 3D-printed parts, PVC pipe, and everyday hardware-store materials. The eye dome is a repurposed clear Christmas ornament housing a NeoPixel ring driven by a custom-edited Arduino Nano sketch. Finishing involves layered spray paints and Fuller's Earth weathering to nail the worn, galactic aesthetic. Free templates and code files are linked in the description to help builders replicate the project.

VanOaksProps· 16,571 views
Add a motion sensor to a moving critter
12:57
DIY AnimatronicsIntermediate

Add a motion sensor to a moving critter

This StiltbeastStudios tutorial is a follow-up to their Moving Critters video, showing how to add a simple motion alarm sensor to an existing critter prop so it activates automatically when guests walk by. The approach is ideal for scenes where a live actor isn't always available to trigger the effect manually. It's a practical, low-complexity upgrade that adds reactivity and surprise to any haunt environment.

StiltbeastStudios· 16,526 views
How to Control a FLASH! Cracker or Other Electric Firecracker with a Controller or Motion Sensor
6:03
Arduino & ControllersBeginner

How to Control a FLASH! Cracker or Other Electric Firecracker with a Controller or Motion Sensor

This FrightProps tutorial walks through multiple methods for triggering an electric firecracker effect, specifically the FLASH! Cracker, in a haunt environment. Three control options are demonstrated: a standalone motion sensor with timer, and the PicoBoo AC controller. The video is a concise overview aimed at helping haunters choose the right trigger solution for their setup.

FrightProps· 15,702 views
PicoBoo ONE - Simple Prop Controller Spotlight Video
0:41
Arduino & Controllers

PicoBoo ONE - Simple Prop Controller Spotlight Video

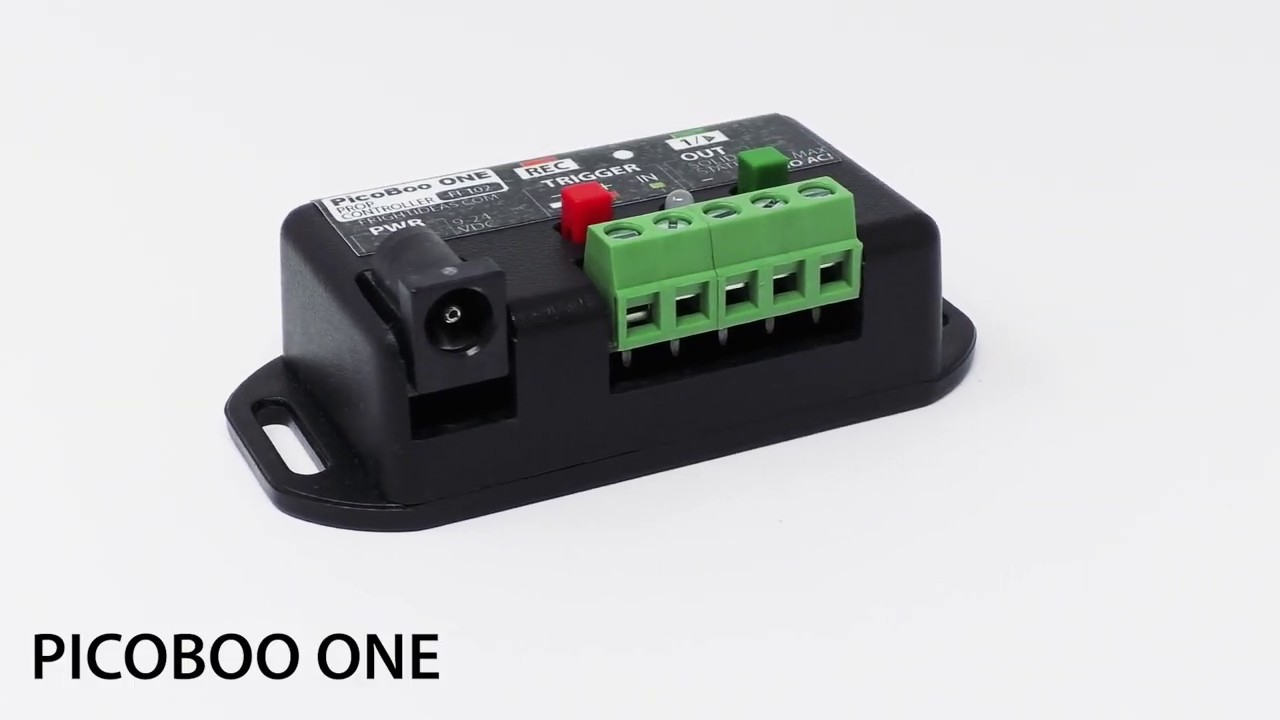
FrightProps showcases the PicoBoo ONE, an entry-level prop controller designed for simplicity. It features a single solid-state output and supports animation sequences of up to 60 seconds in length. This short spotlight video gives haunters a quick look at what the unit offers before purchase.

FrightProps· 15,142 views
Digital Video Player for Halloween Props Tutorial
5:07
Arduino & ControllersBeginner

Digital Video Player for Halloween Props Tutorial

FrightProps walks through their triggerable digital video player, a device designed to play video effects on demand via a push-button activation. The tutorial covers how to integrate the unit into Halloween props and haunted house setups for on-cue scares and visual effects. It offers a compact, accessible solution for creators who want interactive video without complex programming.

FrightProps· 14,592 views
FrightProps Servo Board - TransWorld 2018
0:17
Arduino & Controllers

FrightProps Servo Board - TransWorld 2018

Filmed at TransWorld 2018, this video showcases FrightProps' lineup of servo kits and the PicoServo controller from FrightIdeas. The demonstration highlights how these products can be used to add controlled, repeatable motion to haunted house props and animatronics. It serves as a trade-show floor introduction to the servo product line rather than a step-by-step tutorial.

FrightProps· 14,475 views
The ULTIMATE Haunt Lantern!
8:43
Arduino & ControllersIntermediate$20–$50

The ULTIMATE Haunt Lantern!

VanOaksProps upgrades an existing haunt lantern by integrating an Arduino Nano and a Neopixel LED ring to create dynamic, programmable lighting effects. The build includes a 3D-printed controller box and custom Arduino code, both available as free downloads. Frost effect paint is applied to diffuse and soften the LED output for a more atmospheric look. The result is a polished, convincing lantern prop suited for haunted environments.

VanOaksProps· 13,972 views
FrightProps Pressure Sensing Mats Trigger Overview
5:35
Arduino & ControllersBeginner

FrightProps Pressure Sensing Mats Trigger Overview

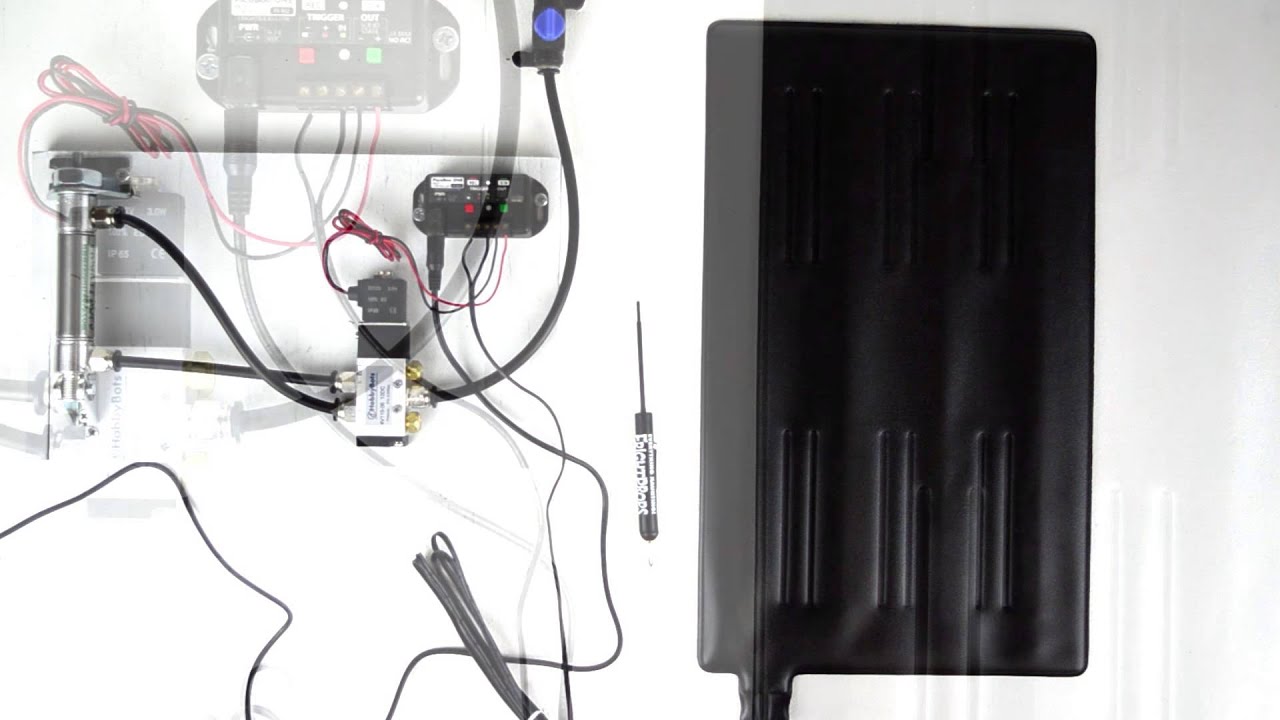
FrightProps walks through their pressure-sensing trigger mats, one of their most popular prop-activation accessories. The video covers how the slim, flexible, water-resistant mats can be hidden under carpet or matting and paired with any FrightProps controller, audio player, or third-party device that accepts a trigger input. A strobe alarm prop is used as a live demonstration of the activation. Key safety guidance on low-voltage requirements and relay use for AC props is also addressed.

FrightProps· 13,730 views
Creating Halloween Effects Using a Triggerable Digital Video Player
14:00
Projection EffectsIntermediate

Creating Halloween Effects Using a Triggerable Digital Video Player

This FrightProps tutorial demonstrates how to combine a PicoBoo controller with a Triggerable Digital Video Player to produce video effects that fire in sync with other practical haunt effects. The workflow covers how the controller triggers video playback at precisely the right moment, creating a cohesive, immersive scare sequence. A Nano Spot LED light is also incorporated to complement the visual presentation.

FrightProps· 13,384 views
A SHOCKING Upgrade to my Haunted Mansion Window - USING AI!
10:29
Arduino & ControllersIntermediate

A SHOCKING Upgrade to my Haunted Mansion Window - USING AI!

VanOaksProps revives a Haunted Mansion-inspired window prop and levels it up by adding a realistic lightning effect powered by an ESP32 microcontroller and a NeoPixel LED strip. Rather than writing Arduino code from scratch, the creator uses the AI platform Deepseek to generate the lightning sketch, making the process accessible even to those with no coding experience. A 3D-printed project box houses the electronics cleanly, and the finished effect is designed to mount easily to the existing prop.

VanOaksProps· 13,044 views
Using a PicoBoo ONE Controller to Open a Magnetic Lock
5:59
Arduino & ControllersIntermediate

Using a PicoBoo ONE Controller to Open a Magnetic Lock

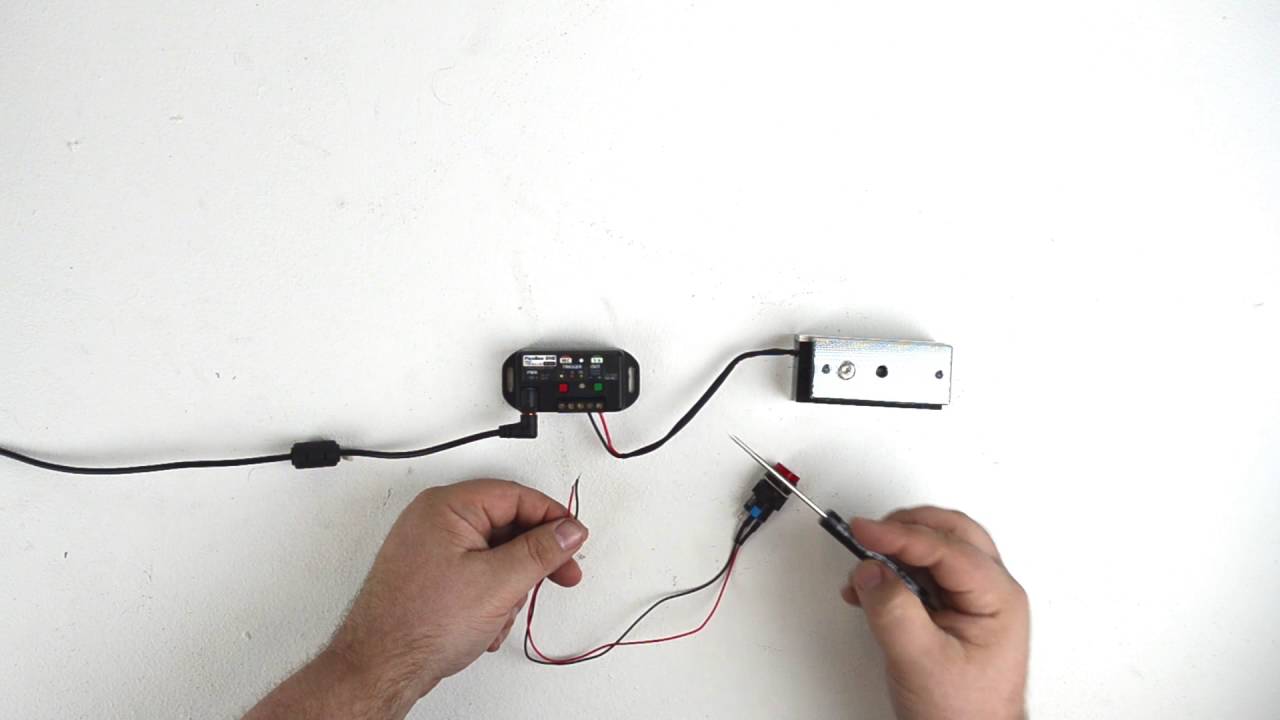
This FrightProps tutorial demonstrates how to use a PicoBoo ONE controller to trigger a magnetic lock, directly answering a frequently asked escape room question. The video walks through a three-component setup — trigger, controller, and lock — using items from FrightProps' Escape Room Magnetic Lock Starter Kit. A proximity sensor is also demoed as a potential trigger source. Together these components open up a wide range of interactive puzzle possibilities for escape rooms and haunted attractions.

FrightProps· 11,913 views
Creating a Synchronized Pyrotechnic Show Using Two or More Flame Units and the PicoDMX
5:44
PneumaticsIntermediate

Creating a Synchronized Pyrotechnic Show Using Two or More Flame Units and the PicoDMX

This FrightProps tutorial demonstrates how to synchronize two or more Flame Blaster units using the PicoDMX DMX controller and the free Director software. The video presents this combination as an accessible, cost-effective solution for coordinating multiple DMX-enabled flame effects into a single timed show sequence. Viewers are guided through the setup process to achieve precisely timed, multi-unit fire bursts suitable for professional-grade haunt or event productions.

FrightProps· 11,247 views
How to Use RFID Triggers to Create a Place the Objects Escape Room Game
24:13
Arduino & ControllersIntermediate

How to Use RFID Triggers to Create a Place the Objects Escape Room Game

This FrightProps tutorial walks through building an interactive escape room puzzle that uses RFID triggers and an EscapeKeeper controller to detect when players place specific objects in designated locations. The system uses relay outputs to trigger effects or unlock mechanisms once the correct objects are correctly positioned. The video covers the full workflow from hardware setup to puzzle logic, making it a practical guide for escape room builders and haunted attraction designers alike.

FrightProps· 10,711 views
Best Arduino & Controllers Videos · Halloween Universe