Halloween Universe

Video Category

Arduino & Controllers

Every arduino & controllers video worth your time, gathered in one place. Browse builds, tutorials, and showcases — each embedded from its original creator with a quick summary so you can find exactly what you need.

150 videos

Barbie’s NIGHTMARE Dollhouse?! 😱 #shorts
1:00
DIY PropsAdvanced

Barbie’s NIGHTMARE Dollhouse?! 😱 #shorts

Wicked Makers transform a classic Barbie Dreamhouse into a horror-themed haunted dollhouse, complete with custom-sculpted miniature props, spooky lighting, and pop-culture scares. The build draws on iconic horror films and shows — including The Ring, Scream, and Stranger Things — to populate each room with a distinct scene. An Arduino Uno R4 powers the electronic effects, while digital video projections add an extra layer of creepiness. This short teases the full build video.

Wicked Makers· 9,641,858 views
We made a Barbie NIGHTMARE DOLLHOUSE for Halloween!
21:30
DIY PropsAdvanced

We made a Barbie NIGHTMARE DOLLHOUSE for Halloween!

Wicked Makers transforms a Barbie Dreamhouse into a horror-themed nightmare dollhouse packed with references to Scream, The Ring, Stranger Things, and Arachnophobia. Each room receives a scene-specific makeover using custom 3D-printed parts, Apoxie Sculpt miniatures, hand-painted details, and atmospheric lighting driven by an Arduino Uno R4. A micro fogger and flickering LEDs push the creepy atmosphere further, while two-way acrylic creates an eerie digital screen effect. The result is a show-stopping Halloween display piece that blends pop culture horror with serious maker craft.

Wicked Makers· 4,831,953 views
We made The DOCTOR to Protect our House!
26:35
DIY AnimatronicsAdvanced

We made The DOCTOR to Protect our House!

Wicked Makers' Jay and Jaimie build a full-scale animatronic of The Doctor (Harley Sawyer) from the horror game Poppy Playtime, going far beyond a typical Halloween prop. The build incorporates an advanced control system originally designed for escape rooms and theme parks, giving the animatronic a networked "brain" capable of interfacing with home security cameras, door locks, and lighting. The project also features collaboration with the game's developer and the character's original voice actor, lending it an impressive level of authenticity.

Wicked Makers· 4,579,489 views
We turned MICKEY MOUSE into a Nightmare Animatronic!
23:00
DIY AnimatronicsAdvanced

We turned MICKEY MOUSE into a Nightmare Animatronic!

Wicked Makers creators Jaimie and Jay build a scratch-made horror animatronic based on the now-public-domain Steamboat Willie version of Mickey Mouse, styled after the withered FNAF aesthetic. The character's head was modeled by collaborator Beardless Props and 3D printed with a custom 3-axis movement mechanism plus an animatronic jaw driven by Arduino-controlled servos. Finishing work included Bondo, black paint, flocking, and glowing red eyes to complete the nightmarish look. The team acknowledges this was their most ambitious from-scratch animatronic build to date and plans to continue developing the character further.

Wicked Makers· 2,253,161 views
We made a real BILL CIPHER Animatronic! (GRAVITY FALLS)
18:28
DIY AnimatronicsAdvanced

We made a real BILL CIPHER Animatronic! (GRAVITY FALLS)

Wicked Makers' Jaimie and Jay build a full animatronic version of Bill Cipher, the iconic triangle demon from Disney's Gravity Falls. The build combines XPS foam carving, metal frame construction, 3D-printed eye mechanics, and DryLok stone texturing before being painted and detailed with signature accessories. Micro servos driven by the free Bottango software bring Bill to life — making him look around, blink, float, and deliver custom voice lines recorded by Jay. The result is a highly characterful display-ready animatronic that fans of the show and Halloween prop builders alike will find impressive.

Wicked Makers· 2,003,701 views
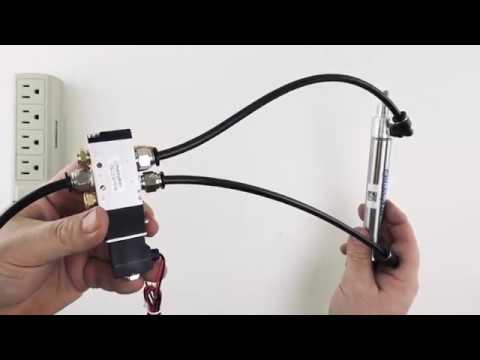
Controlling a Pneumatic Cylinder Easily
9:16
PneumaticsBeginner

Controlling a Pneumatic Cylinder Easily

This FrightProps tutorial walks beginners through a straightforward method for controlling a pneumatic cylinder, likely using a dedicated kit available through their store. The video focuses on making pneumatic motion accessible to haunters who may have little or no prior experience with air-powered systems. At under ten minutes, it delivers a compact, practical introduction to one of the most common mechanisms used in animated Halloween props.

FrightProps· 626,986 views
Making a Pirate Treasure Chest 💀 DIY Halloween Props
26:05
DIY PropsAdvanced

Making a Pirate Treasure Chest 💀 DIY Halloween Props

Wicked Makers hosts Jay and Jaimie build an elaborate Sea of Thieves-inspired pirate treasure chest Halloween prop from XPS and EVA foam, complete with 3D-printed skull decorations and hardware details. The build is elevated by special effects including Arduino-controlled NeoPixel glowing eyes and a hidden microfogger that breathes eerie mist from the chest. The prop is finished with layered paints, Rub n Buff, and airbrushing to achieve a weathered, cursed aesthetic. It's a full-featured, multi-discipline build that blends prop fabrication, electronics, and effects work into a single showpiece.

Wicked Makers· 410,460 views
How to Control a Magnetic Lock from a Keypad
8:07
Arduino & ControllersBeginnerlow (accessible without major financial investment per source)

How to Control a Magnetic Lock from a Keypad

This FrightProps tutorial walks through wiring a keypad trigger to a magnetic lock so that entering the correct code releases the lock — a classic escape room mechanic. The setup is presented as beginner-friendly and budget-conscious, requiring only a few off-the-shelf components. A companion wiring diagram is provided on the FrightProps website to guide the build. It's a clean, practical demonstration suitable for haunted attractions and escape rooms alike.

FrightProps· 252,088 views
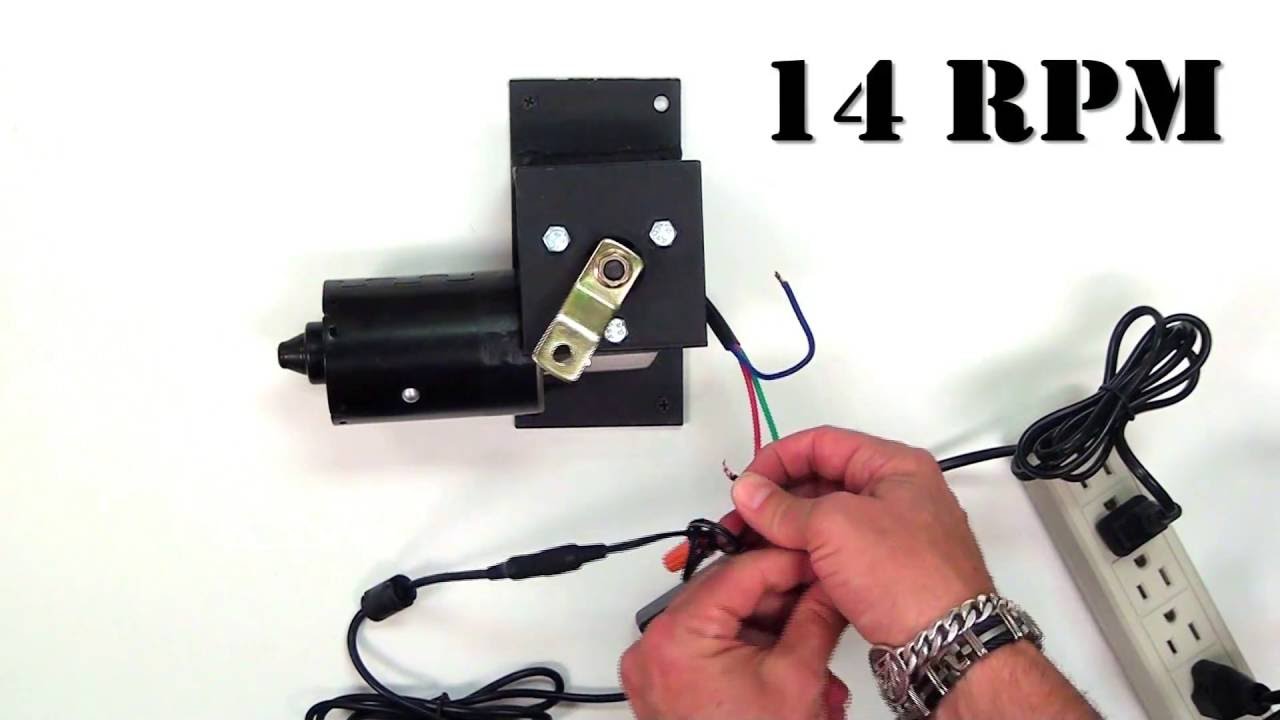
FrightProps High Torque Prop Motor Introduction
4:17
DIY AnimatronicsBeginner

FrightProps High Torque Prop Motor Introduction

FrightProps introduces their High Torque Prop Motor, a 12V DC motor designed specifically for Halloween prop and animatronic applications. The video walks viewers through basic wiring to a power supply, demonstrating low and high speed operation in both forward and reverse. It also showcases the PicoVolt Motor Controller, which adds the ability to fine-tune speed, reverse direction, and record custom sequences of motor motion for repeatable prop effects.

FrightProps· 93,696 views
$5 Halloween Prop Controller!
4:36
Arduino & ControllersIntermediate$5–$13

$5 Halloween Prop Controller!

VanOaksProps reveals a low-cost relay timer module as a simple, affordable way to automate Halloween props including motors, lights, and sound. The FRM-01 can be sourced for as little as $5 and paired with a 12V power supply to trigger AC-powered loads on a timed cycle. The creator provides wiring guidance along with an important correction regarding hot vs. neutral wire placement on the relay side. It's a practical entry point into haunt automation without the need for microcontroller programming.

VanOaksProps· 61,805 views
Controlling Multiple Linear Actuators from a Single Controller
5:15
PneumaticsIntermediate

Controlling Multiple Linear Actuators from a Single Controller

This FrightProps tutorial demonstrates how to drive two linear actuators simultaneously using a single PicoBoo Plus controller, covering both extension and retraction movements. The setup requires no computer programming, making it accessible to haunters who want reliable multi-point mechanical action without coding knowledge. It offers a practical solution for adding coordinated, repeatable prop movement to haunted house scenes.

FrightProps· 60,787 views
DIY Arduino LED Skull Shop Sensor
9:09
Arduino & ControllersIntermediate

DIY Arduino LED Skull Shop Sensor

Wicked Makers' Jay and Jaimie build a decorative Arduino-powered humidity and temperature monitor housed in a handcrafted walnut dovetail enclosure topped with a 3D-printed skull logo. The project combines beginner-friendly electronics — an Arduino Uno, DHT22 sensor, NeoPixel ring, and small LCD display — with intermediate woodworking and 3D printing skills. LED lighting through a frosted acrylic diffuser gives the finished piece a striking shop-display aesthetic. Code and schematics are available on the Arduino Project Hub.

Wicked Makers· 59,900 views
Easily Control Linear Actuators with the Newly Improved PicoVolt!
6:25
Arduino & ControllersIntermediate

Easily Control Linear Actuators with the Newly Improved PicoVolt!

FrightProps introduces an updated version of their PicoVolt controller, designed to simplify the process of driving linear actuators for haunted house props and animatronics. The video walks viewers through how the device works and what improvements have been made over the previous iteration. It serves as both a product showcase and a practical getting-started guide for integrating linear actuators into Halloween prop builds.

FrightProps· 57,931 views
Building a Star Wars Hologram!
12:57
DIY PropsAdvanced

Building a Star Wars Hologram!

VanOaksProps walks through a full build of an Andor Season 2-inspired Star Wars holoprojector prop, combining vintage part sourcing and modification with 3D printing, laser cutting, and practical electronics. The build integrates an ESP32 microcontroller, Neopixel lighting, and a hologram fan to achieve an in-universe screen-accurate effect. Weathering is accomplished through airbrushing, oil paint washes, liquid latex, and Rub n Buff, giving the finished piece an authentic, battle-worn look. Downloadable files are available for creators who want to replicate the project.

VanOaksProps· 51,041 views
The Easiest Way to Turn your Amazon Alexa into a Talking Skull!
2:26
DIY PropsBeginner

The Easiest Way to Turn your Amazon Alexa into a Talking Skull!

FrightProps showcases a kit that converts a compatible Amazon Alexa device into an animated talking skull prop. The setup requires no programming — simply connect the kit to an Alexa device with a stereo audio output and it's ready to go. It's a quick, accessible way to add a creepy interactive element to any Halloween display.

FrightProps· 50,420 views
Haunted Mansion Changing Portrait - How It Works
3:35
Arduino & ControllersIntermediate

Haunted Mansion Changing Portrait - How It Works

VanOaksProps breaks down how the iconic Haunted Mansion changing portrait illusion works and shows how to replicate it at home. The effect relies on a perforated vinyl scrim technique — credited to Kirk Higgins and CalHaunts — combined with Arduino-controlled LED switching that alternately illuminates two layered images. An Arduino Nano drives the lighting transitions while a DFMini MP3 module adds synchronized sound, and the creator provides a downloadable sketch, images, and audio files to get builders started quickly.

VanOaksProps· 47,492 views
We built a huge glowing skull (for our workshop!)
8:11
DIY PropsIntermediate

We built a huge glowing skull (for our workshop!)

Wicked Makers duo Jay and Jaimie construct a large, eye-catching backlit skull sign for their workshop using a CNC router and birch plywood built up in two layers. LED strips are routed behind the skull cutout and controlled by an Arduino Micro to produce a dramatic glowing effect. The project blends woodworking, basic electronics, and CNC design into an approachable weekend build. Full Arduino code and schematics are available on the creators' website for anyone who wants to replicate it.

Wicked Makers· 44,754 views
How to Upgrade or Replace the Trigger on your Spirit or Gemmy Halloween Animatronic Prop!
8:23
DIY AnimatronicsBeginner

How to Upgrade or Replace the Trigger on your Spirit or Gemmy Halloween Animatronic Prop!

This FrightProps tutorial walks viewers through upgrading or replacing the default triggers on Spirit Halloween, Gemmy, and other big-box animatronic props. Using a dedicated adapter, the method works with any prop that features a 'Try Me' function, allowing substitution of the stock step mat or motion sensor with higher-quality alternatives. FrightProps Creative Director Scott demonstrates how to pair the adapter with options such as a PicoBoo Jr controller, a pressure-sensing step mat, or a PIR motion sensor for more reliable and flexible activation.

FrightProps· 43,593 views
FrightProps Motor Power Supply Tutorial
2:38
DIY AnimatronicsBeginner

FrightProps Motor Power Supply Tutorial

This short tutorial from FrightProps demonstrates how different power supplies can be used to control the speed of their Dual-Speed High-Torque Prop Motor. By varying the power source, builders can achieve different motor speeds to suit their animatronic prop needs. It's a concise, practical guide aimed at getting props up and running quickly.

FrightProps· 40,097 views
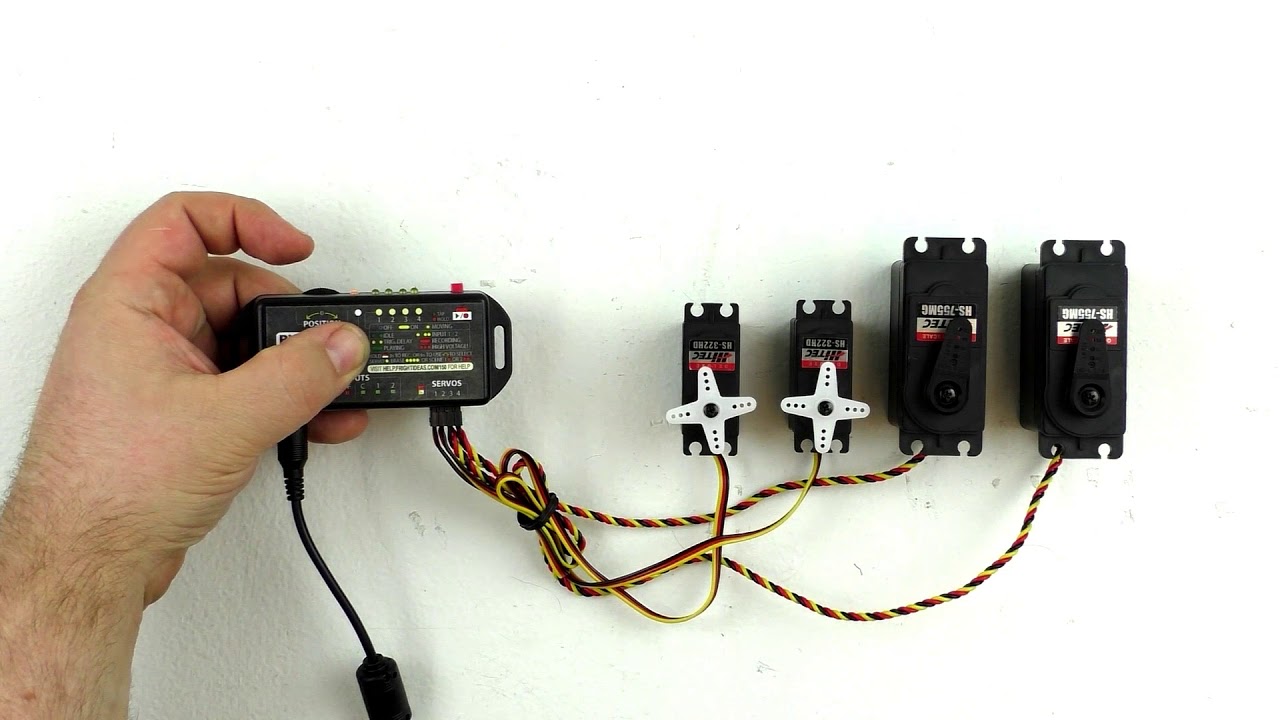
Easy Servo Control - How to Control Servos Using a PicoServo Controller
8:43
Arduino & ControllersBeginner

Easy Servo Control - How to Control Servos Using a PicoServo Controller

This FrightProps tutorial introduces the PicoServo, a compact servo controller capable of driving up to four servos simultaneously. The device supports two storable motion sequences and can be triggered externally, making it well-suited for haunted house prop automation. The video walks viewers through setup and basic operation in an approachable, beginner-friendly format.

FrightProps· 32,364 views
PicoBoo Jr (F103) & PicoBoo (F104) Controller Overview
9:50
Arduino & Controllers

PicoBoo Jr (F103) & PicoBoo (F104) Controller Overview

FrightProps walks through two of their purpose-built Halloween prop controllers: the compact PicoBoo Jr (F103) and the full-featured PicoBoo (F104). The video covers what each unit does, how they differ from one another, and where each fits in a haunt or animatronic setup. Both devices are positioned as accessible alternatives to Arduino or PLC-based solutions for automating Halloween props and pneumatics.

FrightProps· 30,556 views
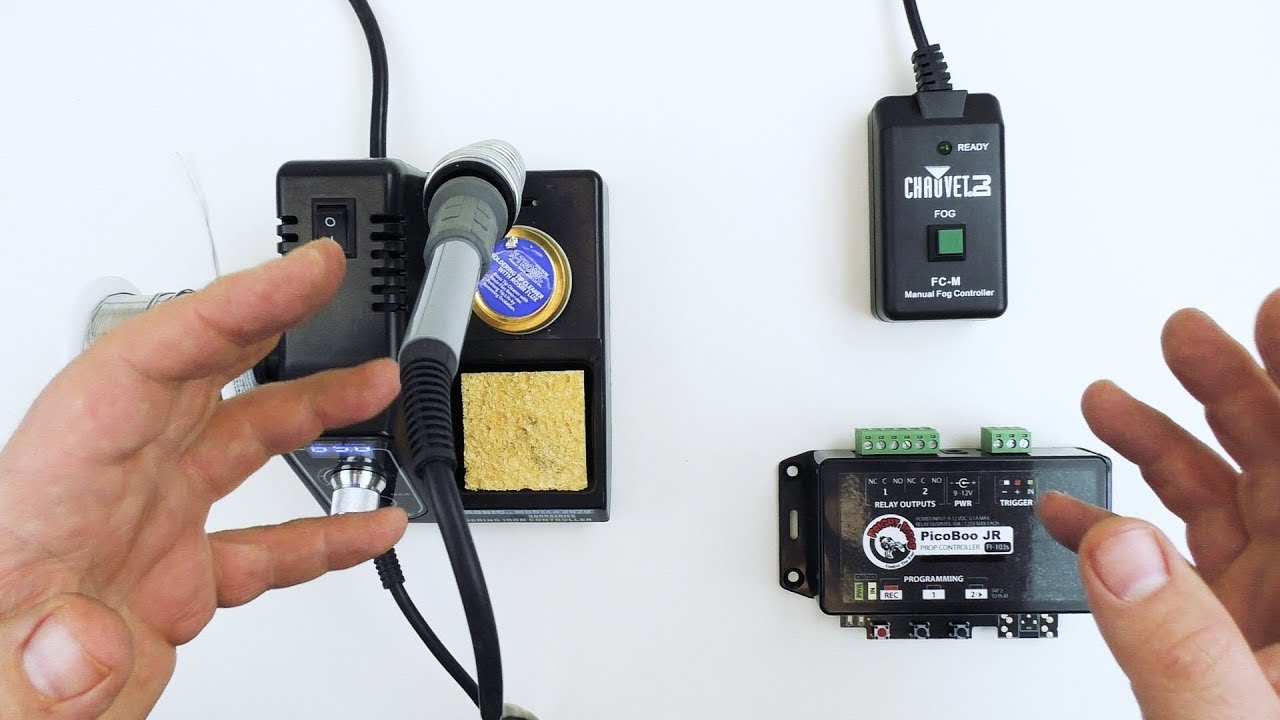
Controlling a Fog Machine with a Prop Controller or Relay
10:09
Fog & Chiller EffectsIntermediate

Controlling a Fog Machine with a Prop Controller or Relay

This FrightProps tutorial demonstrates how to automate an inexpensive fog machine by intercepting its wired manual remote and routing control through a relay or solid-state output on a prop controller. The technique — often called 'hacking the remote' — is presented as a practical workaround for fog machines that lack DMX capability. Both haunt-focused controllers like the PicoBoo and escape-room controllers like the EscapeKeeper are shown as compatible options. The result is timed or sensor-triggered fog activation without needing a premium DMX-enabled fog machine.

FrightProps· 27,416 views
FrightProps Electronic Firecracker - FLASH! Cracker
0:12
Prop Reviews

FrightProps Electronic Firecracker - FLASH! Cracker

FrightProps showcases their Electronic Flash Cracker, a high-impact haunt accessory that produces an extremely loud, crackling firecracker-style sound effect when triggered by an electrical signal. The device runs on standard 110vAC household power, making it straightforward to integrate into an existing haunt setup. It is compatible with FrightProps' own BooBox and PicoBoo controller lines for automated or triggered activation. The effect is designed specifically to startle and provoke a strong jump-scare reaction from haunt guests.

FrightProps· 27,087 views
Halloween 2019 FrightProps Ad!
0:38
Other

Halloween 2019 FrightProps Ad!

This short promotional video from FrightProps introduces the brand and its passion for Halloween technology. Rather than focusing on finished props or costumes, the company spotlights the mechanical and electronic components that bring Halloween builds to life — pneumatics, motors, controllers, and more. With over 15 years of experience in Halloween tech, FrightProps positions itself as a go-to resource for builders who want to go beyond the surface-level scare.

FrightProps· 26,706 views