Halloween Universe

Video Category

Arduino & Controllers

Every arduino & controllers video worth your time, gathered in one place. Browse builds, tutorials, and showcases — each embedded from its original creator with a quick summary so you can find exactly what you need.

150 videos

EscapeKeeper Puzzle Controller for Escape Rooms Demo
11:38
Arduino & Controllers

EscapeKeeper Puzzle Controller for Escape Rooms Demo

FrightProps demos the EscapeKeeper, a dedicated controller built to power escape room puzzles without requiring any programming knowledge. The device aims to simplify the creation of interactive puzzle sequences through an approachable, code-free interface. The video walks through its features and positions it as a versatile all-in-one solution for escape room builders.

FrightProps· 10,620 views
PicoDMX and Director Software for Flame Unit programming
7:20
Arduino & ControllersIntermediate

PicoDMX and Director Software for Flame Unit programming

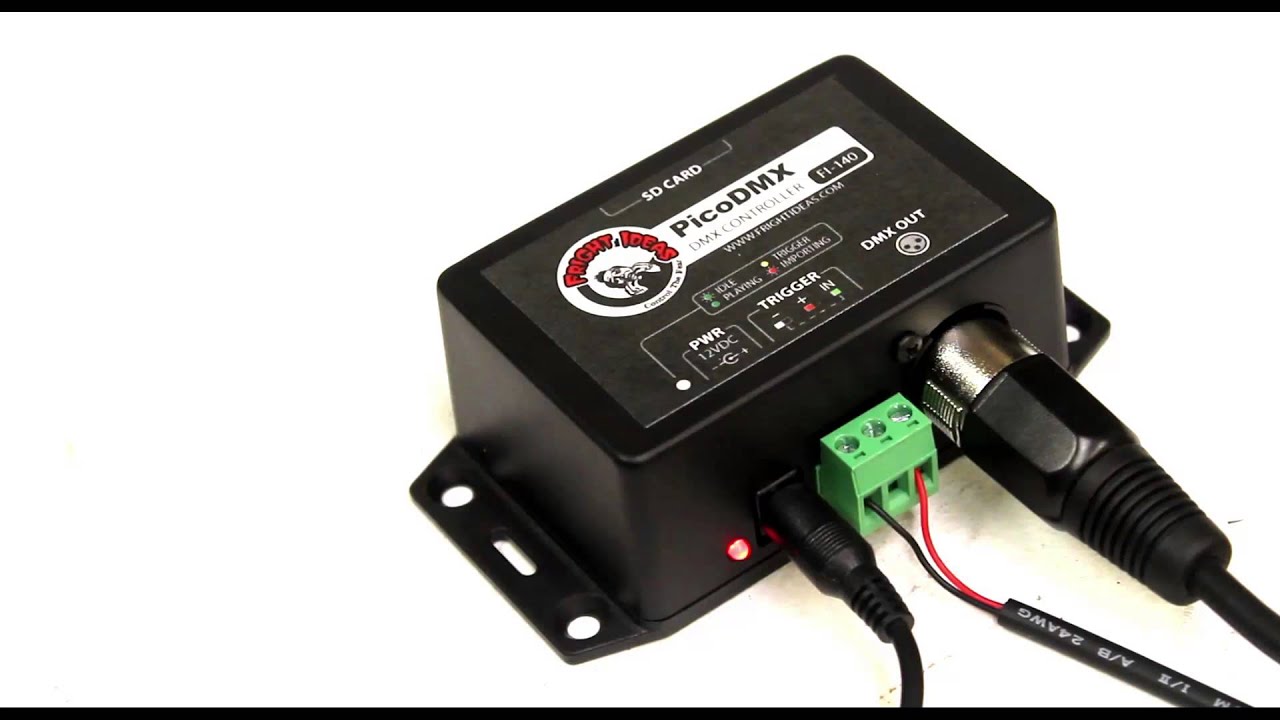
This FrightProps tutorial walks through using their Director Software alongside the PicoDMX controller to program and trigger flame units in a haunted attraction setting. The video demonstrates how these two products work together to sequence and automate flame effects via DMX control. It offers a practical look at the software interface and how DMX channels map to physical flame outputs.

FrightProps· 10,065 views
EASY Way to Add Sounds to Halloween Props!
6:46
Arduino & ControllersBeginner

EASY Way to Add Sounds to Halloween Props!

VanOaksProps walks through an accessible method for adding motion-triggered sound effects to Halloween props using an audio player module and an exciter speaker. The build relies on minimal tools and simple wiring techniques, making it approachable for beginners. Free 3D-printable project box files are offered to house the electronics neatly. The result is a compact, self-contained sound solution that can be integrated into virtually any prop.

VanOaksProps· 10,002 views
PicoVolt: An Introduction
3:00
Arduino & Controllers

PicoVolt: An Introduction

Travis from Fright Ideas introduces the PicoVolt, a prop control device that has received notable upgrades. The video offers a feature-focused walkthrough aimed at haunters considering the unit for their setup. At roughly three minutes, it serves as a concise product overview rather than a deep-dive tutorial.

FrightProps· 9,980 views
Star Wars Themed Room Lighting – Inspired by Disneyland’s Galaxy’s Edge
9:26
Lighting TutorialsAdvanced

Star Wars Themed Room Lighting – Inspired by Disneyland’s Galaxy’s Edge

VanOaksProps walks through the complete build of a screen-accurate Galaxy's Edge-style wall light fixture, drawing inspiration from the Droid Depot and cast-member doors at Disneyland's Star Wars land. The project covers every stage from 3D-printing ABS parts and sanding them smooth, through priming, painting, and oil-paint weathering, to wiring a 24-LED NeoPixel ring driven by an ESP32 microcontroller with a free animated Arduino sketch. The result is a fully functional, prop-quality sci-fi light suitable for a themed room or display. A complimentary 3D model file and Arduino sketch are provided for viewers to replicate the build.

VanOaksProps· 9,645 views
I 3D Printed a LIFE SIZE Haunted Mansion Door for Neil Patrick Harris - PART 3
3:23
DIY PropsIntermediate

I 3D Printed a LIFE SIZE Haunted Mansion Door for Neil Patrick Harris - PART 3

Part 3 of VanOaksProps' ambitious life-size Haunted Mansion door build explores the use of Polymaker's CosPLA filament, a specially formulated PLA designed to be easier to sand and finish than standard PLA. The creator shares hands-on impressions of the sponsored filament, highlighting its printability, durability, and sanding characteristics — qualities that are critical for achieving smooth, display-ready surfaces on a large-scale prop. This short update focuses specifically on material choice and surface prep rather than the full build process.

VanOaksProps· 8,783 views
fright props motor
5:00
DIY AnimatronicsBeginner

fright props motor

This short tutorial from Stiltbeast Studios introduces the basics of using motors sourced from FrightProps to animate Halloween props. The creator demonstrates how these motors can be applied across a variety of animation configurations, highlighting their accessibility since they run on standard 120V household power. It serves as a foundation lesson, with more advanced animation setups promised in follow-up videos.

StiltbeastStudios· 7,975 views
tech overview
17:55
Professional Haunted Attractions

tech overview

A behind-the-scenes walkthrough of the tech room powering Dark Hour Haunted House, led by a crew member named Jake. The tour covers a wide range of products and systems used to run a professional haunted attraction. It serves as a broad reference for haunters looking to understand how large-scale haunt technology is organized and integrated.

StiltbeastStudios· 7,946 views
How I Program Professional Halloween Props!
26:38
Arduino & ControllersAdvanced

How I Program Professional Halloween Props!

FrightProps host Scott provides an in-depth walkthrough of how professional Halloween animatronic props are programmed from start to finish. Using a BooBox Flex 2 controller paired with a Scare Master programming module, he demonstrates the full workflow on a Poison Props animatronic. The tutorial covers tuning pneumatic cylinder flow and speed, then sequencing prop movements to align precisely with audio cues — the same process used by professional haunt builders.

FrightProps· 7,711 views
My Favorite Halloween Prop Controller: The PicoBoo MP3
26:42
Arduino & ControllersIntermediate

My Favorite Halloween Prop Controller: The PicoBoo MP3

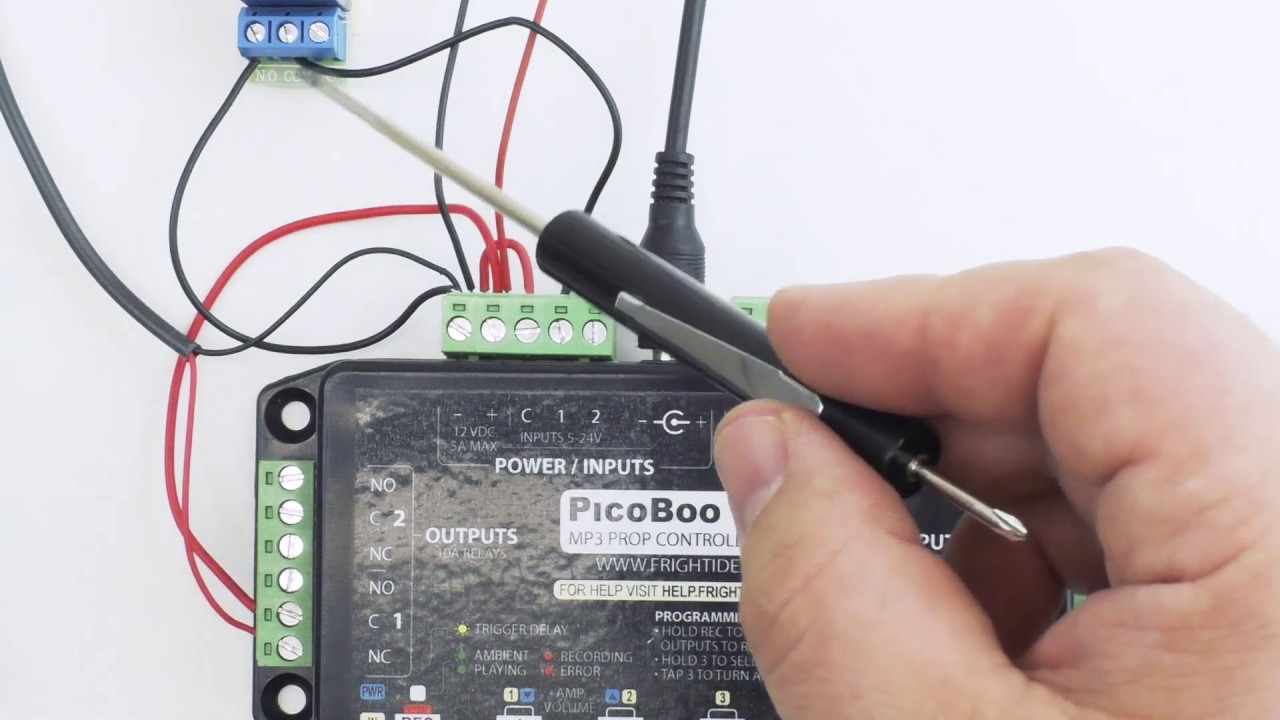
FrightProps creative director Scott walks through the PicoBoo MP3, his personal go-to Halloween prop controller, explaining what sets it apart from other options. The video highlights the device's combination of powerful feature set and straightforward usability, making it accessible for a wide range of prop builds. Several FrightProps accessories — including spotlights, a relay add-on, and a mini strobe — are demonstrated alongside the controller to show real-world integration.

FrightProps· 7,595 views
Using a PicoBoo MP3 and Director Software to Flip-Flop an Output
8:18
Arduino & ControllersIntermediate

Using a PicoBoo MP3 and Director Software to Flip-Flop an Output

This FrightProps tutorial demonstrates how to program a PicoBoo MP3 controller using the free Director software to create a flip-flop output — an effect that toggles on with the first trigger and off with the next. The demonstration uses an RFID trigger and a magnetic lock as the output device, though the underlying logic applies broadly to many haunt effects. The video walks through the software configuration step by step, making it accessible to intermediate builders familiar with basic prop controllers.

FrightProps· 7,266 views
Power Supply Tricks and Tips
8:08
Arduino & ControllersBeginner

Power Supply Tricks and Tips

FrightProps walks through practical tips for getting 12V DC Halloween devices powered up using readily available standard power supplies. The video is a concise, beginner-friendly primer aimed at haunters who are new to the electronics side of prop building. It complements a broader library of controller and electronics guidance available on the FrightProps website.

FrightProps· 7,217 views
BooBox 4 Scene Controller : Part1: Overview and Audio
9:49
Arduino & ControllersIntermediate

BooBox 4 Scene Controller : Part1: Overview and Audio

This is the first installment in a three-part series from FrightProps covering the BooBox 4 scene controller. The video introduces the device with a broad hardware overview, then walks viewers through the process of loading audio files into the unit. It lays the foundation for deeper programming and integration content covered in subsequent parts.

FrightProps· 7,120 views
Using a PicoBoo JR Controller to Activate Car Headlights and a Car Horn in a Car Crash Kit
8:36
Arduino & ControllersBeginner

Using a PicoBoo JR Controller to Activate Car Headlights and a Car Horn in a Car Crash Kit

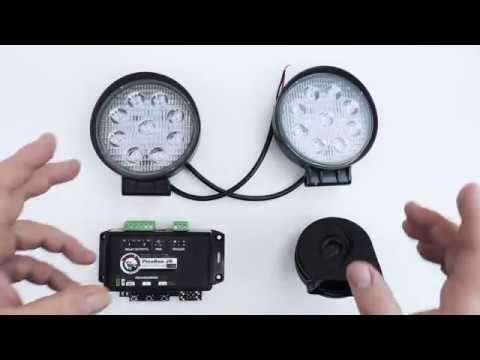
This FrightProps tutorial demonstrates how to use the PicoBoo JR controller to trigger car headlights and a 12V DC car horn as part of a car crash prop kit. The PicoBoo JR uses two relay outputs and simple push-button programming, making it accessible even for beginners. Because the audio in this setup comes directly from the hardware horn rather than a sound board, the PicoBoo JR is an ideal fit for this type of self-contained prop effect.

FrightProps· 7,112 views
Aiming a Laser to Open a Magnetic Lock
10:38
Arduino & ControllersIntermediate

Aiming a Laser to Open a Magnetic Lock

This FrightProps tutorial walks through wiring and configuring a laser-and-sensor system that releases a magnetic lock when the beam is broken or aligned with its target. A PicoBoo controller serves as the logic hub, making the setup accessible without complex programming. The combination is well-suited for escape room puzzles or haunted house interactive sequences where a physical action triggers a door or compartment to unlock.

FrightProps· 6,899 views
DIY Ghostbusters Proton Pack Electronics (Complete Wiring Guide)
18:40
DIY PropsBeginner

DIY Ghostbusters Proton Pack Electronics (Complete Wiring Guide)

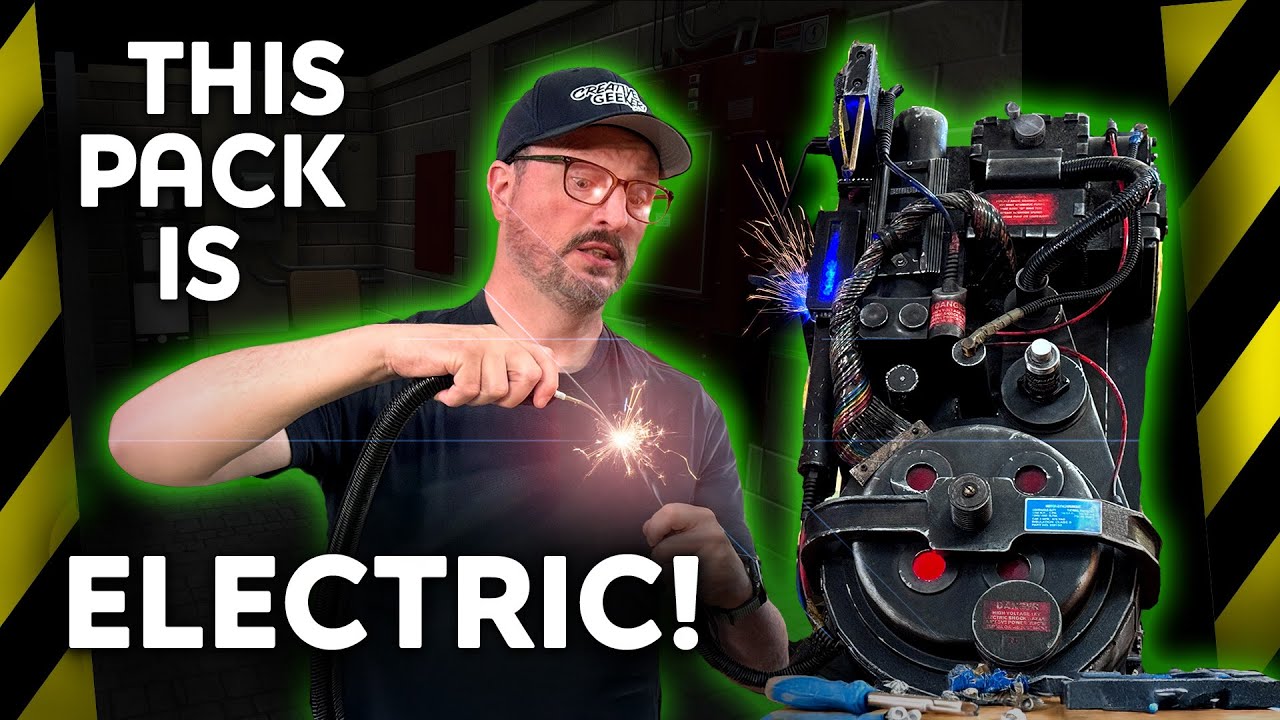
This video walks through the complete electronics wiring process for a 3D printed Ghostbusters Proton Pack cosplay prop, covering lighting, sound, and power systems in an approachable, beginner-friendly format. The creator shares hands-on lessons learned — including mistakes made — while demonstrating how to integrate cyclotron and bar graph LEDs, an MP3 soundboard, and a custom power switch. A step-down transformer ties the power system together safely. A free wiring diagram and materials list are available on the creator's website.

Creative Geekery· 6,744 views
BooBox 4 Scene Controller : Part 3: Triggers Button, Pressure Mat, Motion Sensor, light beam
6:10
Arduino & ControllersIntermediate

BooBox 4 Scene Controller : Part 3: Triggers Button, Pressure Mat, Motion Sensor, light beam

This is the third and final installment in FrightProps' BooBox 4 Scene Controller tutorial series, focusing on how to connect various trigger inputs to the controller. The video walks viewers through wiring options including button triggers, pressure/step mats, motion sensors, and light beam sensors. Each trigger type is demonstrated in the context of activating scenes for Halloween props and animatronics.

FrightProps· 6,373 views
PicoBoo JR Simple Real-Time Relay Controller
0:41
Arduino & ControllersBeginner

PicoBoo JR Simple Real-Time Relay Controller

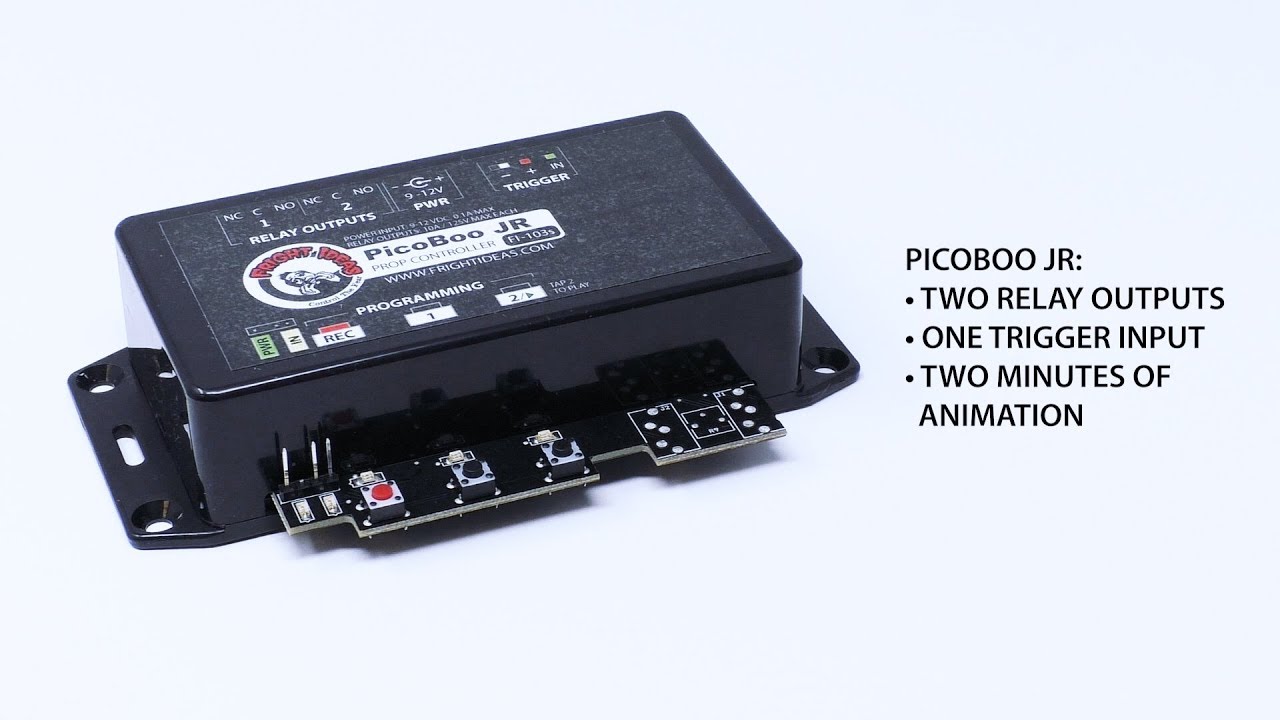
The PicoBoo JR from FrightProps is a compact, beginner-friendly prop controller designed for haunted attraction use. It requires no computer or software — animations are programmed directly on the unit by pressing buttons in real time. With two relay outputs and a trigger input, it can control power to props and respond to external activation signals.

FrightProps· 6,369 views
FrightProps Hand Trigger Overview
3:52
PneumaticsBeginner

FrightProps Hand Trigger Overview

This short overview from FrightProps demonstrates one of their most popular prop triggering solutions — the hand trigger — paired with a double acting pneumatic cylinder, a pneumatic hook-up kit, and a PicoBoo ONE controller. The video walks viewers through how these components work together to activate a pneumatic prop. It serves as a practical introduction to entry-level haunt automation using off-the-shelf FrightProps components.

FrightProps· 6,264 views
BooBox 4 Scene Controller : Part 2: Programming
5:51
Arduino & ControllersIntermediate

BooBox 4 Scene Controller : Part 2: Programming

Part 2 of FrightProps' three-part BooBox series walks viewers through the process of programming scenes into the BooBox 4 Scene Controller. The tutorial focuses on how to configure and store multiple scenes for triggering animatronics and Halloween props. It serves as the essential middle step between hardware setup and full deployment of the controller.

FrightProps· 6,064 views
PicoVolt LED/Motor Controller: LED Dimming/Controlling
2:06
Arduino & ControllersBeginner

PicoVolt LED/Motor Controller: LED Dimming/Controlling

This short FrightProps demo shows how a single PicoVolt controller can dim, strobe, and manage multiple LED spotlights from one unit. It covers the basic hardware setup including compatible LED spotlights and appropriate power supplies. The video is a quick-start look at the PicoVolt's lighting control capabilities for haunt and prop applications.

FrightProps· 6,028 views
Creating Lighting Effects Easily Using a Precision DMX LED Light and the ColorPiano App
7:48
Lighting TutorialsBeginner

Creating Lighting Effects Easily Using a Precision DMX LED Light and the ColorPiano App

FrightProps demonstrates how to drive a wide variety of lighting effects from a single DMX-compatible RGB LED fixture using the free ColorPiano app by Gantom, available on both iOS and Android. The workflow requires no dedicated hardware controller and no prior programming knowledge, making professional-quality haunt lighting accessible to beginners. One important purchasing note: ColorPiano compatibility must be selected as an option at checkout when ordering the light.

FrightProps· 5,894 views
Talking Skull Jaw Movement Servo Kit
13:30
DIY AnimatronicsBeginner

Talking Skull Jaw Movement Servo Kit

FrightProps walks through their plug-and-play servo kit designed to add realistic jaw movement to standard plastic skulls. The kit pairs with a compatible controller — such as their own ServoTalk unit — to synchronize the jaw motion with spoken audio or dialogue. The result is a convincing talking skull animatronic without requiring custom fabrication or advanced electronics knowledge.

FrightProps· 5,809 views
Press the Buttons Puzzle Kit for Escape Rooms
22:17
Arduino & ControllersBeginner

Press the Buttons Puzzle Kit for Escape Rooms

FrightProps walks through their Press the Buttons Puzzle Kit, a ready-made controller that lets you build a button-sequence puzzle for escape rooms or haunted attractions using up to six buttons. The standout feature is a no-code setup process — you simply act out the correct solution sequence and the kit records it automatically. The video covers how to get the kit running and how to reprogram the solution on the fly without any technical knowledge.

FrightProps· 5,783 views
Best Arduino & Controllers Videos · Halloween Universe