Halloween Universe

The Screening Room

The Halloween Video Library

A curated, searchable archive of the dark craft — DIY props and animatronics, home-haunt walkthroughs, makeup, lighting, fog, and effects. Every film embedded from its creator, organized so you can actually find what you need.

7 videos

DIY Electro Shock Prop from Star Wars
11:02
DIY PropsAdvanced

DIY Electro Shock Prop from Star Wars

VanOaksProps walks through a detailed screen-accurate recreation of the electro-shock prod from Star Wars: The Last Jedi, starting from a free 3D model and taking it to convention-ready finish. The build covers resin printing, chrome painting with Alclad, and a multi-step weathering process including liquid latex paint chipping, airbrush heat discoloration, and Rub N Buff accents. The result is a battle-worn, layered finish that closely mimics the prop's on-screen appearance. The creator also touches on display packaging options for a vintage collectible presentation.

VanOaksProps· 3,908 views
I Created The Final Halloween Tombstone Decoration
13:16
DIY PropsIntermediate$30–$70

I Created The Final Halloween Tombstone Decoration

VanOaksProps walks through the complete construction of a final Halloween tombstone, combining insulation foam and MDF to achieve a convincing stone-and-weathered-metal look. The build covers shaping and carving foam details, creating a custom faux metal plaque, and applying a multi-step paint finish that includes a masonry sealer base, hammered copper spray, patina effects, and aging washes. The result is a professional-quality graveyard prop suitable for yard haunts or haunted house displays. A thorough materials list with affiliate links accompanies the tutorial for easy replication.

VanOaksProps· 15,497 views
Recreating a Galaxy’s Edge Sign with EVA Foam – Step-by-Step Prop Build
10:52
DIY PropsIntermediate

Recreating a Galaxy’s Edge Sign with EVA Foam – Step-by-Step Prop Build

VanOaksProps walks through a full build of a Galaxy's Edge-inspired marketplace sign using EVA foam, modeling paste, and a custom Illustrator template available as a free download. The tutorial covers every stage from cutting and shaping foam layers to painting, weathering, and finishing with Rub n Buff and airbrush decay effects for a convincingly battle-worn Batuu aesthetic. Techniques transfer readily to cosplay accessories, themed room displays, or haunt set dressing. The approachable material list and step-by-step pacing make this accessible to intermediate foam crafters.

VanOaksProps· 6,509 views
This Project Took 10 Years to finish
10:17
DIY PropsIntermediate

This Project Took 10 Years to finish

VanOaksProps revisits a decade-old ambition to build a screen-accurate replica of Leia's Boushh bounty hunter helmet from Return of the Jedi. After an unsatisfying first attempt that stalled at the painting stage, the creator starts fresh with refined skills and a more deliberate approach. The build focuses heavily on painting, weathering, and finishing techniques to achieve a convincing, film-accurate result.

VanOaksProps· 8,539 views
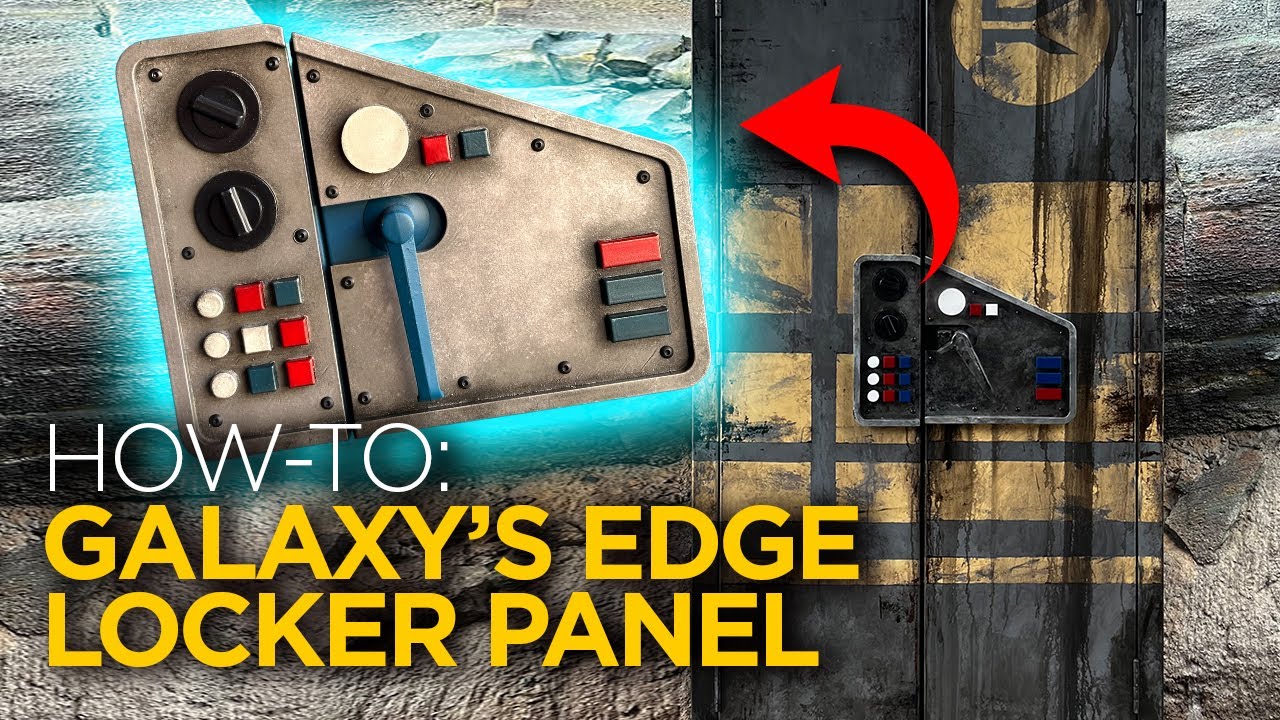
Building a Galaxy's Edge Locker Panel
9:53
DIY PropsIntermediate

Building a Galaxy's Edge Locker Panel

VanOaksProps recreates the control panel from the newly added storage lockers at Star Wars: Galaxy's Edge as a functional prop for a real locker. The build centers on a custom 3D-printed panel that is primed, layered with multiple spray paint colors, and finished with oil paint washes and Rub n Buff to achieve an authentic, weathered sci-fi look. Final assembly uses button-head screws and VHB tape to mount the panel cleanly. The result is a screen-accurate-style replica suitable for Star Wars-themed spaces or Halloween haunt set dressing.

VanOaksProps· 7,994 views
DIY Haunted Mansion Door Handle That Looks REAL
5:45
DIY PropsBeginner$20–$50

DIY Haunted Mansion Door Handle That Looks REAL

VanOaksProps walks through a step-by-step painting process for creating a Haunted Mansion-style door handle that convincingly mimics aged, ornate metal. The tutorial focuses on accessible paints and layering techniques rather than expensive materials, making a theme-park-quality result achievable for most skill levels. Finishing steps include rub n buff for a brass-like sheen and a patina acrylic wash to sell the aged look.

VanOaksProps· 15,967 views
Repaint a Toy Mandalorian Blaster Prop
8:46
DIY PropsIntermediate$30–$80

Repaint a Toy Mandalorian Blaster Prop

VanOaksProps walks through a multi-stage repaint of a Rubies toy Mandalorian blaster, transforming it from a flat costume accessory into a screen-accurate-looking prop. The process layers graphite powder, faux wood grain, airbrushed aluminum lacquer, Rub N Buff in two metallic tones, and wax paint weathering to build convincing depth and wear. Each technique is demonstrated in sequence with clear before-and-after context. The result is a display- or cosplay-ready blaster achieved with widely available hobby materials.

VanOaksProps· 42,821 views